Learn how to carve a turkey with these easy step-by-step instructions, photos and video. Impress your guests this Thanksgiving, Christmas and holiday season!
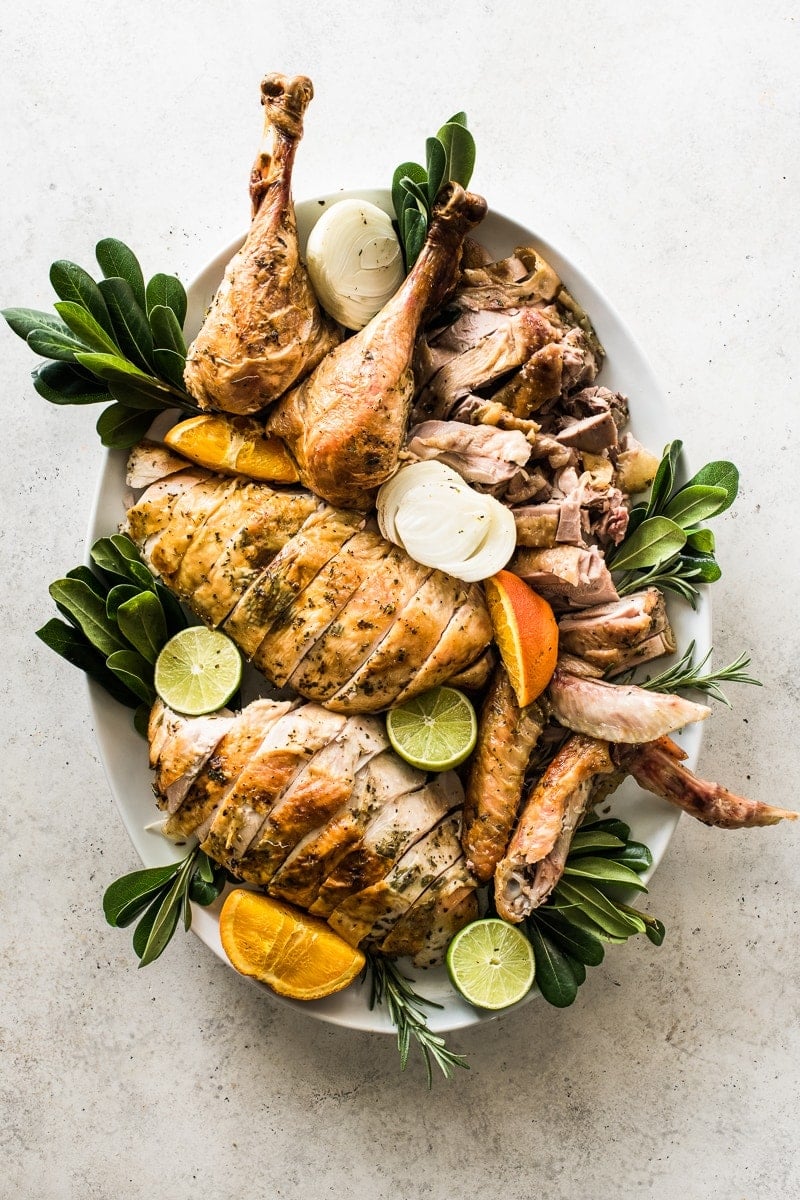
So you’ve roasted your beautiful holiday turkey and now it’s time to carve it! Follow these easy step-by-step instructions on how to carve a turkey like a pro.
Watch the video below to see just how easy it is before you get started!
Tools you need
- large carving board – for carving the bird
- long sharp knife – for slicing and boning
- paper towels – for cleaning up
- large platter – for serving
How to carve a turkey
- Remove the legs and thighs
Slice through the skin that connects the breast and the thigh and cut down until you reach the joint. Push and open the thigh with one hand while slicing through the joint with the other. Set aside.
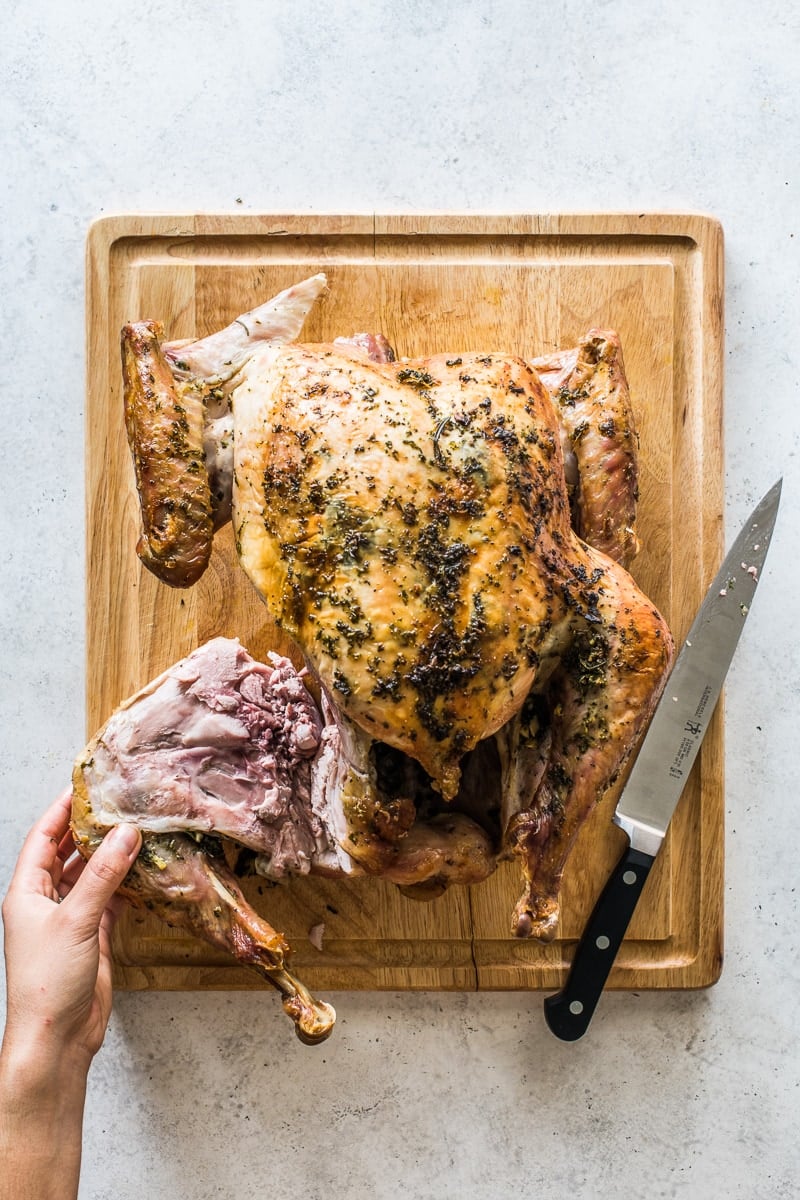
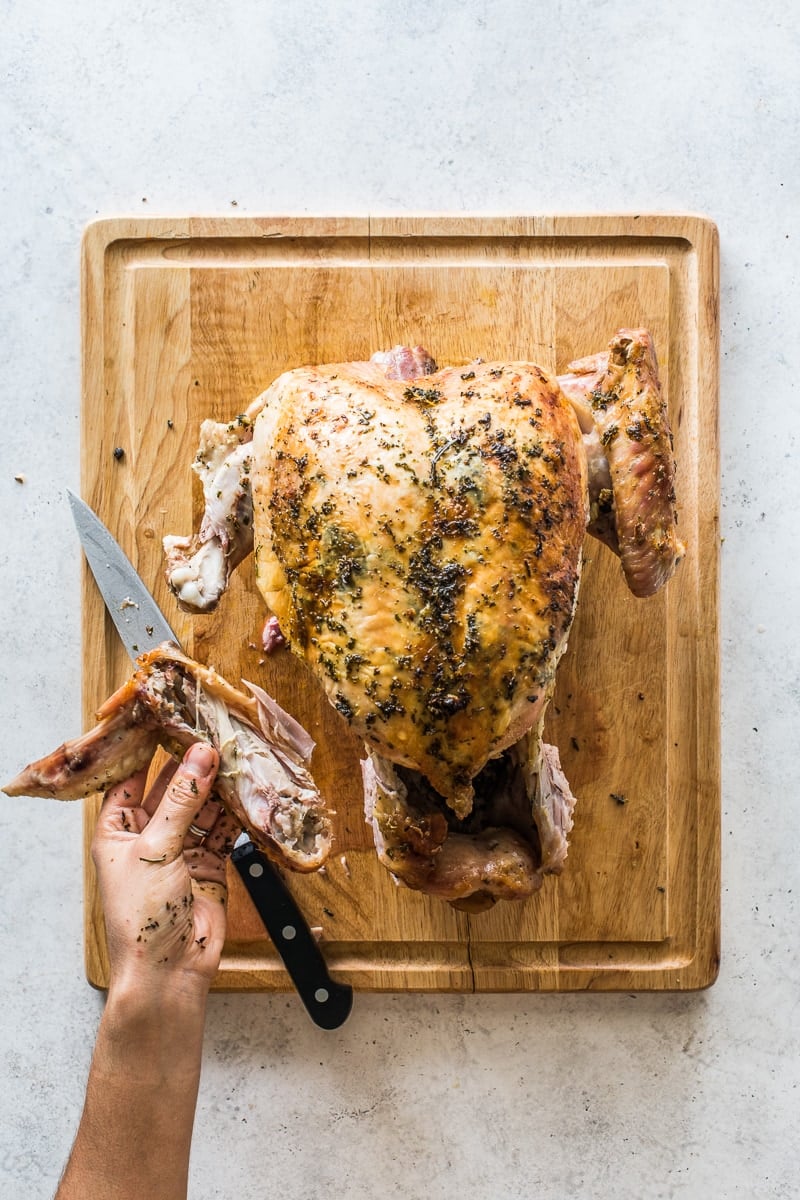
- Partially remove the wings
Untuck the wings of the turkey and cut through the joint connecting the drumette to the flat + tip. Leaving the drumette on the turkey helps to stabilize the bird a bit and makes it easier to carve. Transfer to a large platter.

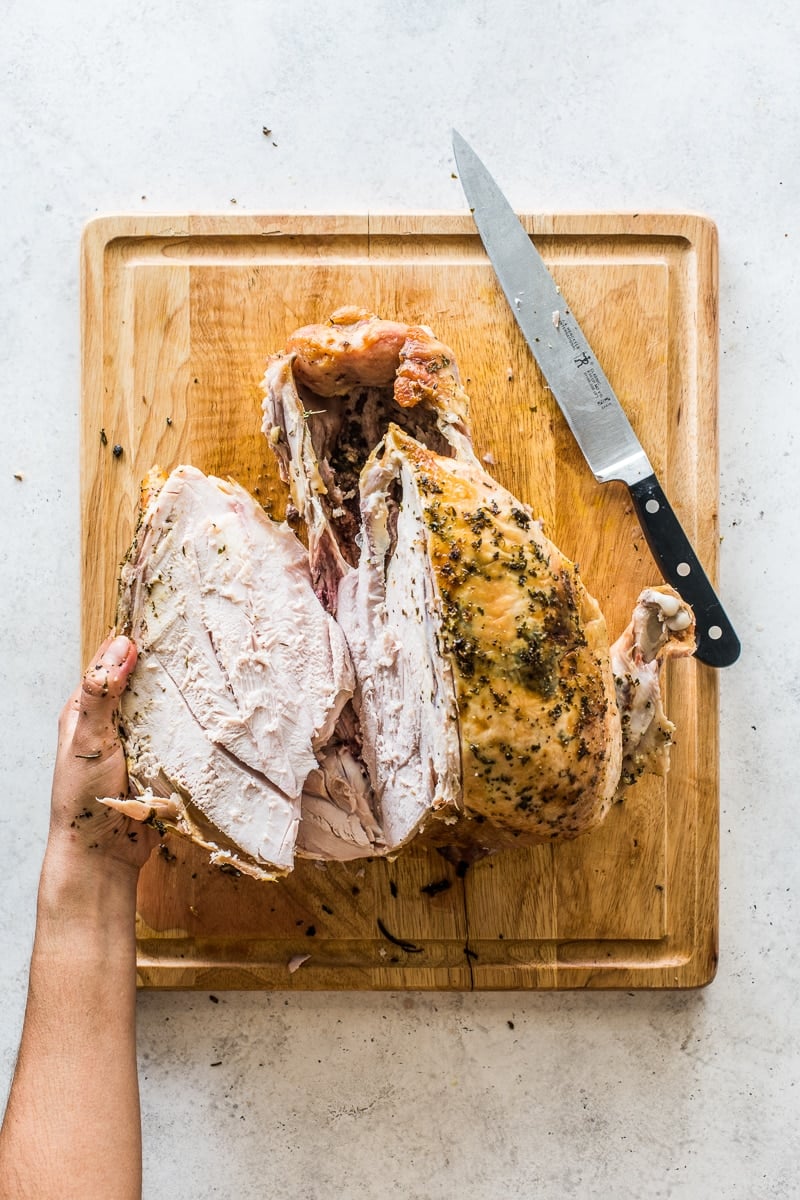
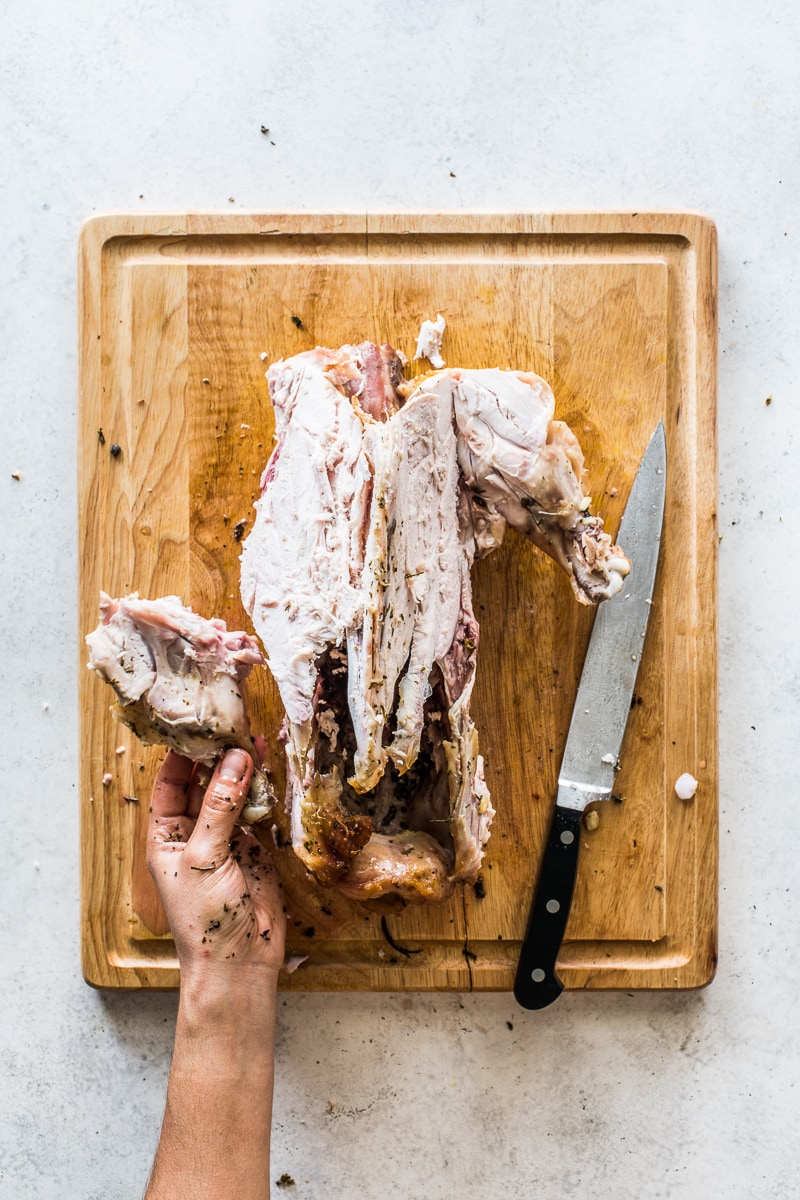
- Remove the breasts
Cut down the middle of the breastbone using long slicing motions. Use one hand to carefully pull away the breast while slicing it off the bone. Keep in mind that the breastbone is at a slight angle, so make sure to angle your knife as you slice. Set aside.

- Removing the remaining wings
Remove the remaining wing drumette by slicing it at the joint where it meets the breastbone. Transfer to platter.

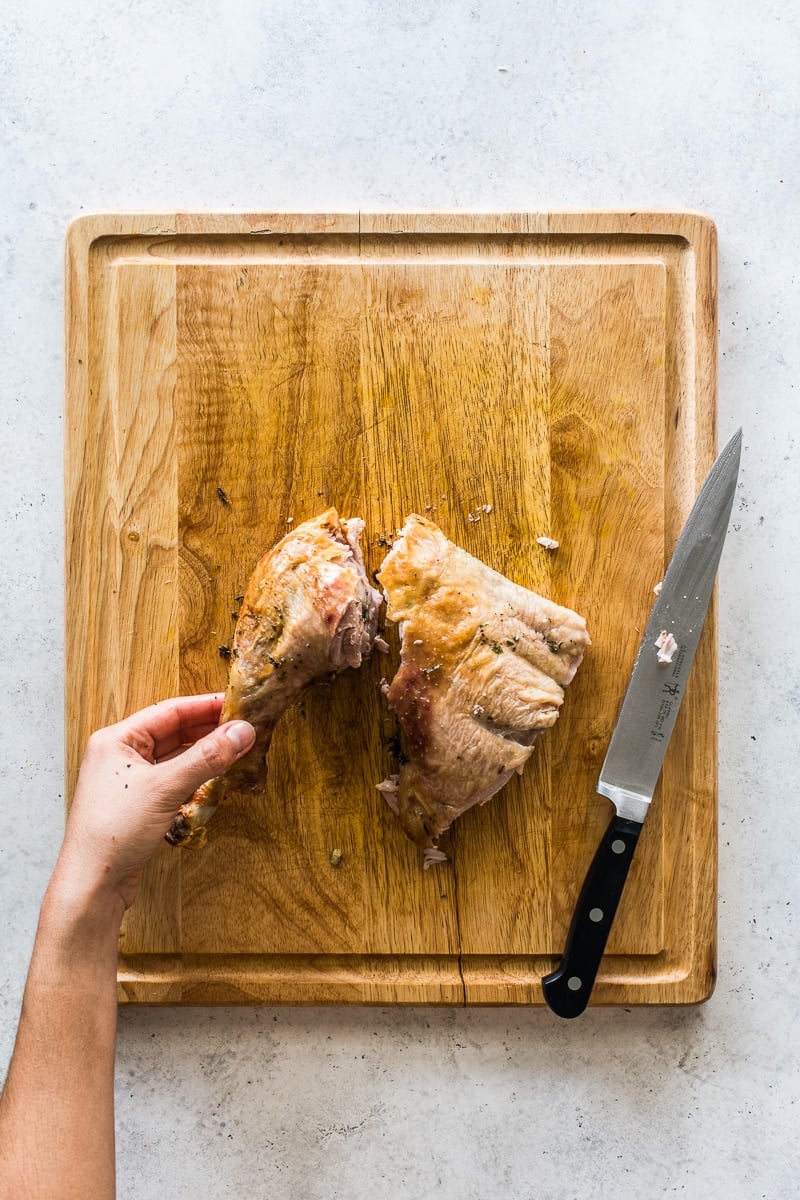
- Separate the drumsticks from the thighs
Cut through the joint that connects the drumsticks from the thighs.

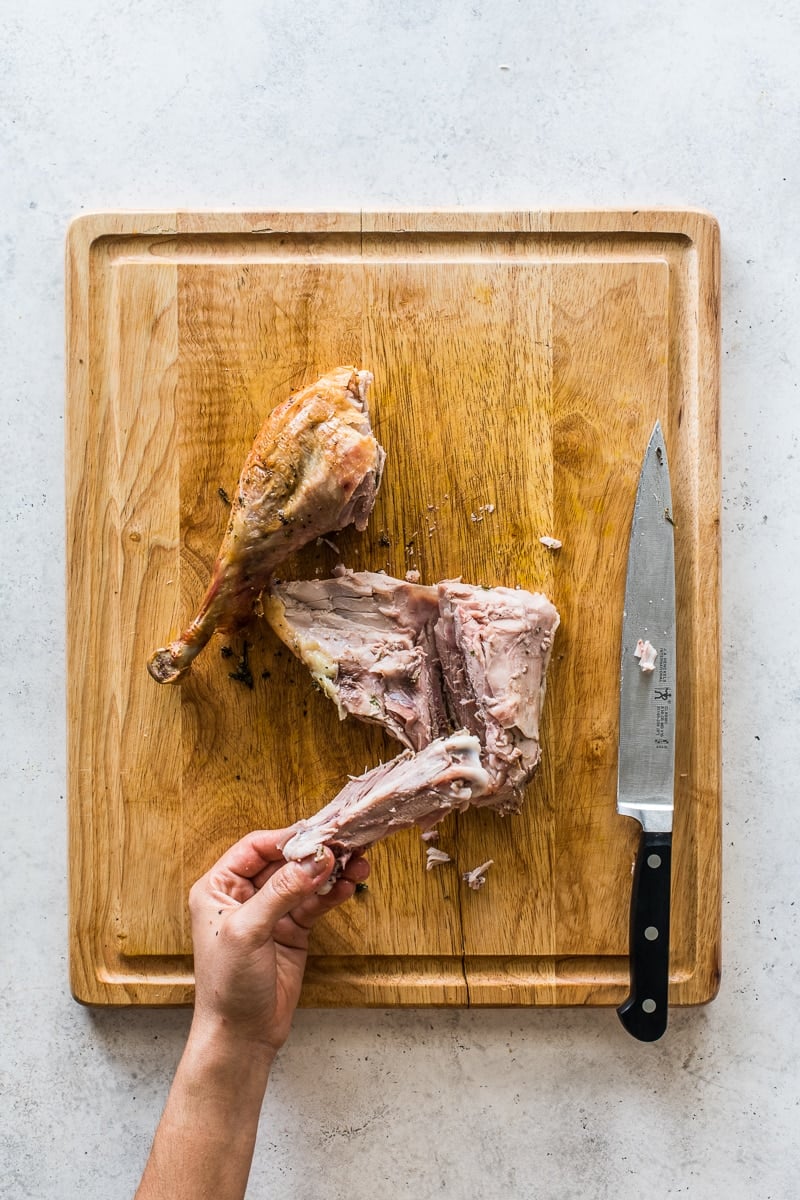
- Remove the thigh bone
Cut away the meat from all around the thigh bone as cleanly as possible. I find that using long slicing motions helps.

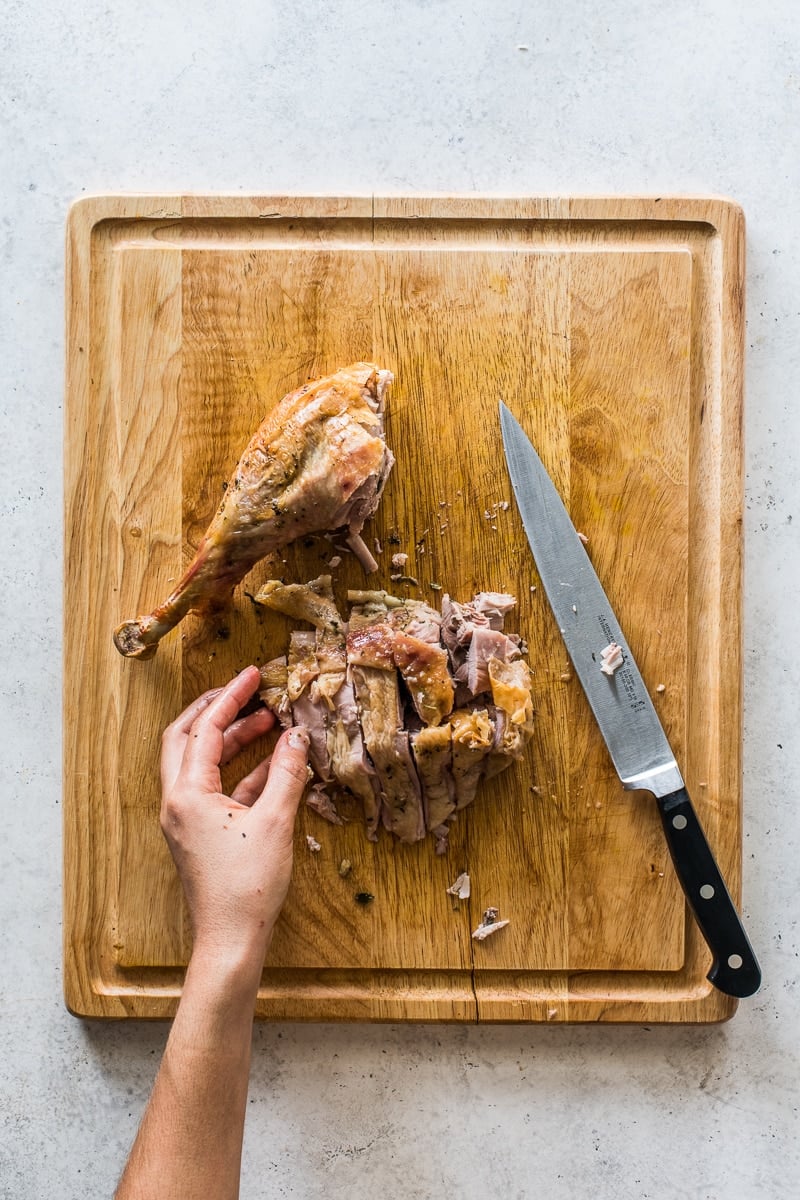
- Slice the thigh meat
Slice the thigh meat and transfer it along with the drumsticks to the platter. This is the dark meat.

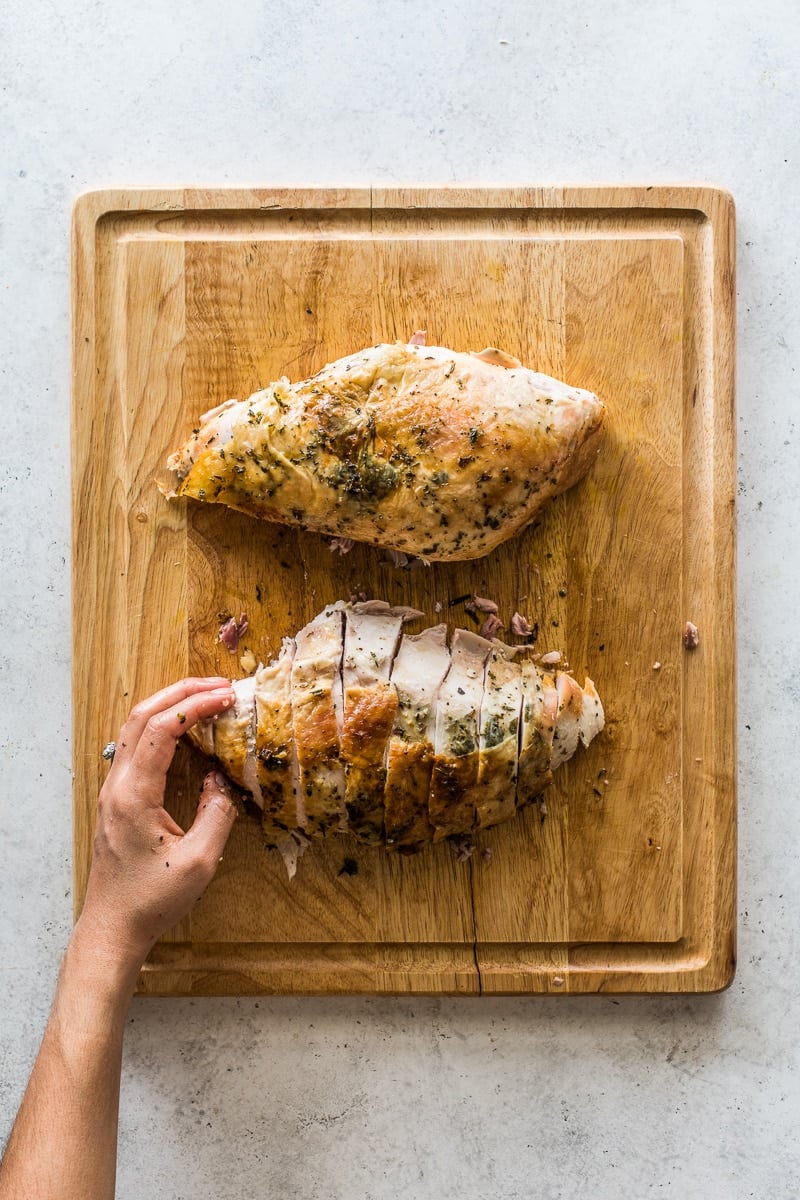
- Slice the breast meat
Slice the breasts and transfer them to the platter. This is the white meat.

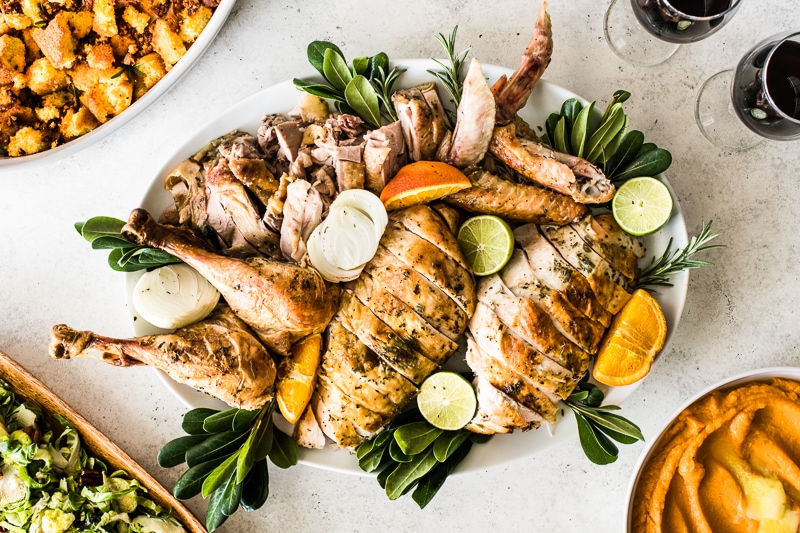
Serve your beautifully carved turkey on a platter and enjoy!















Leave a Reply