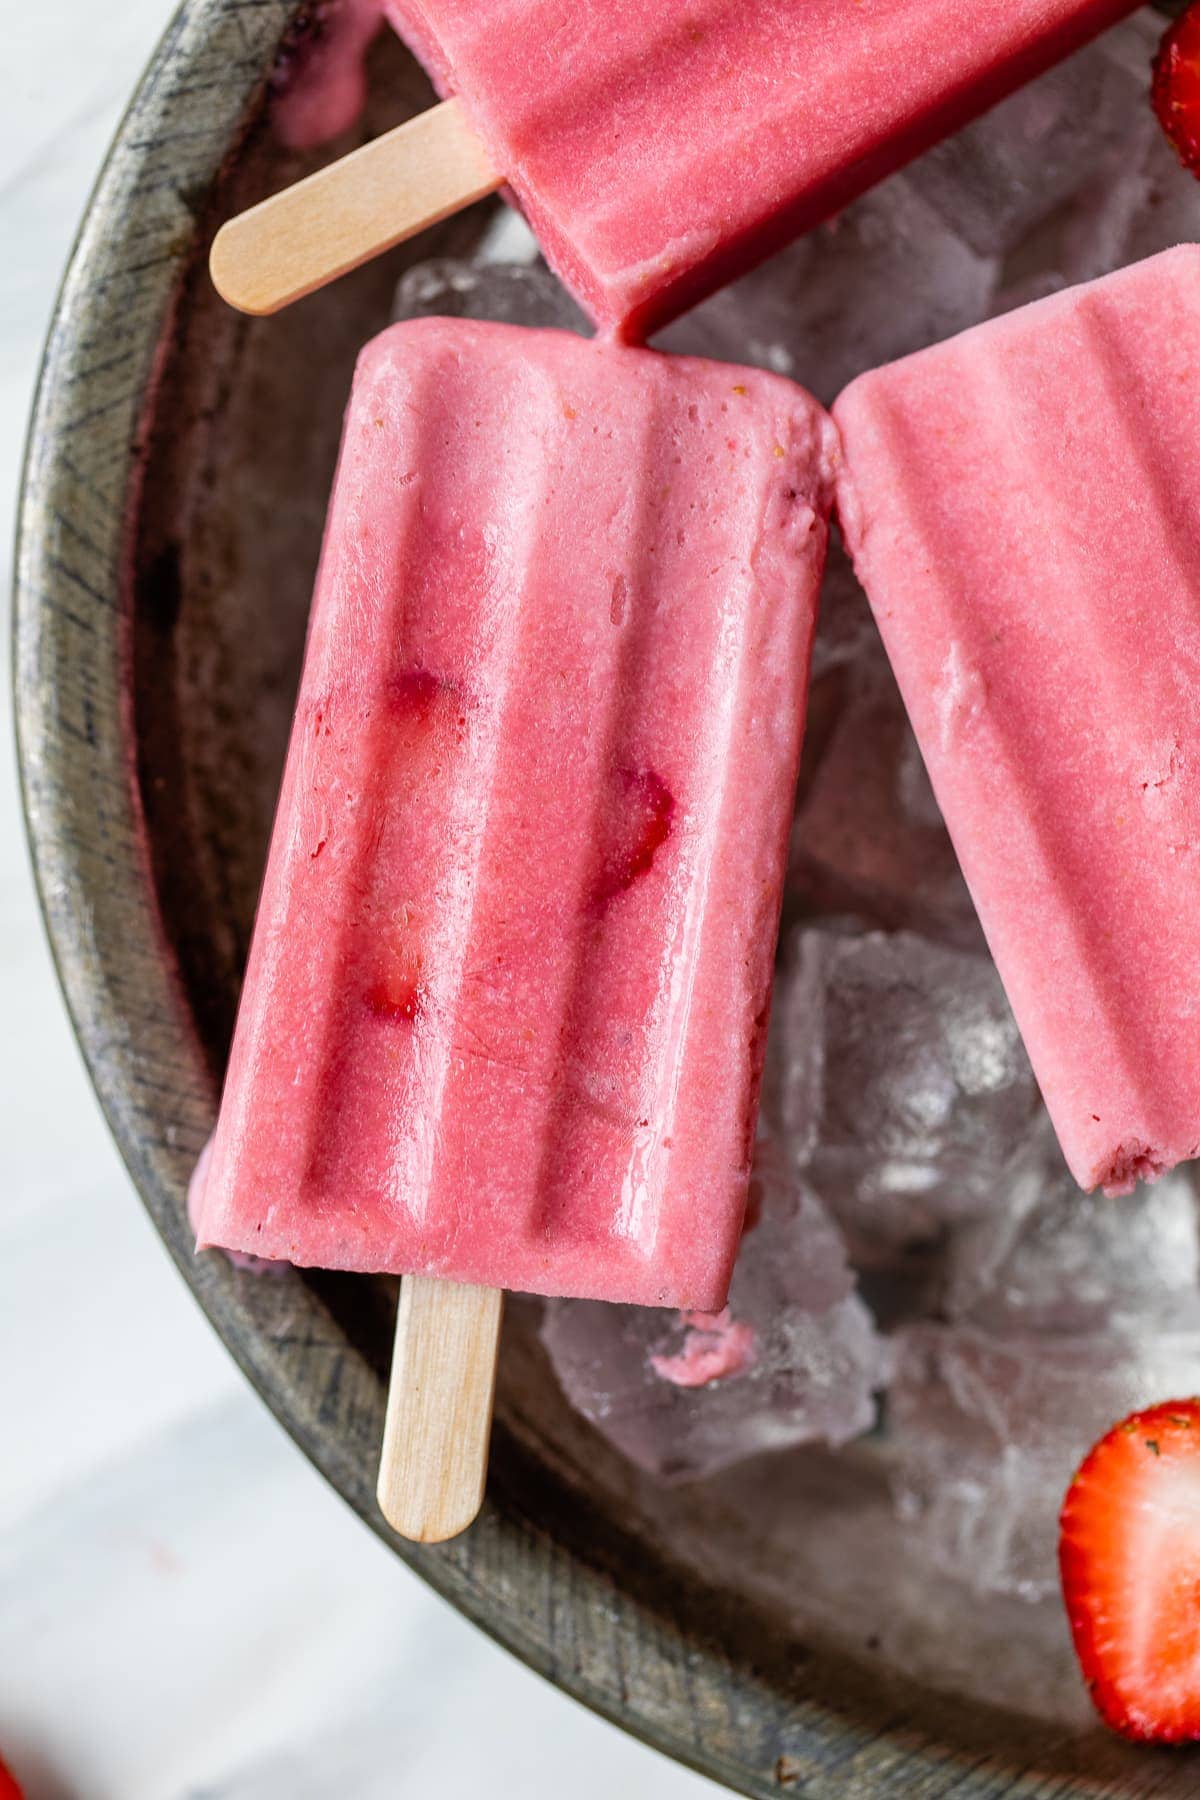
These delicious and refreshing Paletas de Fresa (Strawberries and Cream Popsicles) are made with fresh strawberries, cream, milk, and sugar. So smooth and creamy, they’re a kid and adult-friendly treat you can enjoy all summer long!
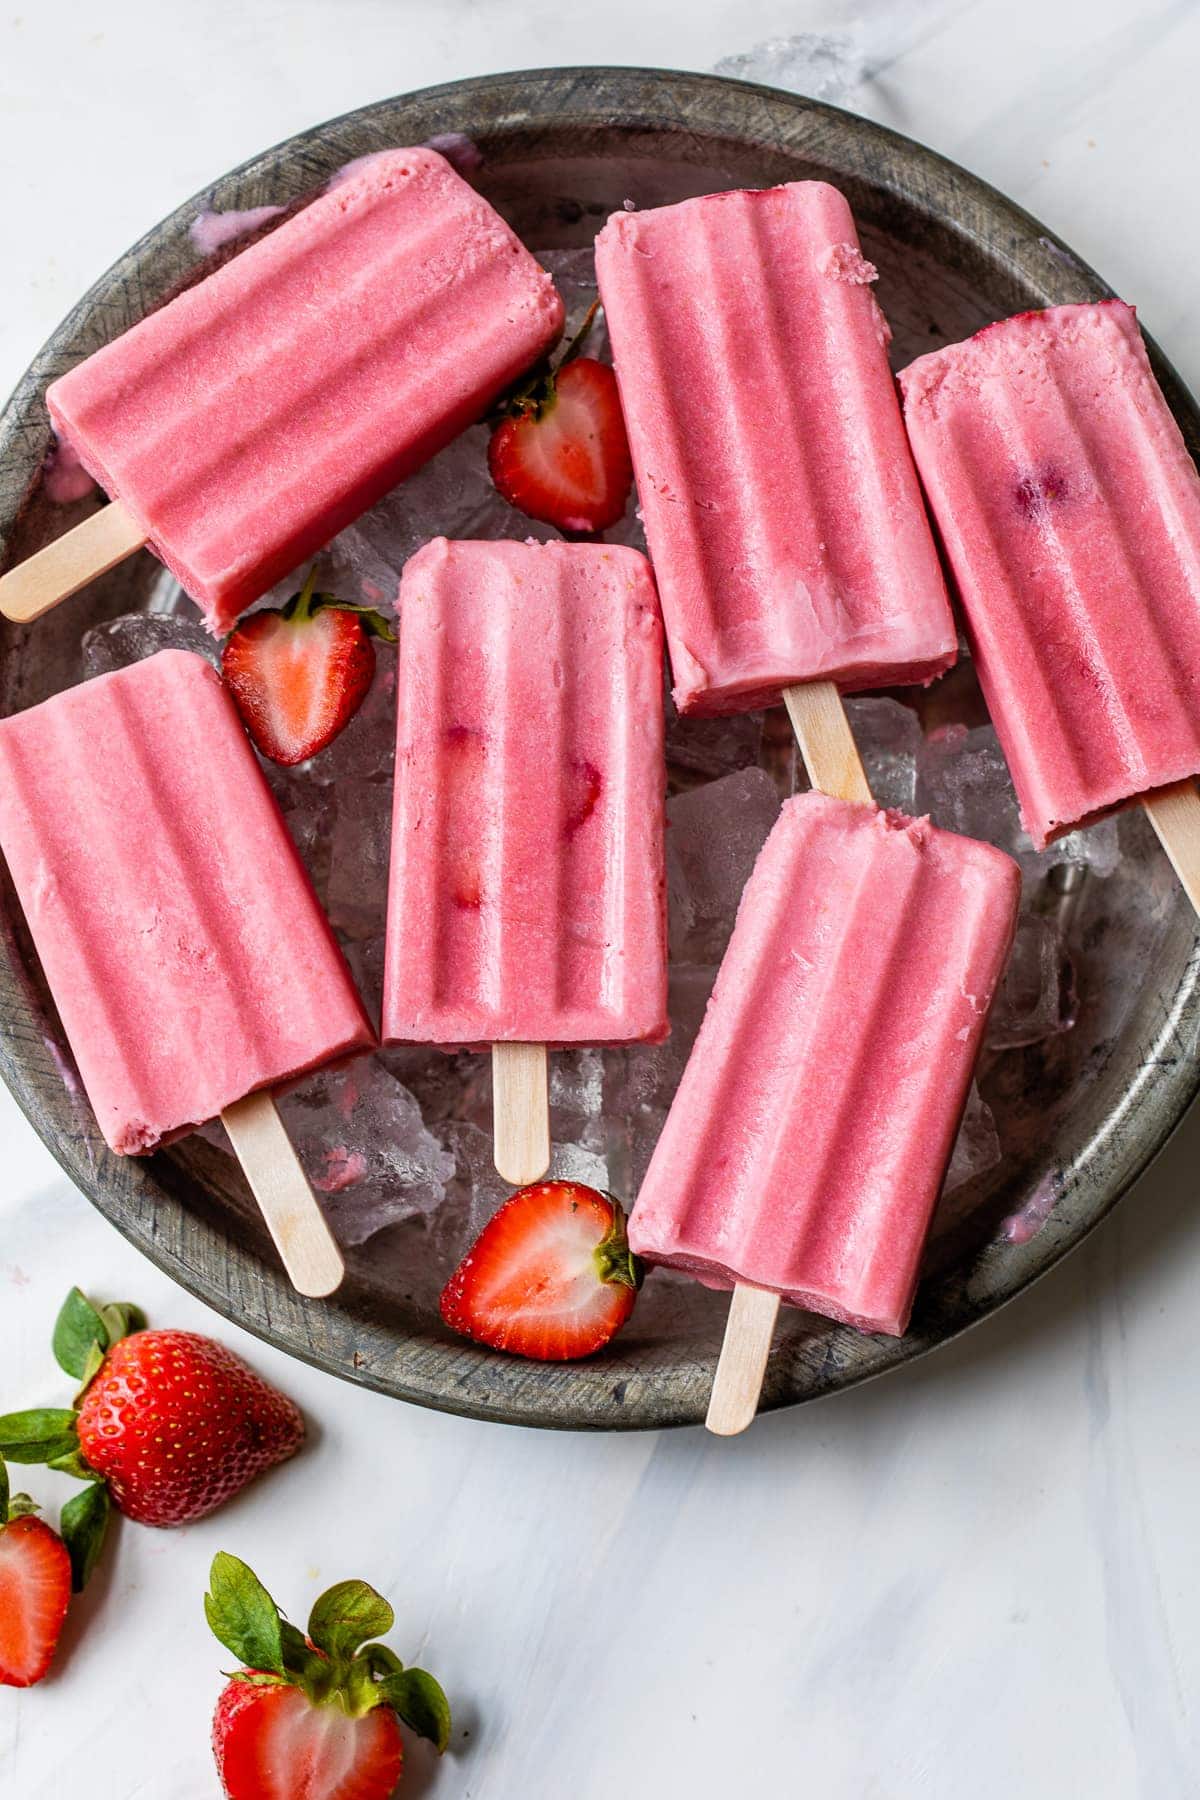
When strawberry season hits, it’s time to make these refreshing Paletas de Fresa (aka strawberries and cream popsicles)! Made with fresh strawberries and cream, these tasty 4-ingredient strawberry popsicles will cool you down on a hot day and impress anyone you serve them to.
These fresh and fruity paletas are easy to make and can be stored in your freezer throughout the summer. All you have to do is blend the creamy strawberry mix together and let them freeze in the popsicle molds.
This popular Mexican dessert is best enjoyed during summer celebrations or when you need something special to serve at the pool party. As a bonus, this recipe is easy to double or triple and you can try it with any other berry you love!
What Are Paletas de Fresa?
Paletas de fresa (strawberry popsicles) are a popular dessert throughout Mexico. Made from strawberries, cream and/or milk, and sugar, these popsicles are usually found at roadside stands along with freshly picked strawberries. You can also find them in many Mexican grocery stores and bakeries in the U.S., so make sure to keep your eyes open next time you go shopping!
Ingredients
- Strawberries: Fresh summer strawberries are in season from June until August. For the best results and flavors, buy in-season strawberries from a local farmer or berry stand if you can!
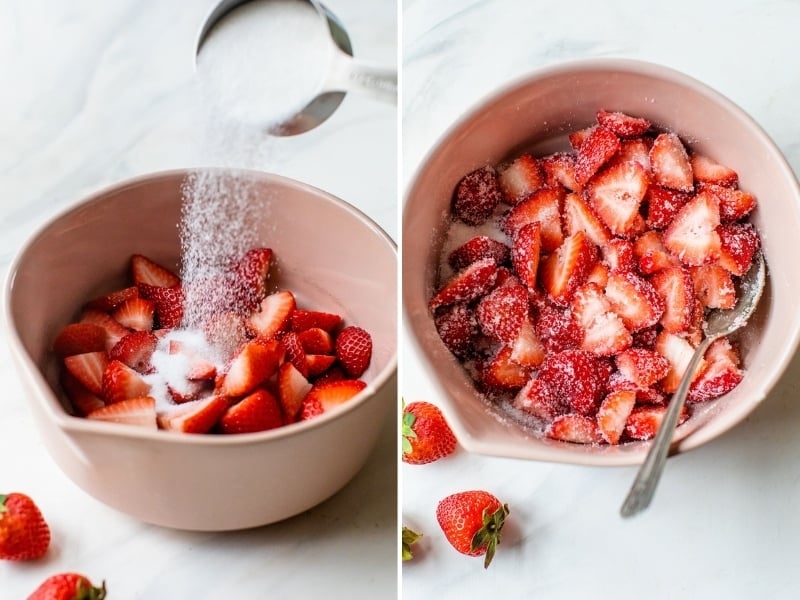
- Granulated sugar: The sugar is mixed with the fruit so it can macerate, or draw out the juices. After 30 minutes, the strawberries will become soft, juicy, and extra sweet.
- Milk and heavy cream: These are blended with the strawberries and sugar to help the popsicles taste extremely luscious, creamy, and smooth.
How to Make Paletas de Fresa
First, add the sliced strawberries and sugar to a bowl. Then toss them together and set them aside for 30 minutes to let all the juices release.
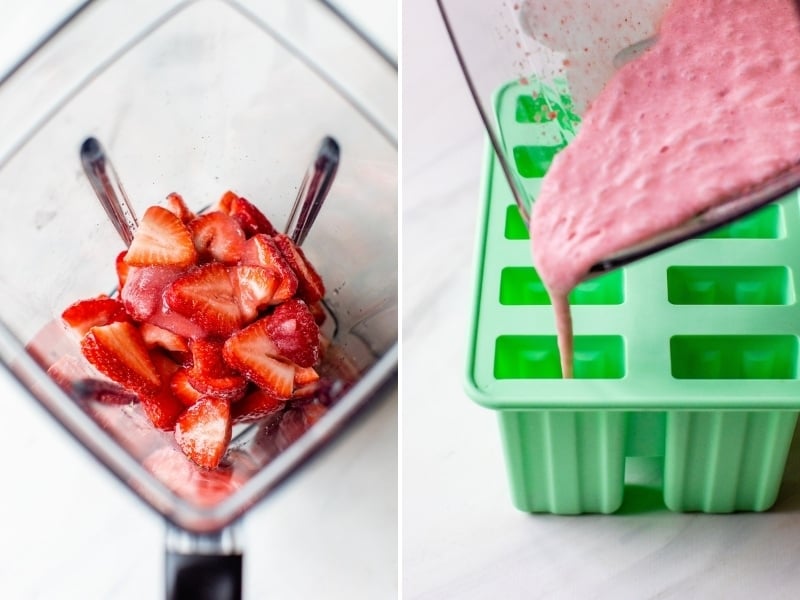
After they’re done macerating, pour the strawberries and all of their juices into a blender and puree until smooth.
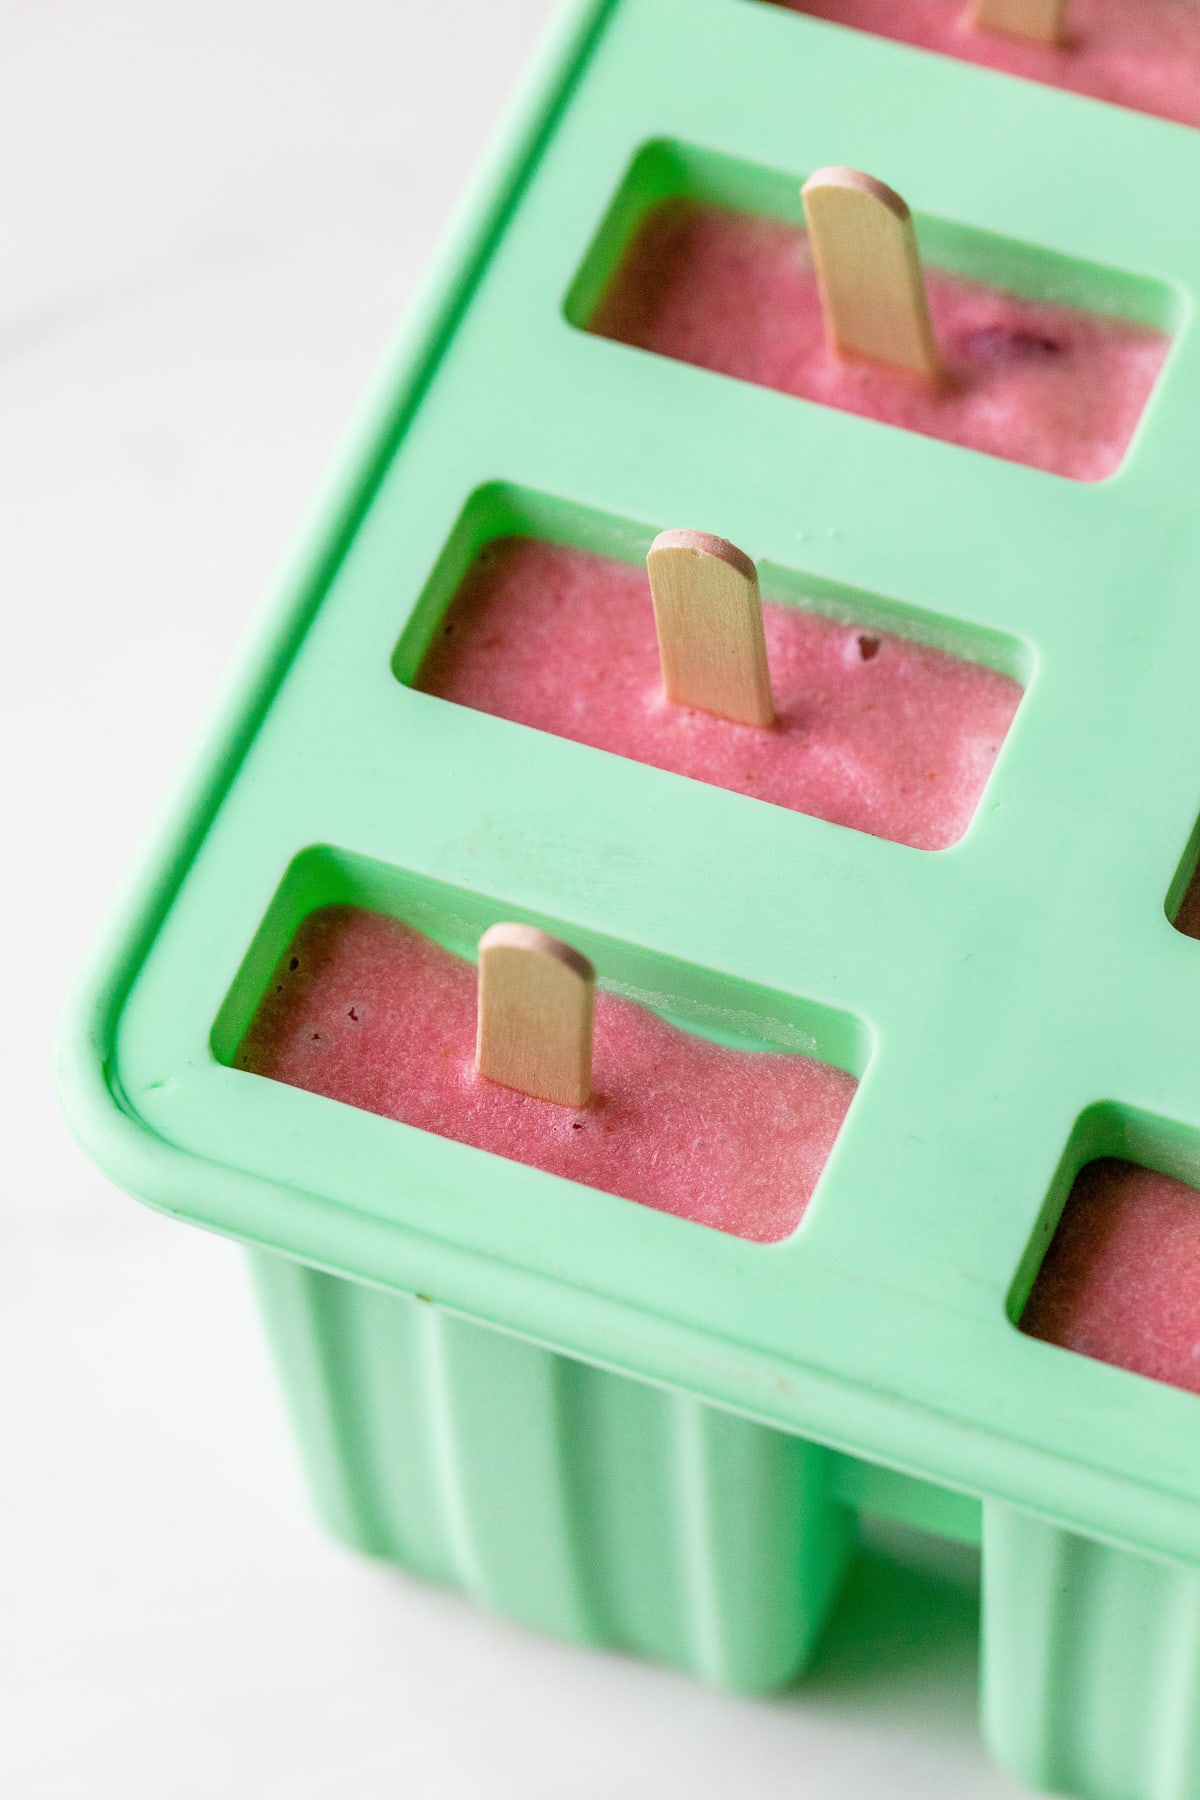
Add the heavy cream and milk and pulse until everything is combined. Pour the mixture into your popsicle molds. Cover, add the popsicle sticks, and freeze!
Tips and Variations
- If you’re having trouble loosening the popsicles from the molds, run the bottom of the molds under cool or lukewarm water for a few minutes. The popsicles should slide right out.
- If you’d like to add fresh slices of strawberries to the popsicles, reserve the slices of about 3 strawberries to add to the popsicle molds.
- Adapt this recipe using different fruits or berries. Try using blackberries, mango, peaches, raspberries, or cherries instead.
- To make a vegan-friendly version, swap the cream for coconut cream and the milk for a plant-based milk instead.
Recommended Tools
Popsicle mold. This flexible silicone mold is perfect for making popsicles.
Popsicle sticks. Food-grade wooden sticks perfect for making Mexican popsicles.
Blender. A must-have kitchen tool.
Paletas de Fresa (Strawberries & Cream Popsicles)
Ingredients
- 1 pound fresh strawberries, sliced*
- ½ cup granulated sugar
- ½ cup heavy cream
- ½ cup milk (nonfat or 2%)
Instructions
- Add the sliced strawberries and sugar to a medium bowl. Gently toss to coat, cover, and set aside for 30 minutes to macerate and draw out the juices.
- Add the macerated strawberries and all the juices to a large blender and puree until smooth.
- Add the heavy cream and milk. Pulse the mixture a few times in the blender until mixture is combined.
- Pour the mixture into the popsicle mold. Cover, add popsicle sticks, and freezer for 6 hours, or until fully frozen.
Notes
- To loosen the popsicles from the molds, run the bottom of the molds under cool or lukewarm water for a few minutes. They should slide right out.
- If you’d like to add fresh slices of strawberries to the popsicles for a little texture, reserve the slices of about 3 strawberries to add into the popsicle molds.







Leave a Reply