These Easy Steak Fajitas are juicy, tender, flavorful, and way better than the ones at your favorite Mexican restaurant! Served with a healthy dose of peppers and onions, these fajitas are gluten-free, low carb, and paleo.
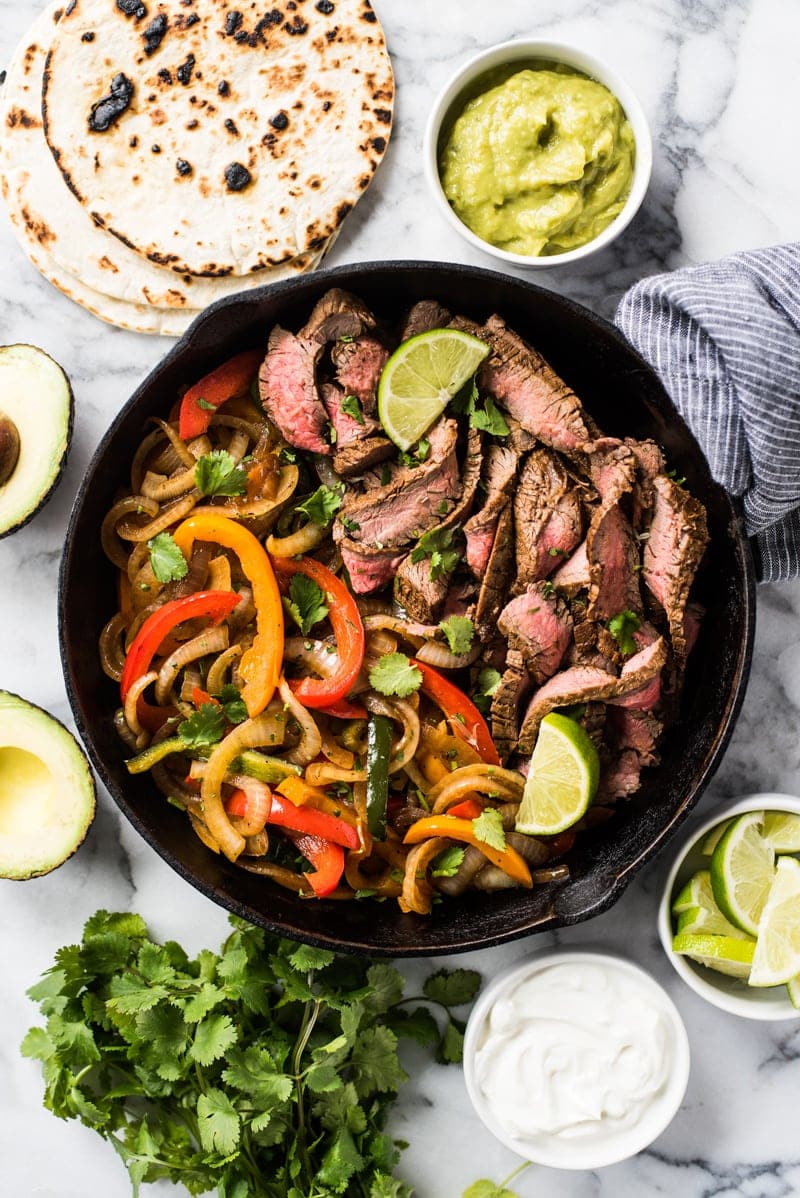
Steak fajitas are one of my favorite easy Mexican dinners of all time. They’re great for summer grilling, perfect for celebrations like Cinco de Mayo, and make a wonderful addition to your weekly meal prep routine.
They’re incredibly versatile. You can serve them as tacos with guacamole and sour cream, as an entree with Mexican rice and refried beans, or as a low-carb lunch with an avocado salad and cilantro lime cauliflower rice.
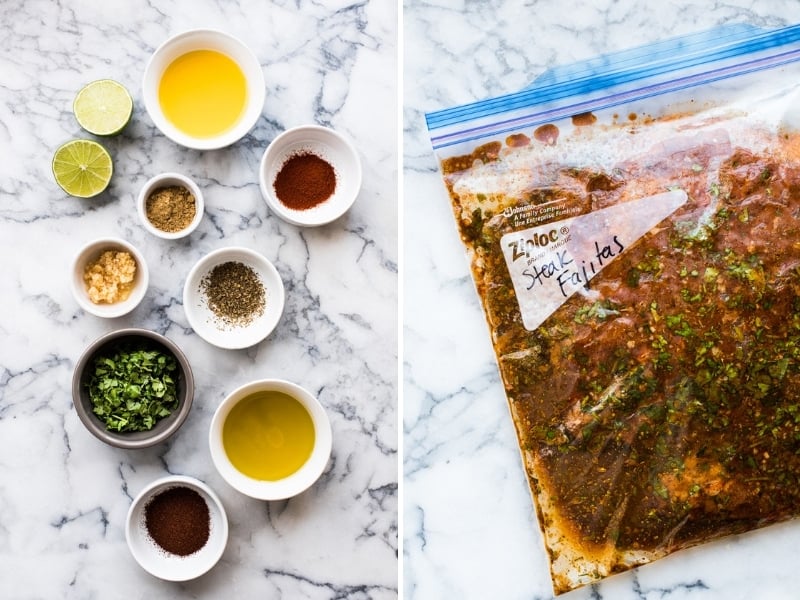
The secret to flavorful steak fajitas
The secret to getting the meat irresistibly flavorful and juicy is marinating the steak for at least 2 hours up to 8 hours.
This helps tenderize the meat and infuse all the good flavors that are in the actual marinade. I know the marinating process requires planning, but the end result is so worth it.
Once finished, remove the meat from the marinade and place it on a surface covered with paper towels. Pat the steak until completely dry and generously season with coarse sea salt and crushed black pepper.
Pro tip: Using coarse sea salt is very important. It helps to further tenderize and break down the fibers of the meat, making the steak super juicy and melt-in-your-mouth delicious.
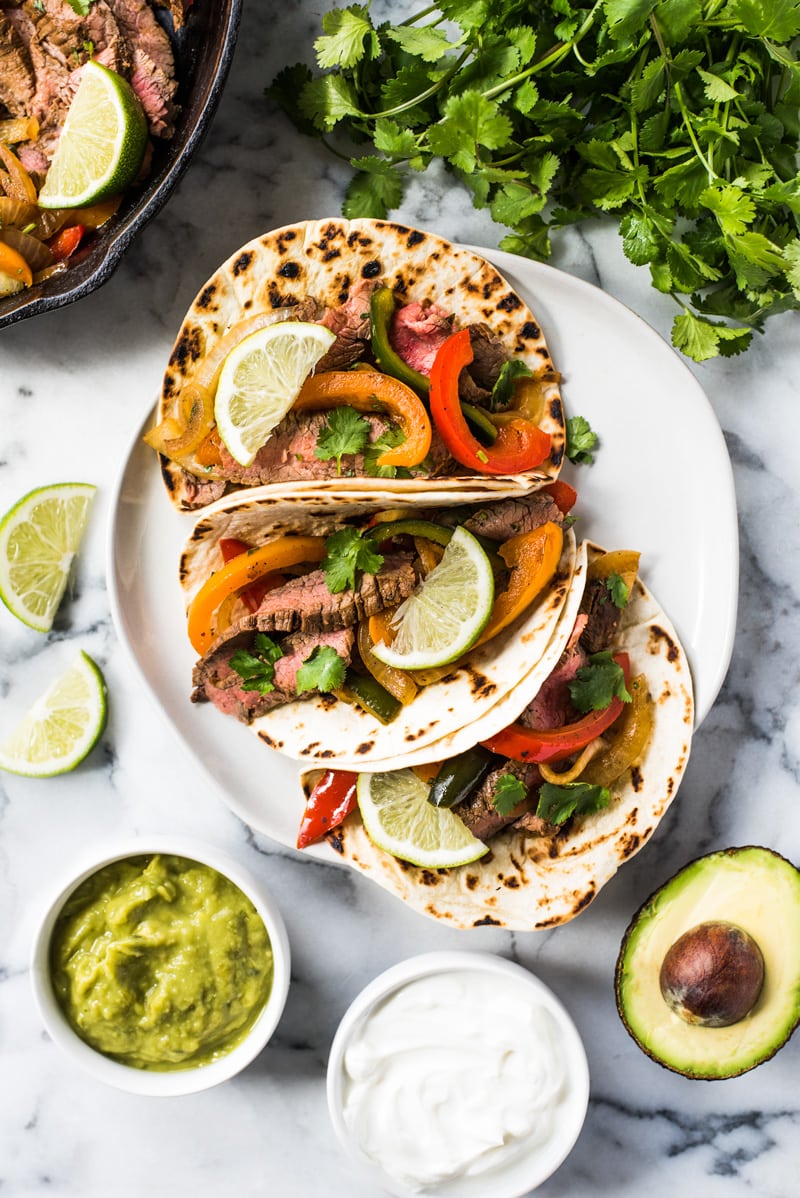
What kind of beef do you use for fajitas?
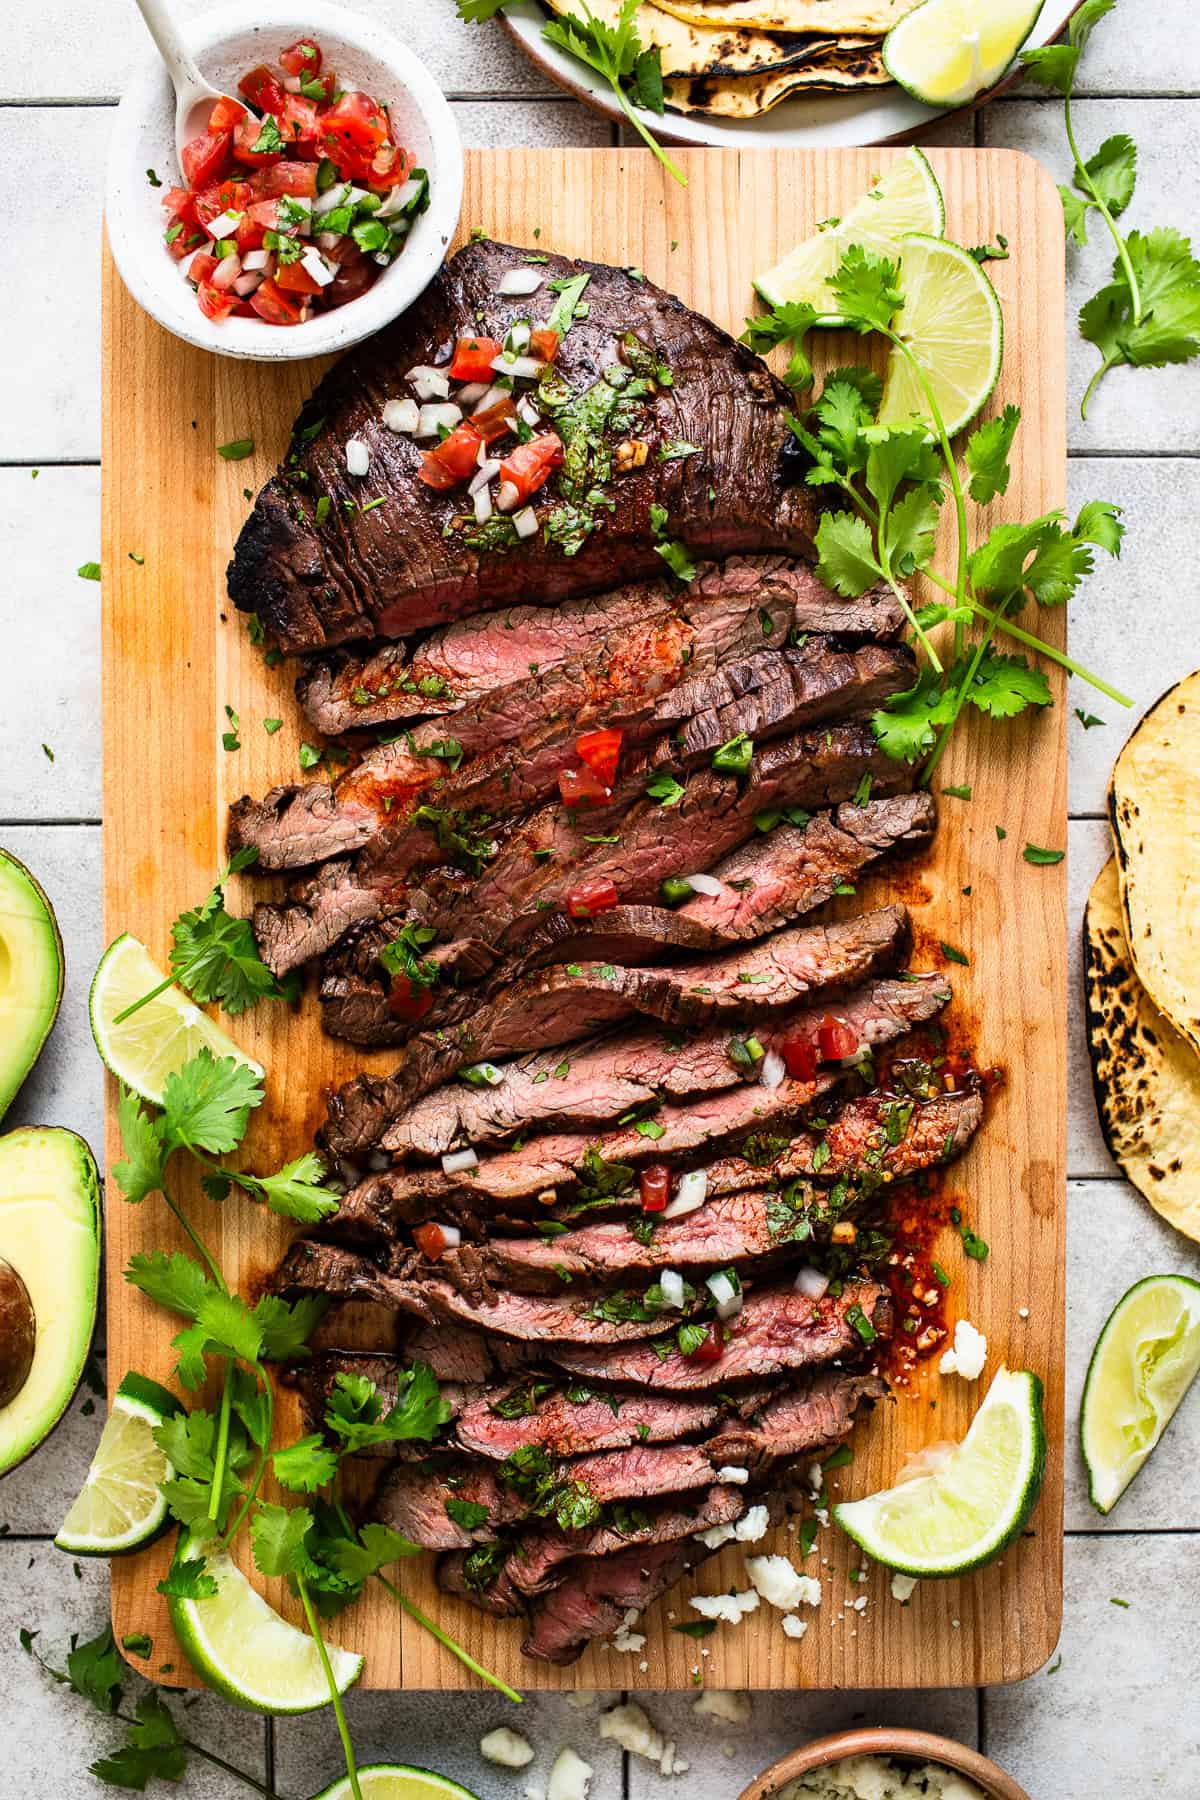
Flank steak and skirt steak are the best cuts of beef for fajitas. I prefer to use flank steak (pictured above). Whichever cut of beef you use, make sure to cut it as thinly as possible to prevent it from being too chewy.
How to cook steak fajitas
To cook the flank or skirt steak, heat a large skillet or grill pan over medium-high heat. Coat the skillet or grill with a bit of oil and cook each side of the steak for about 3-5 minutes, depending on how thick it is.
My husband is a master at using the finger test to check for doneness, whereas I prefer to use a meat thermometer.
This is the meat thermometer that I have, and I use it all the time.
They’re inexpensive and take all the guesswork out of knowing whether something has reached a certain temperature or not.
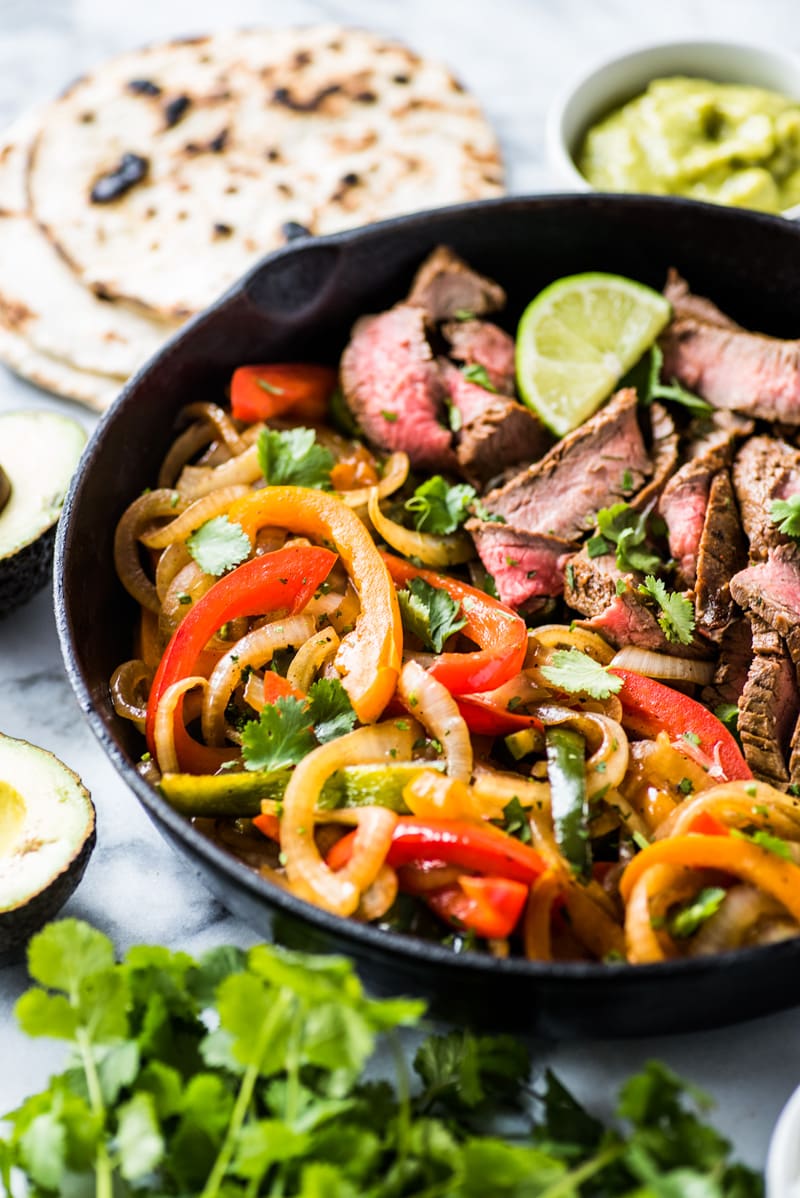
More Mexican Recipes
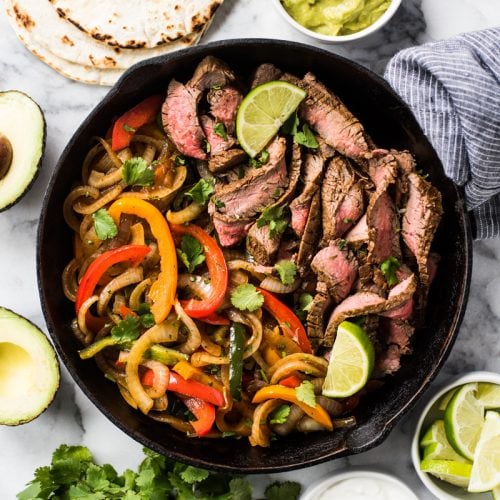
Easy Steak Fajitas
Ingredients
For the meat and marinade
- ¼ cup olive oil
- ¼ cup orange juice
- 2 tablespoons lime juice (about 1 lime)
- 3 cloves garlic, minced
- 2 teaspoons ground cumin
- 2 teaspoons chili powder
- 1 teaspoon dried oregano
- 1 teaspoon smoked paprika
- ¼ cup chopped cilantro
- 2 pounds flank steak or skirt steak
- kosher salt and black pepper
For the pepper and onions
- 2 ½ tablespoons cooking oil, divided
- 2 medium white onions, sliced
- 1 large poblano pepper, sliced into strips
- 3 large bell peppers, sliced into strips
- 1 pinch kosher salt
Optional toppings
- guacamole, sour cream, cilantro, flour tortillas, corn tortillas, lettuce cups
Instructions
- In a large resealable plastic bag (or a large mixing bowl) add all the ingredients except the coarse sea salt and black pepper and toss to combine.
- Cover and marinate in the fridge for 2 hours up to 8 hours.
- Remove the meat from the marinade, transfer to a clean large surface or cutting board and pat dry with paper towels. Generously season both sides of the steak with coarse sea salt and black pepper.
- In a large skillet over medium-high heat, add 1 tablespoon of cooking oil. Add the steak to the skillet and cook on each side for about 3-5 minutes, depending on how thick the steak is and how “done” you want it to be. I recommend using a meat thermometer for this step if you have one.
- Remove the steak from the skillet, transfer to a cutting board to let it rest and lightly cover with aluminum foil.
- While the meat is resting, add the remaining 1 1/2 tablespoons of cooking oil to the skillet. Add the onions, peppers and a pinch of salt. Cook, stirring occasionally, for about 8 minutes, until the veggies are soft.
- Uncover the steak and slice it against the grain and at an angle into thin slices. Serve along with the fajita veggies in tortillas, on a salad or in lettuce cups and enjoy!
Notes
Nutrition Information
Update Notes: This recipe was originally posted in 2018, but was updated in April of 2019 with new photos and tips.






Leave a Reply