This post may contain affiliate links. Please read our disclosure policy.
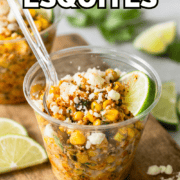
Esquites, also known as elote en vaso and Mexican street corn salad, are an ultra-popular Mexican street food made with corn, mayonnaise, lime juice, cotija cheese, chili powder, and other delicious ingredients. They’re ready in only 15 minutes and are a great appetizer, snack, or party dish!
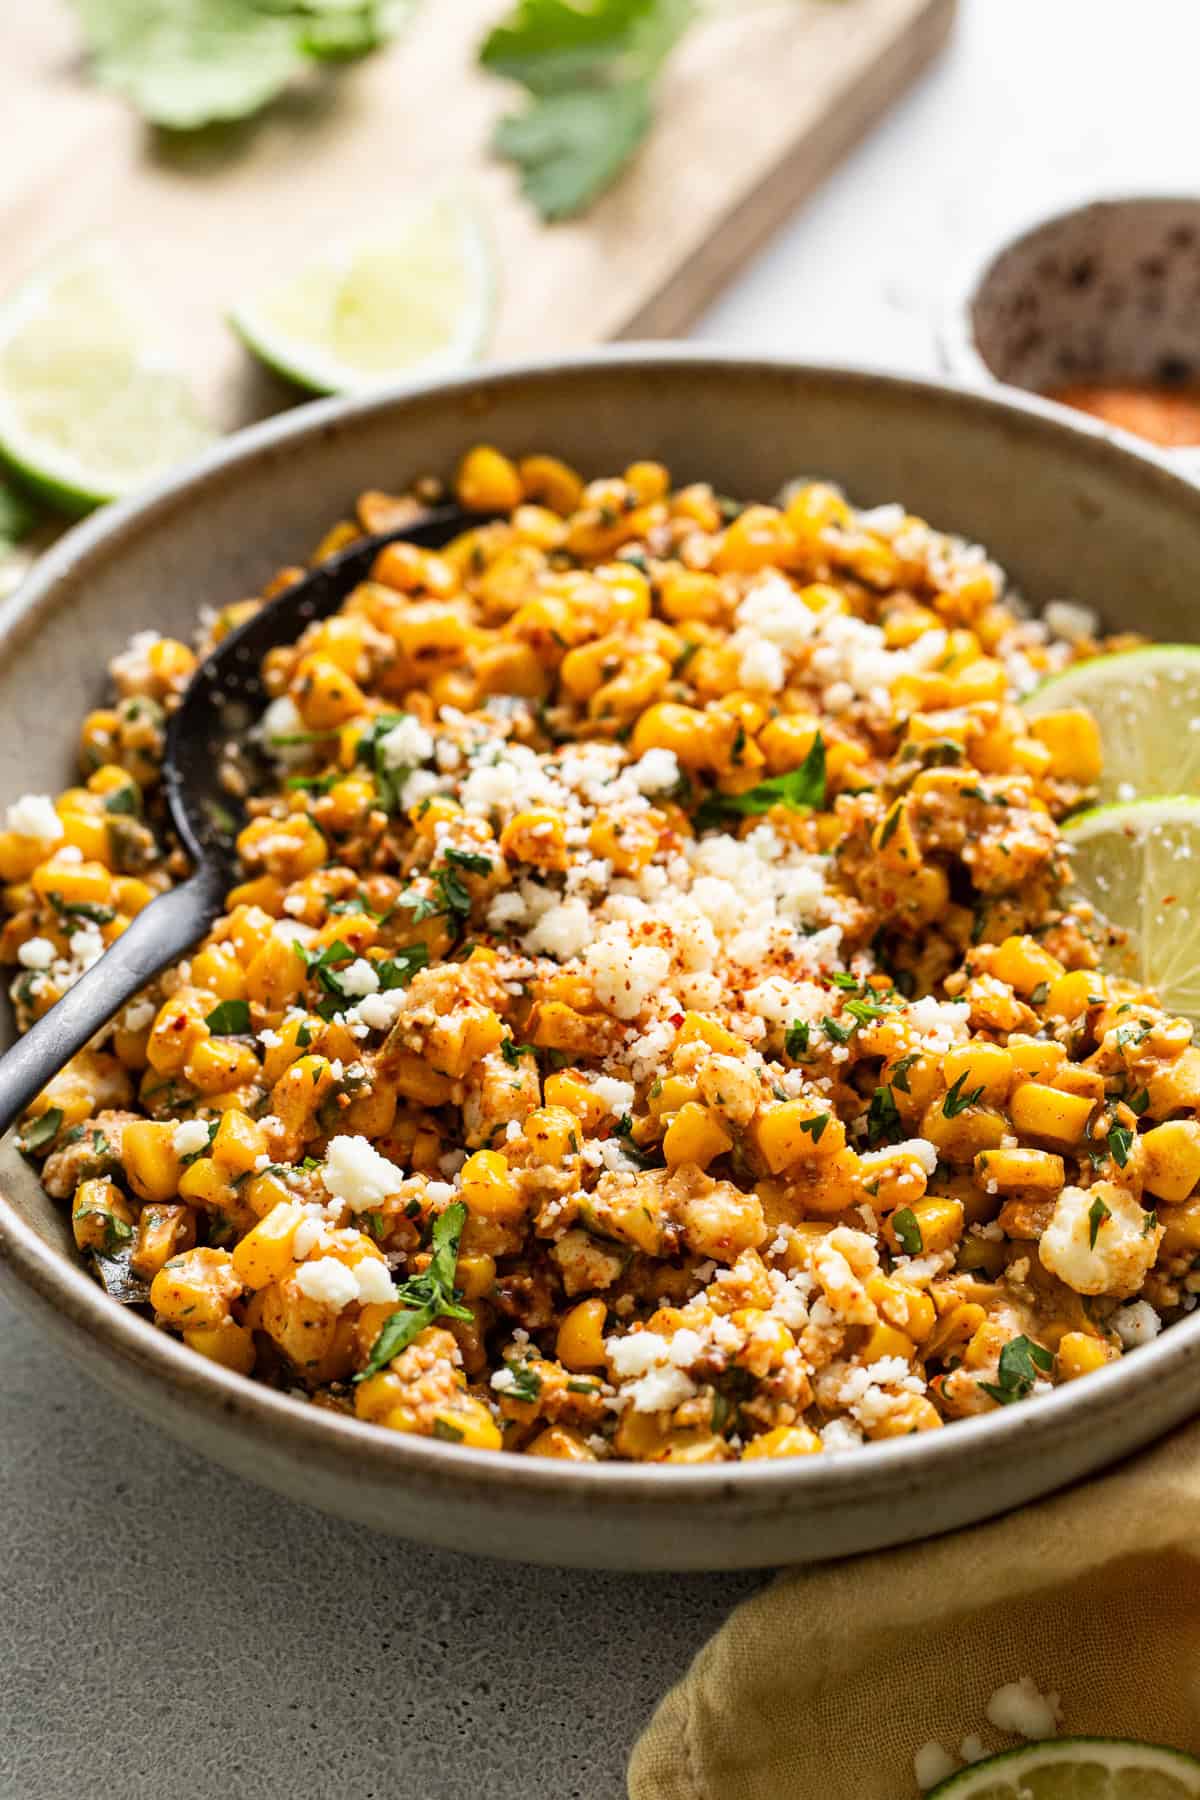
Esquites are one of my favorite Mexican street food recipes. Growing up when my family and I would go to Mexico to visit grandparents and cousins, I always found street vendors selling esquites around the corner from the local mercado.
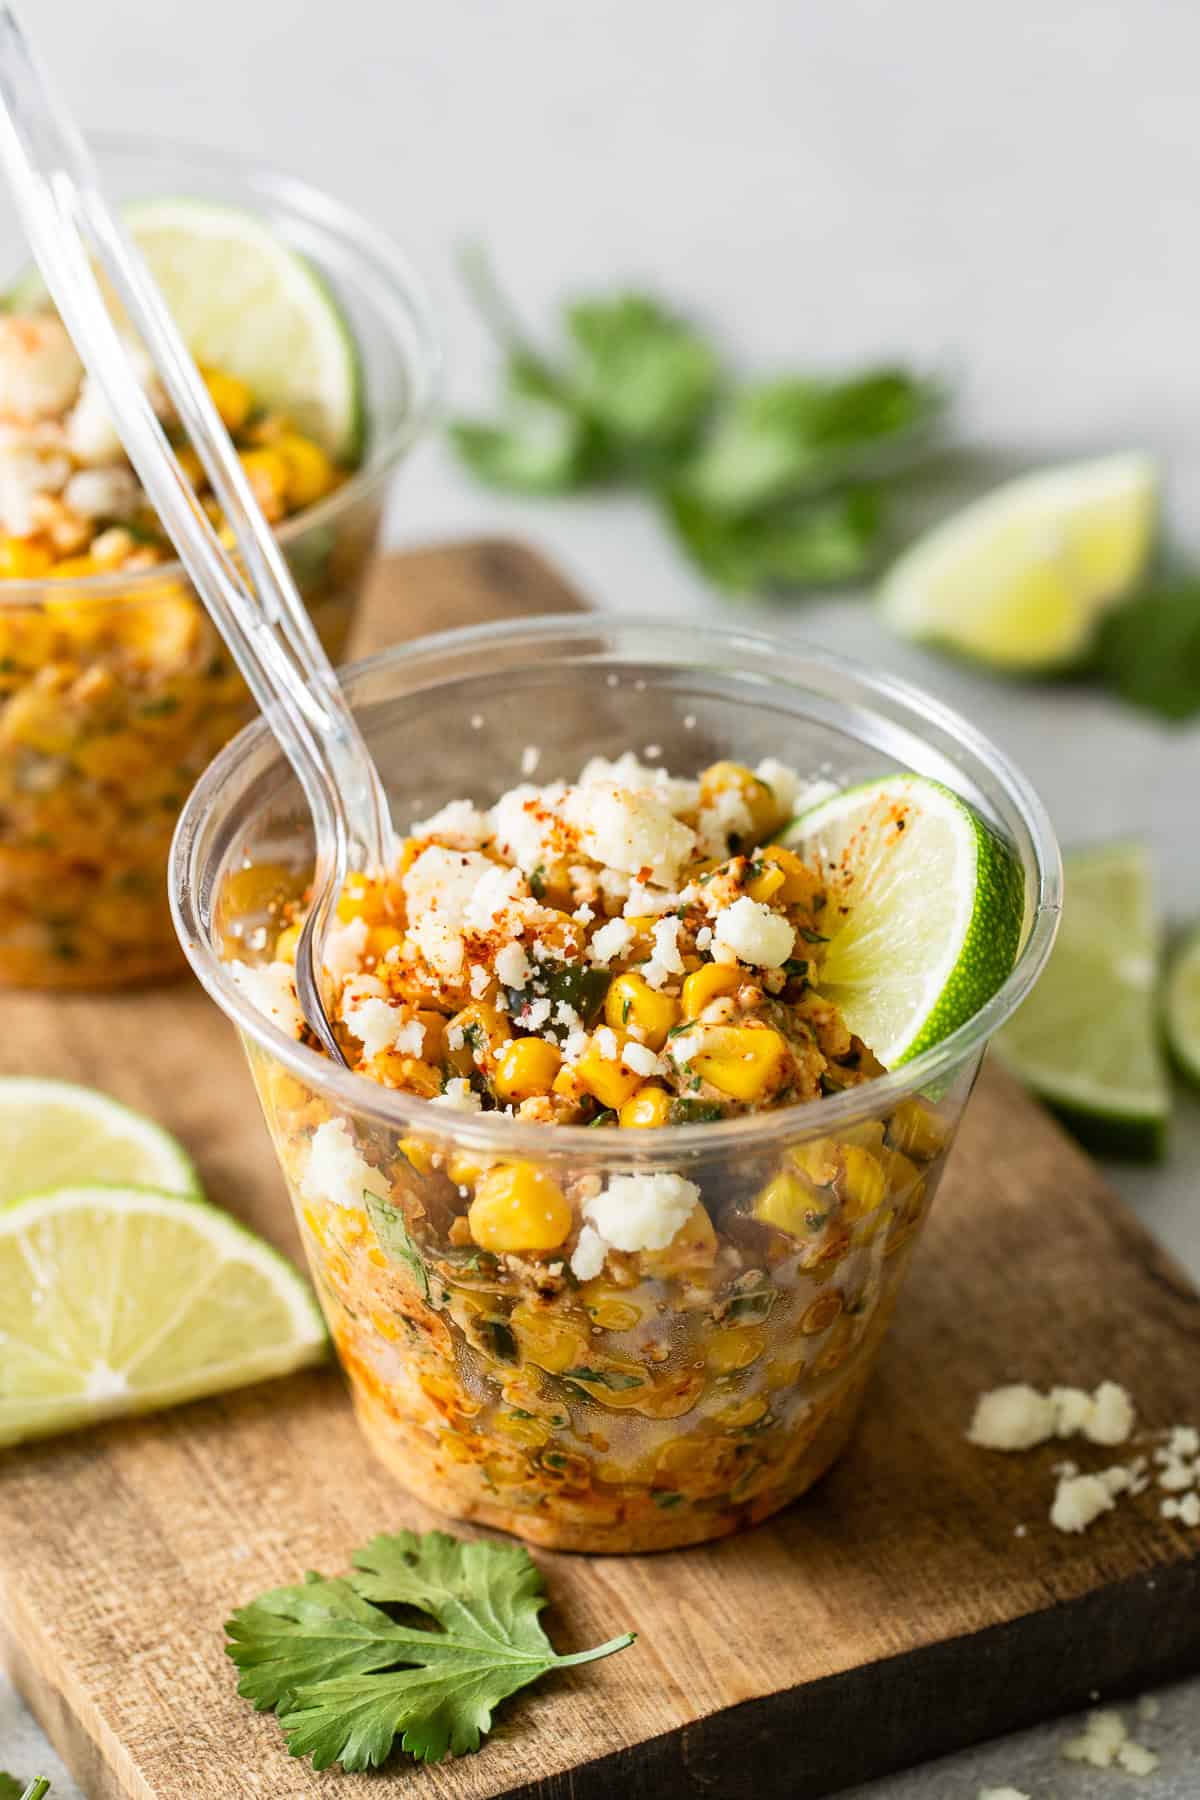
They were always sold in small styrofoam cups and were sprinkled with a special chili powder that added just the right amount of heat.
I’ve put together this recipe so you can enjoy this tasty snack with your family and friends too!
Here’s why I love this recipe:
- Easy to eat: You’ve probably heard of Elote (Mexican Street Corn), which features the same ingredients, just using corn on the cob. Esquites use corn kernels cut off the cob and mixed together in a cup, which I find easier to eat and are less messy.
- Simple ingredients: Esquites use very simple and budget-friendly ingredients that you probably already have stocked in your kitchen, like corn, mayonnaise, lime juice, garlic, and cotija cheese.
- Unique flavors: Esquites hit all the notes of sweetness, tang, citrus, and spice that leave you coming back for more!
What Are Esquites?
Esquites (also known as elote en vaso and Mexican street corn salad) are a popular Mexican street food that feature corn kernels mixed together with mayonnaise, butter, lime juice, a hint of salt, chili powder, and cotjia cheese. I’ve added a quick extra step of cooking the corn kernels in butter, garlic, and diced jalapeños for extra flavor. They’re ready in 15 minutes and are great for snacks, appetizers, or a party dish.
Esquites are very similar to Elotes, or Mexican Street Corn, in that they use the same ingredients but are prepared differently. Elotes are served straight on the cob with all the toppings, and esquites use corn kernels cut off the cob and mixed together with the toppings in a small cup.
I personally enjoy esquites more because they’re easier to eat and are less messy. I love to enjoy this recipe in the summer when fresh corn is in season and gives the best flavor, but this is a great recipe to enjoy year-round.
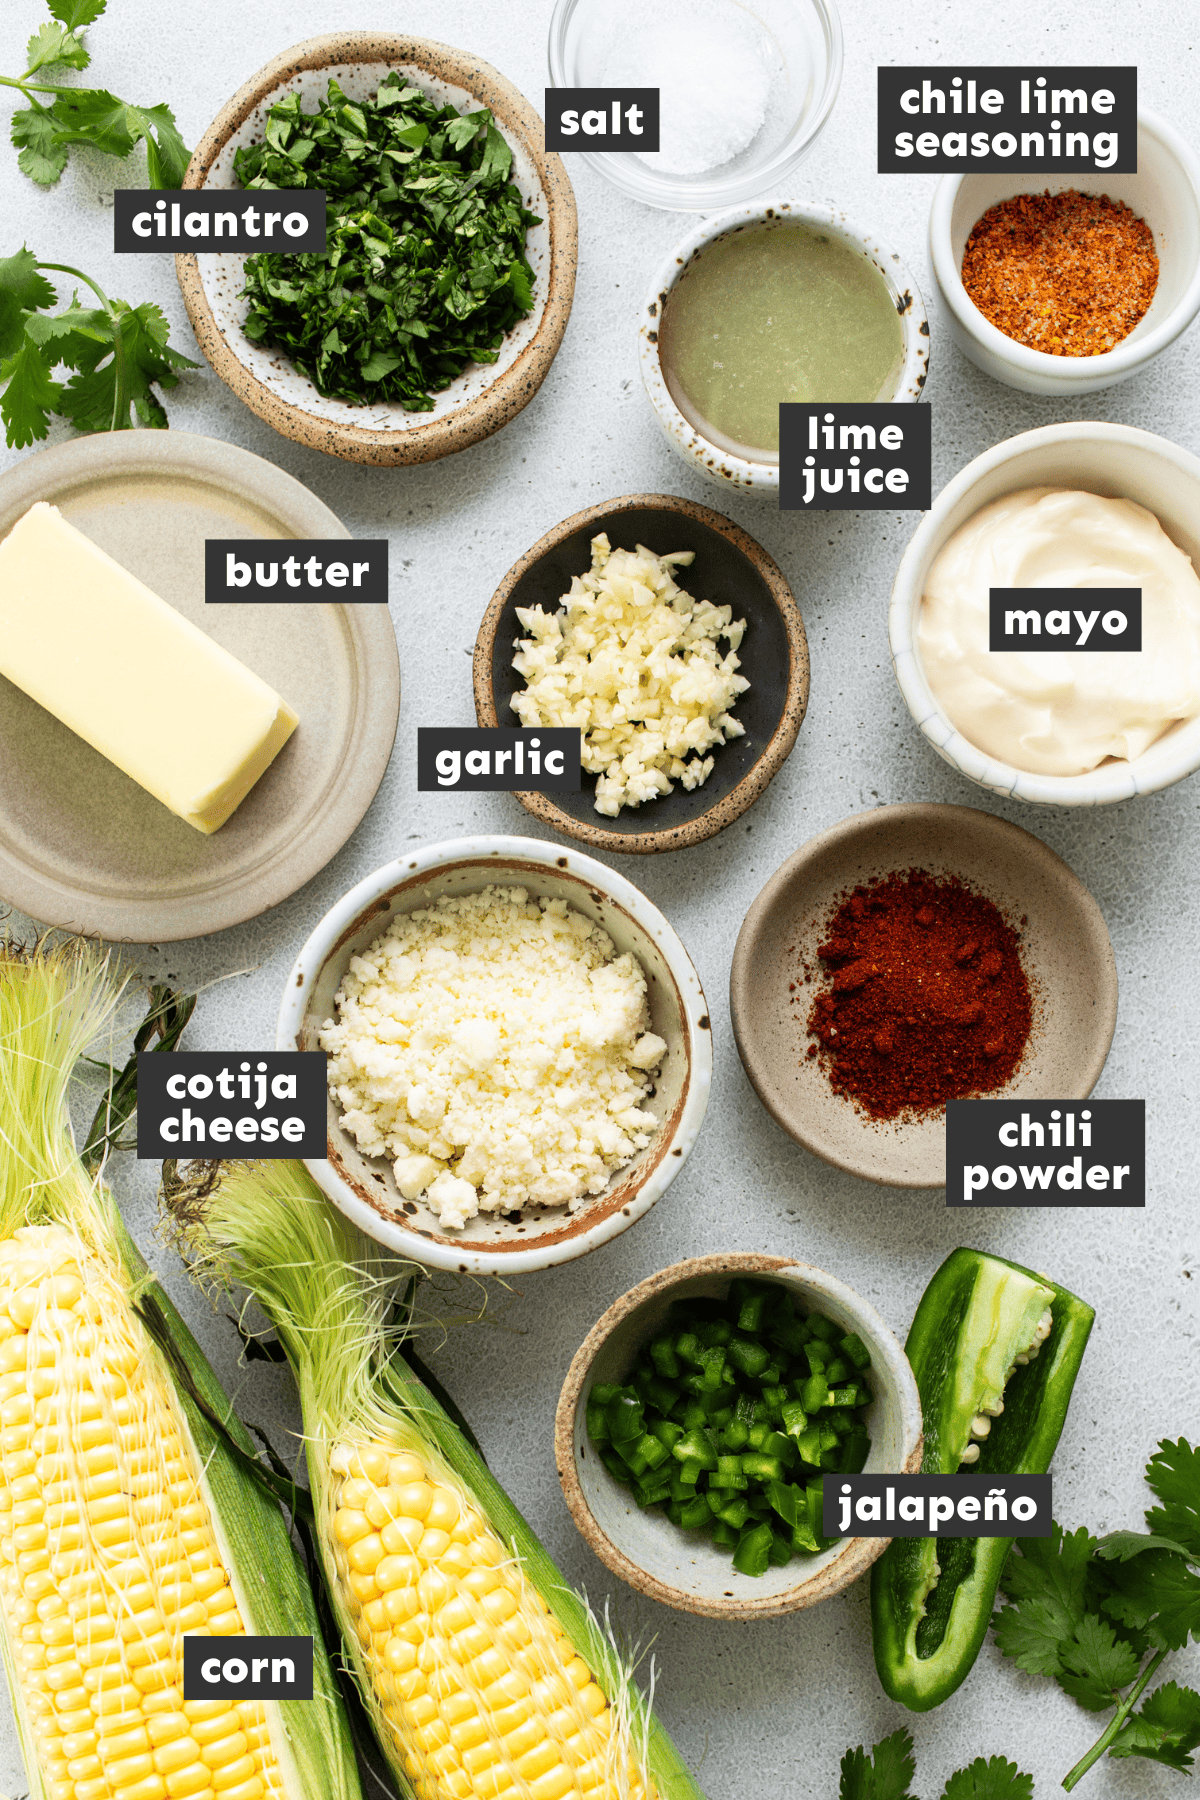
Esquites Ingredients
- Fresh corn kernels: I recommend using fresh corn kernels cut off the cob. I find they give the best flavor and texture. See my Variations section for notes on using canned corn.
- Unsalted butter: Unsalted butter adds some savoriness and creamy flavor to the corn. If you use salted butter, omit the fine salt.
- Garlic and jalapeño: I cooked the corn kernels in garlic and jalapeño to add extra flavor. Leave the jalapeño seeds in if you want to add more spice.
- Mayonnaise: I used regular mayonnaise, but you can use flavored or even plant-based, depending on your dietary needs.
- Cotjia cheese: Cotija cheese is crumbly and salty, making it great for topping esquites. If you don’t have cotija, parmesan or feta are your best bet.
- Cilantro: Chopped cilantro adds a fresh herb flavor, but you can omit it if you prefer.
- Lime juice: A must for esquites. It adds citrus and helps cut the creaminess of the buttery corn and mayonnaise.
- Salt: I added a dash of salt, but you can taste and adjust it to your liking.
- Chili powder: I intentionally did not put a recommended amount since this is entirely based on your preference. When buying from a street vendor, you add chili powder yourself to your taste. See my Variations section for some of my recommendations.
How to Make Esquites
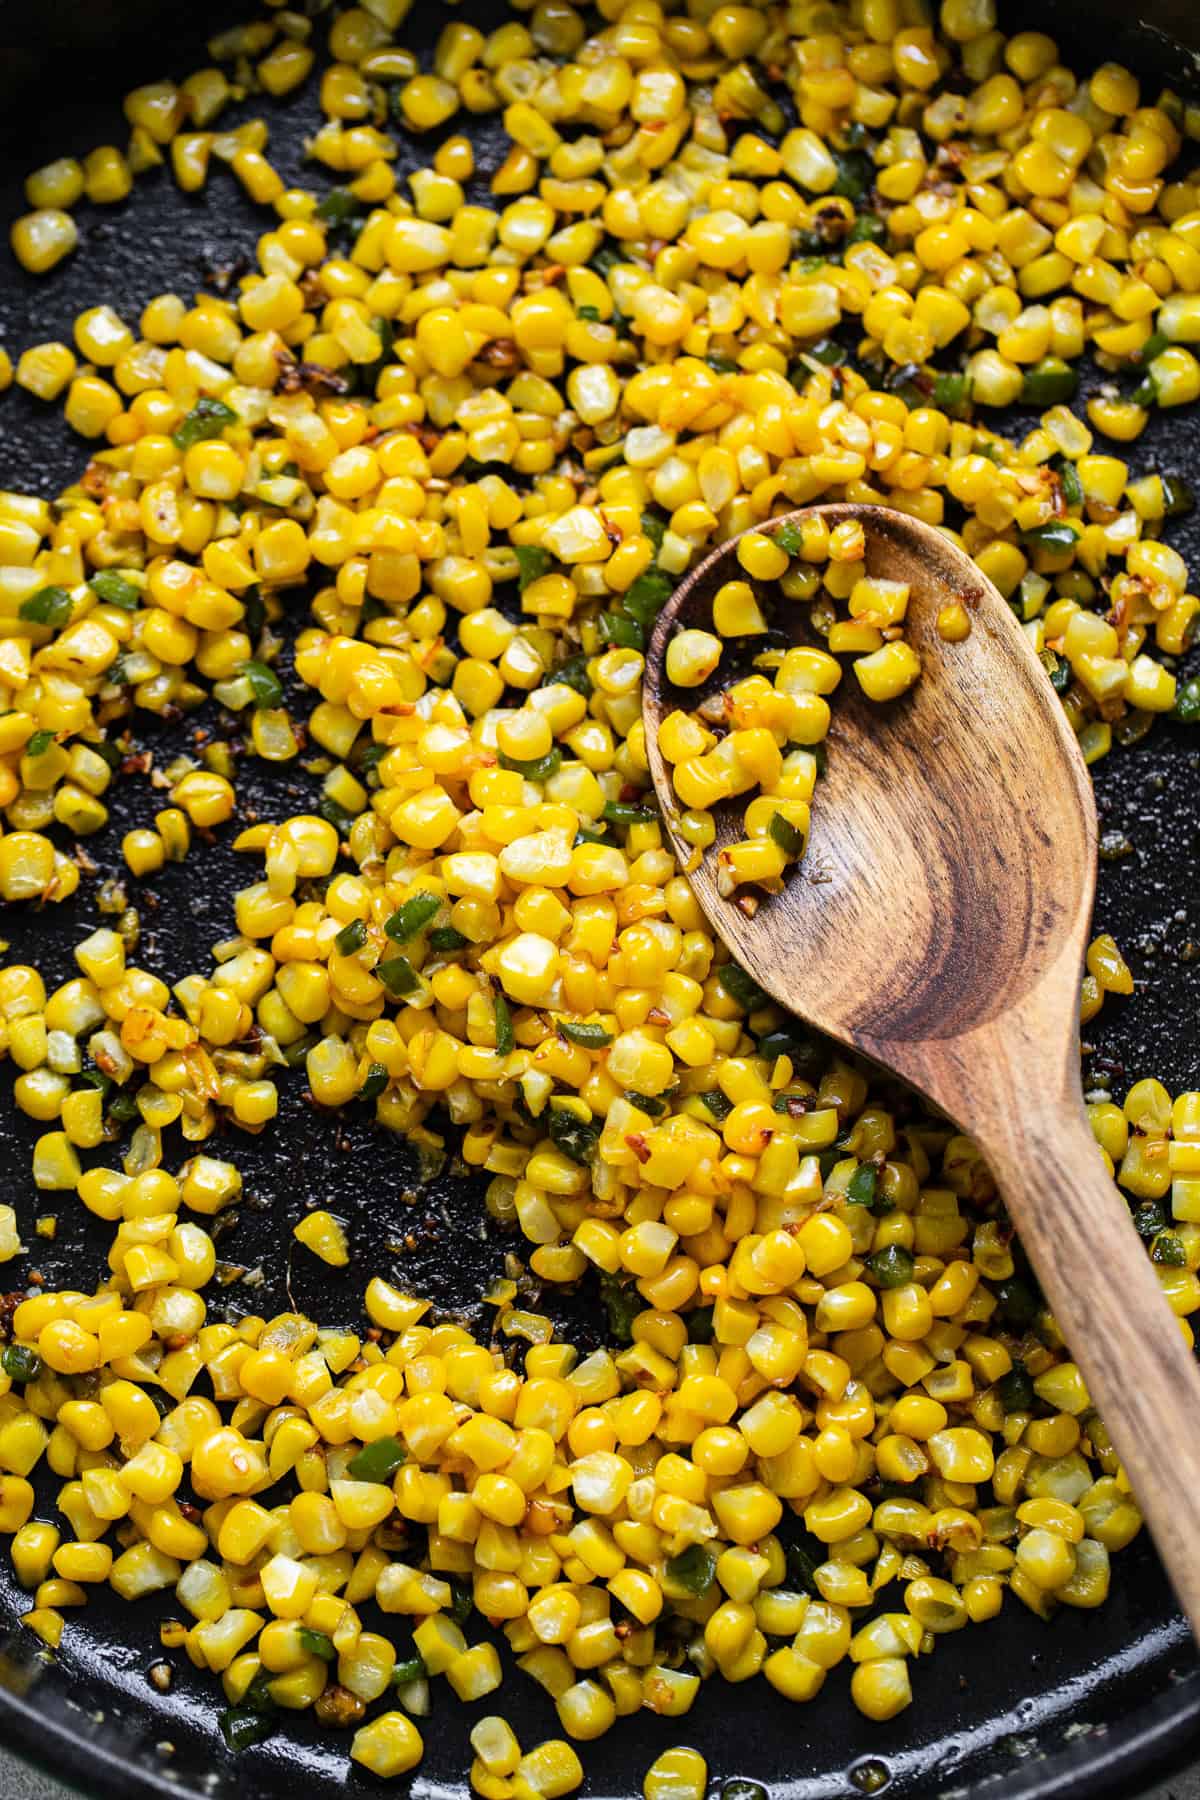
Cook the corn by heating a large skillet over medium-high heat. Add butter, fresh corn kernels, garlic, and jalapeño. Cook for 5 minutes, until the jalapeño is soft and tender. Transfer to a medium mixing bowl.
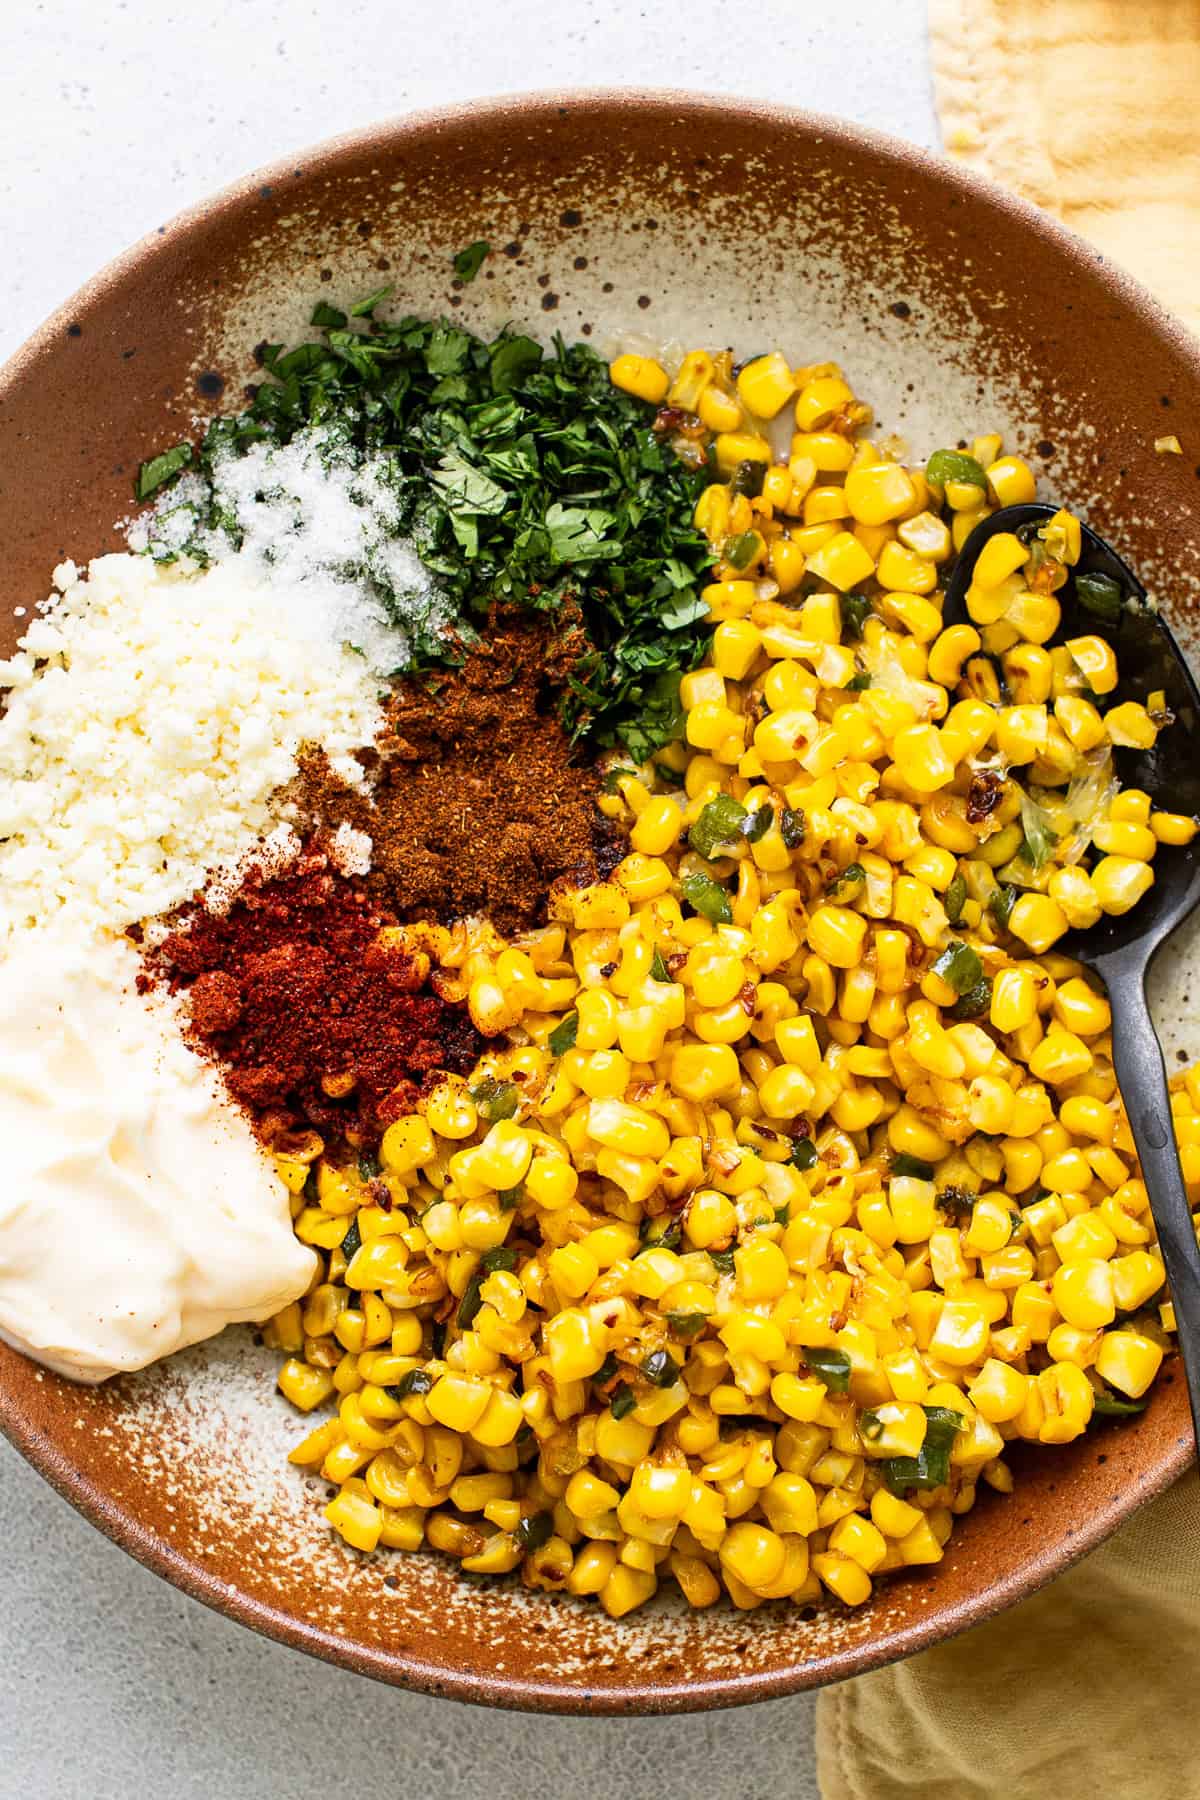
Add and mix the mayonnaise, cotija cheese, cilantro, salt, and lime juice. Add chili powder and optional ingredients like paprika and/or chile lime seasoning if using. Mix together until all the ingredients are fully combined. Taste for salt and add more salt or mayonnaise if needed.
Garnish with chili powder to your liking, a lime wedge, and a sprinkle cotija cheese.
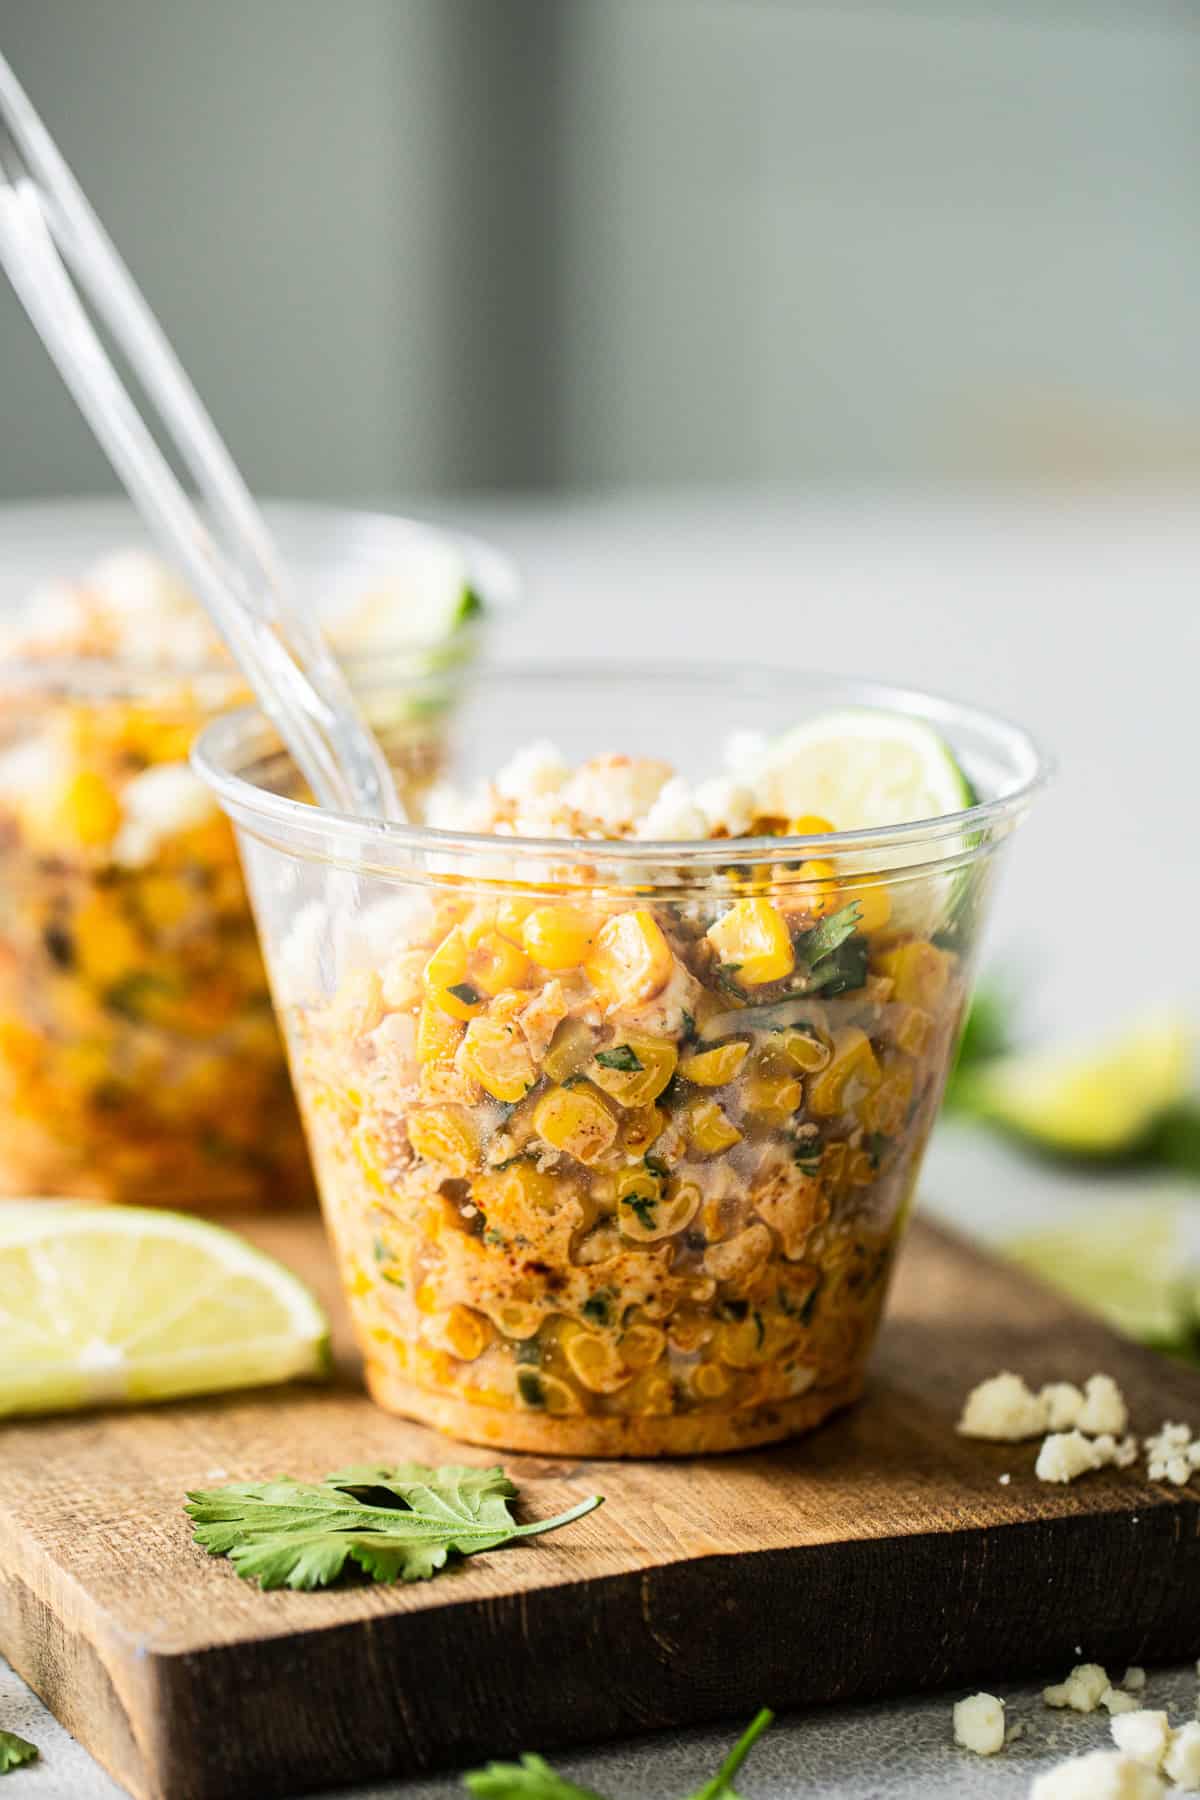
Serve in individual cups or in a large serving dish.
Recipe Tips
- Heat level: The amount of chili powder you use is entirely up to you. When you buy esquites from a street food vendor, the chili powder is usually in a little jar on the side of their cart, and you have to season it to your liking. So when you make it at home, I recommend sprinkling a good amount of chili powder on your serving, mixing it all together, tasting it, and then adding more until you think it’s just right. If you want it extra spicy, I recommend using ground cayenne.
- Grilling: To give the esquites a delicious smoky flavor, grill the corn on the cob first. Then, slice the kernels off and add all the mix-ins.
How to Serve Esquites
Esquites make a great snack and are usually served in little cups when purchased from a street vendor. They’re a delicious on-the-go bitee and are perfect served this way for parties and BBQs.
You can also serve esquites as a side dish to pair with your favorite Mexican dishes or as a topping on things like tacos, burrito bowls, tostadas, and more! Here are a few suggestions:
Variations
- Chili powder: For minimal spice, use chili powder. For medium spice and smoky flavor, use ancho chili powder. For lots of spice, use cayenne pepper. Or add a mix of all three!
- Corn: If you can’t get fresh corn on the cob, you can also use 1 to 1 ½ cans of whole-kernel sweet corn that is rinsed and drained.
- Cilantro: If you don’t like cilantro, you can omit it completely, and it will still be delicious.
- Jalapeño: To make your esquites spicy, leave the seeds in the jalapeño. For even more heat, you could also use serrano peppers instead.
Storing and Reheating Esquites
To store, place in an airtight container and refrigerate for up to 3 days.
To reheat, heat in a saucepan or pot over medium heat until fully warmed through, about 5 to 6 minutes. You can also reheat it in the microwave for about 1 minute.
More Mexican Recipes

Esquites
Ingredients
- 4 tablespoons unsalted butter
- 2 cups fresh corn kernels, cut off the cob (about 4 medium ears of corn)
- 2 cloves of garlic, minced
- 1 jalapeño pepper, minced (seeds removed if you don’t want it spicy)
- ¼ cup mayonnaise
- ¼ cup crumbled cotija cheese, plus more for garnish
- 2 tablespoons chopped cilantro
- ½ teaspoon fine salt
- 2 tablespoons lime juice (about 1 lime)
- Chili powder, to taste
- 1 teaspoon paprika, optional
- 1 teaspoon chili lime seasoning, optional
- Lime wedges, for garnish
Instructions
- Heat a large skillet over medium-high heat. Add the butter, fresh corn kernels, garlic, and jalapeño. Cook, stirring occasionally, for 5 minutes. Transfer to a medium mixing bowl.
- Add the mayonnaise, cotija cheese, cilantro, salt, and lime juice. Add the chili powder and optional ingredients if using. Mix until fully combined. Taste and season with more salt and mayonnaise if desired.
- Garnish with chili powder to your liking, a lime wedge, and a sprinkle cotija cheese.
- Serve immediately in individual portions.
Video
Notes
- Heat level: The amount of chili powder you use is entirely up to you. When you buy esquites from a street food vendor, the chili powder is usually in a little jar on the side of their cart, and you have to season it to your liking. So when you make it at home, I recommend sprinkling a good amount of chili powder on your serving, mixing it all together, tasting it, and then adding more until you think it’s just right. If you want it extra spicy, I recommend using ground cayenne.
- Jalapeño: If you want to make your esquites spicy, leave in the seeds of the jalapeño. You could also use serrano peppers instead for even more heat.
- Grilling: To give the esquites a delicious smoky flavor, grill the corn on the cob first. Then, slice the kernels off and add all the mix-ins.
- Cilantro: If you don’t like cilantro, you can omit it completely, and it will still be delicious!
Nutrition
Nutrition information is automatically calculated, so should only be used as an approximation.
This post was originally published in May 2020, and has been updated with new photos, more helpful tips, and a slight recipe tweak to make it even better.
Photography by Ashley McLaughlin.






I was so excited to have a recipe for esquites as they are my favorite Mexican snack. The recipe and instructions are clear and include great tips. I grilled my corn for extra flavor. Can’t wait to make it again!
I loved this recipe! It was easy and delicious! I ate it with chicken using the Mexican chicken marinade and it was a perfect lunch!
My friends and family loved this recipe. We had it with fajitas,rice, and charro beans. It was delicious. This was the perfect way to celebrating Cinco de Mayo.
This came out so tasty! I will for sure be making this again.
This is our favorite treat as we walk the Malecon in Puerto Vallarta every year. Vendors feature this on the weekends. The locals love it and the tourists jump right in. This is a good match to what we experienced. Thanks for sharing.
We love this recipe, it’s one of our favorite sides!
Delicious and super easy!
Love this creamy corn salad! So tasty and a perfect side dish!
The Esquites were easy and delicious!
This recipe was fabulous! Quick to put together and so fresh tasting! Will sefinitely make it again.