This post may contain affiliate links. Please read our disclosure policy.
You won’t miss canned beans when you try this authentic and flavorful pinto bean recipe. Pinto beans are super versatile and can be used with all your favorite Mexican dinners. Soaking and non-soaking instructions are included!
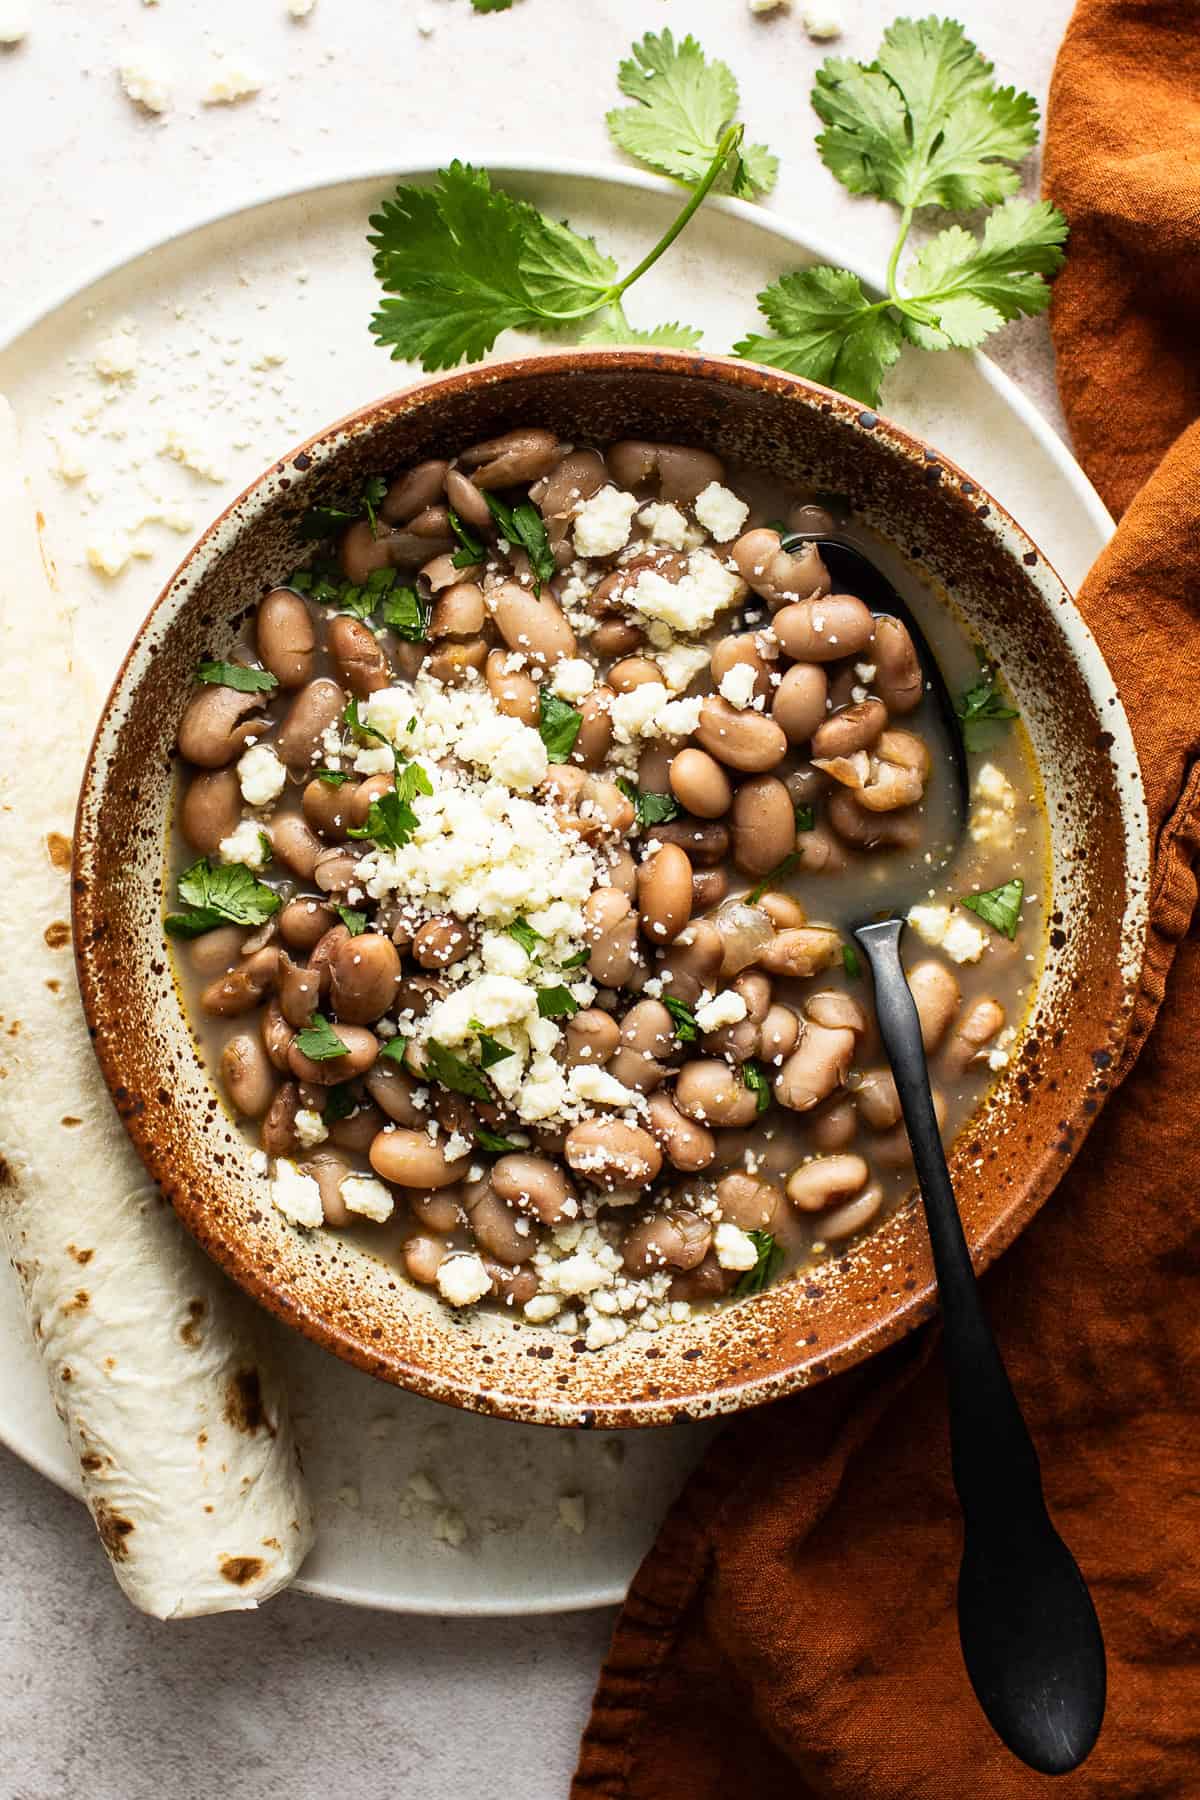
If there are two ingredients that are always in my family’s kitchen, it’s pinto beans and flour tortillas.
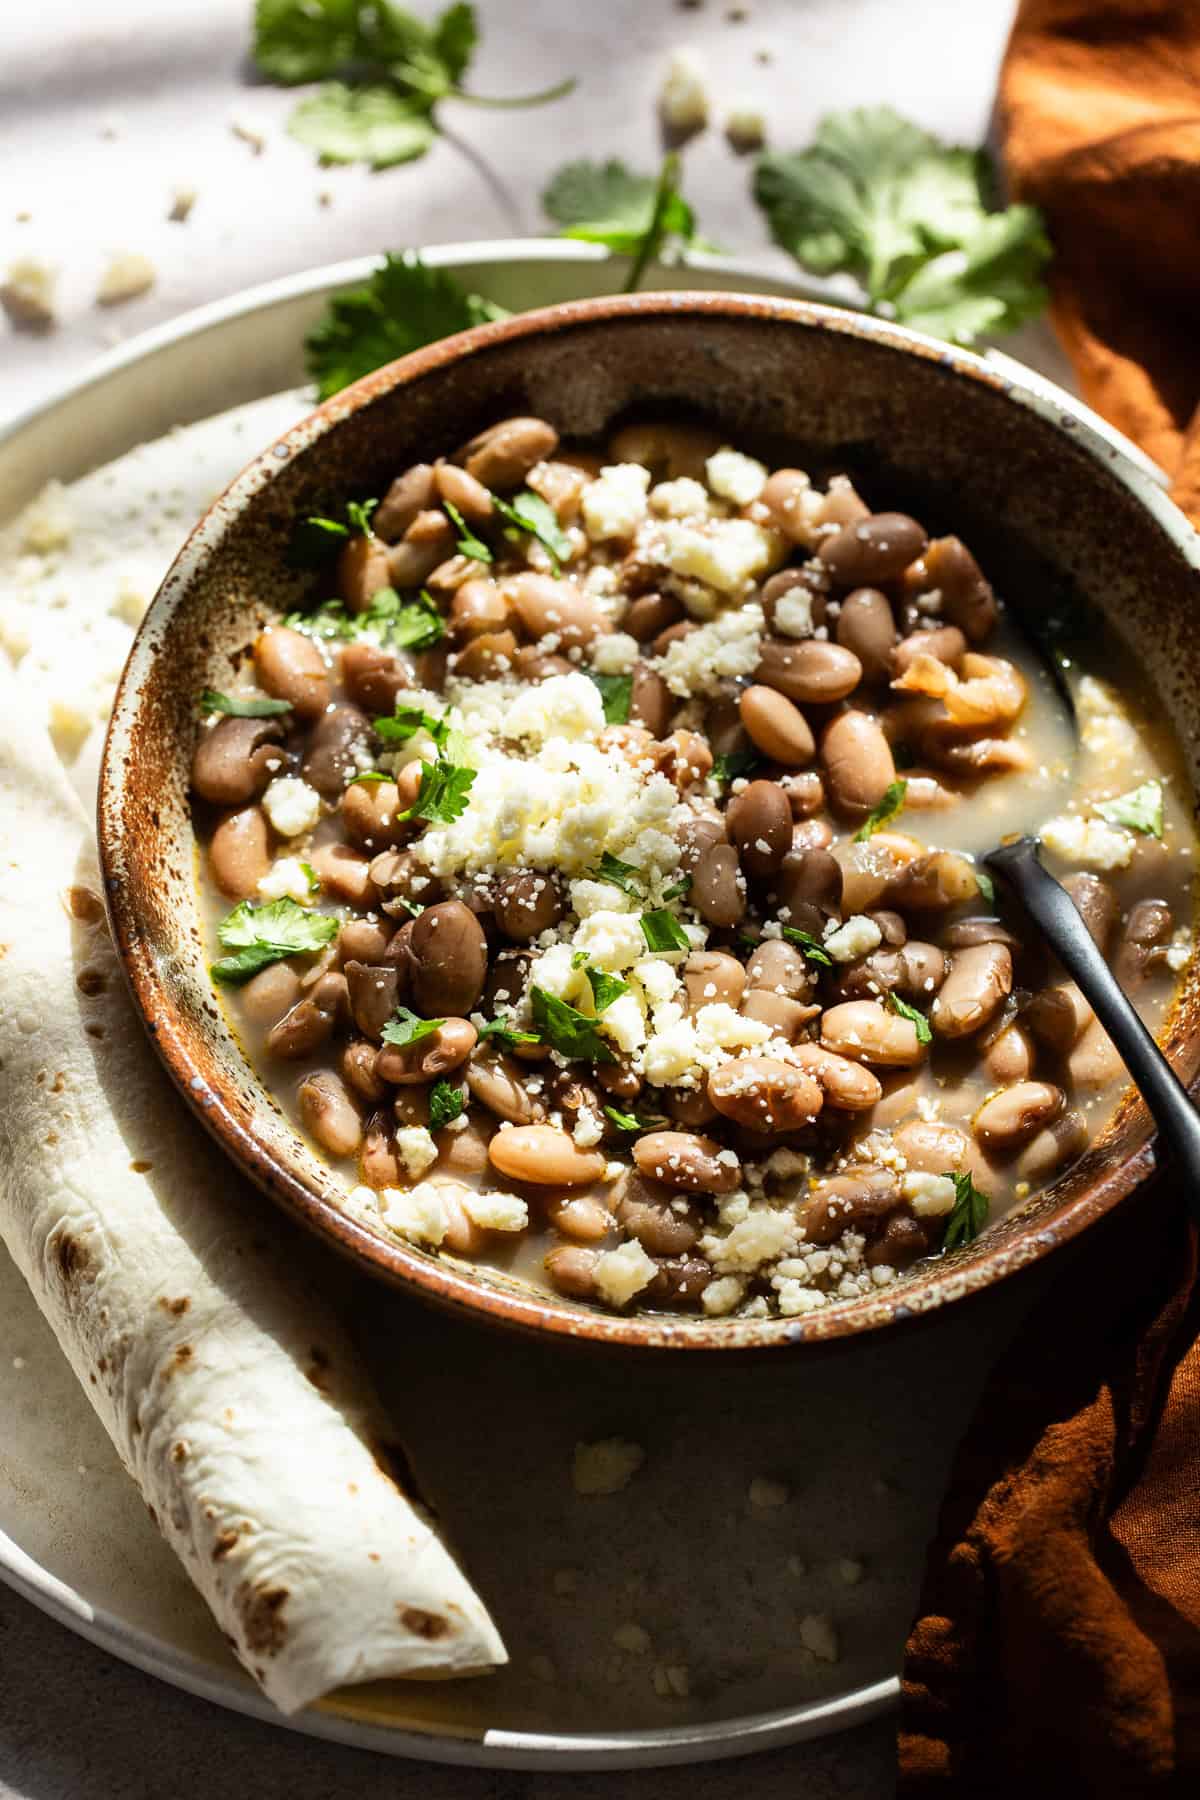
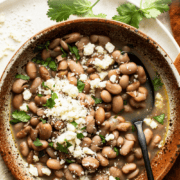
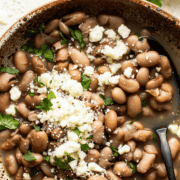
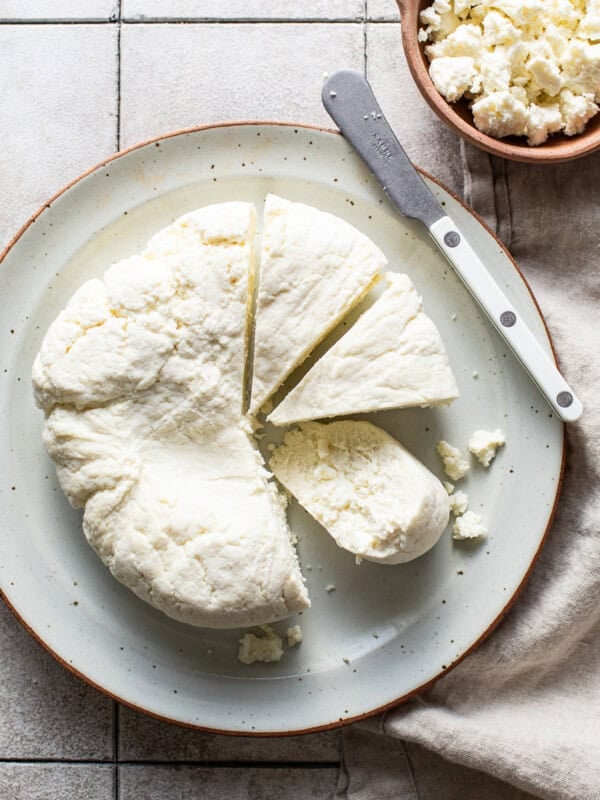
Growing up, my mom would make a big batch of pinto beans and use them throughout the week in recipes like sopes and burritos, but my childhood favorite was always pinto beans by themselves in a large bowl topped with queso fresco, cilantro, and plenty of fresh flour tortillas.
Here’s why I love this recipe:
- It’s budget-friendly. Beans are one of the most budget-friendly ingredients you can find at the grocery store. With only a few extra simple ingredients, you can pack them full of flavor.
- Super versatile. Pinto beans are great as a filling, side, or main dish. Use them in nachos, burritos, sopes, enfrijoladas, molletes, and so much more.
- Healthy and filling. Pinto beans are a great source of protein and are packed with vitamins, nutrients, and minerals. They’re a great option for making vegetarian and vegan-friendly recipes.
Soaking versus Not Soaking
You can prepare pinto beans by soaking or not soaking them in water beforehand. Both methods will give you delicious and creamy pinto beans, but here’s why I prefer to soak:
- Easier on digestion. Soaking the beans in water breaks down the sugars and fiber in the beans, which will reduce bloating and gas.
- Faster cooking. The pinto beans will have had ample time to rehydrate and will cook significantly faster and more evenly than if you don’t soak them.
- Color. Soaking the beans beforehand gives them a nicer and richer brown color. I find that when I don’t soak them, they’re darker and a little more gray.
All that being said, if you don’t have time to soak them, it’s okay! You can still make these pinto beans. The cook time will just be a little longer.
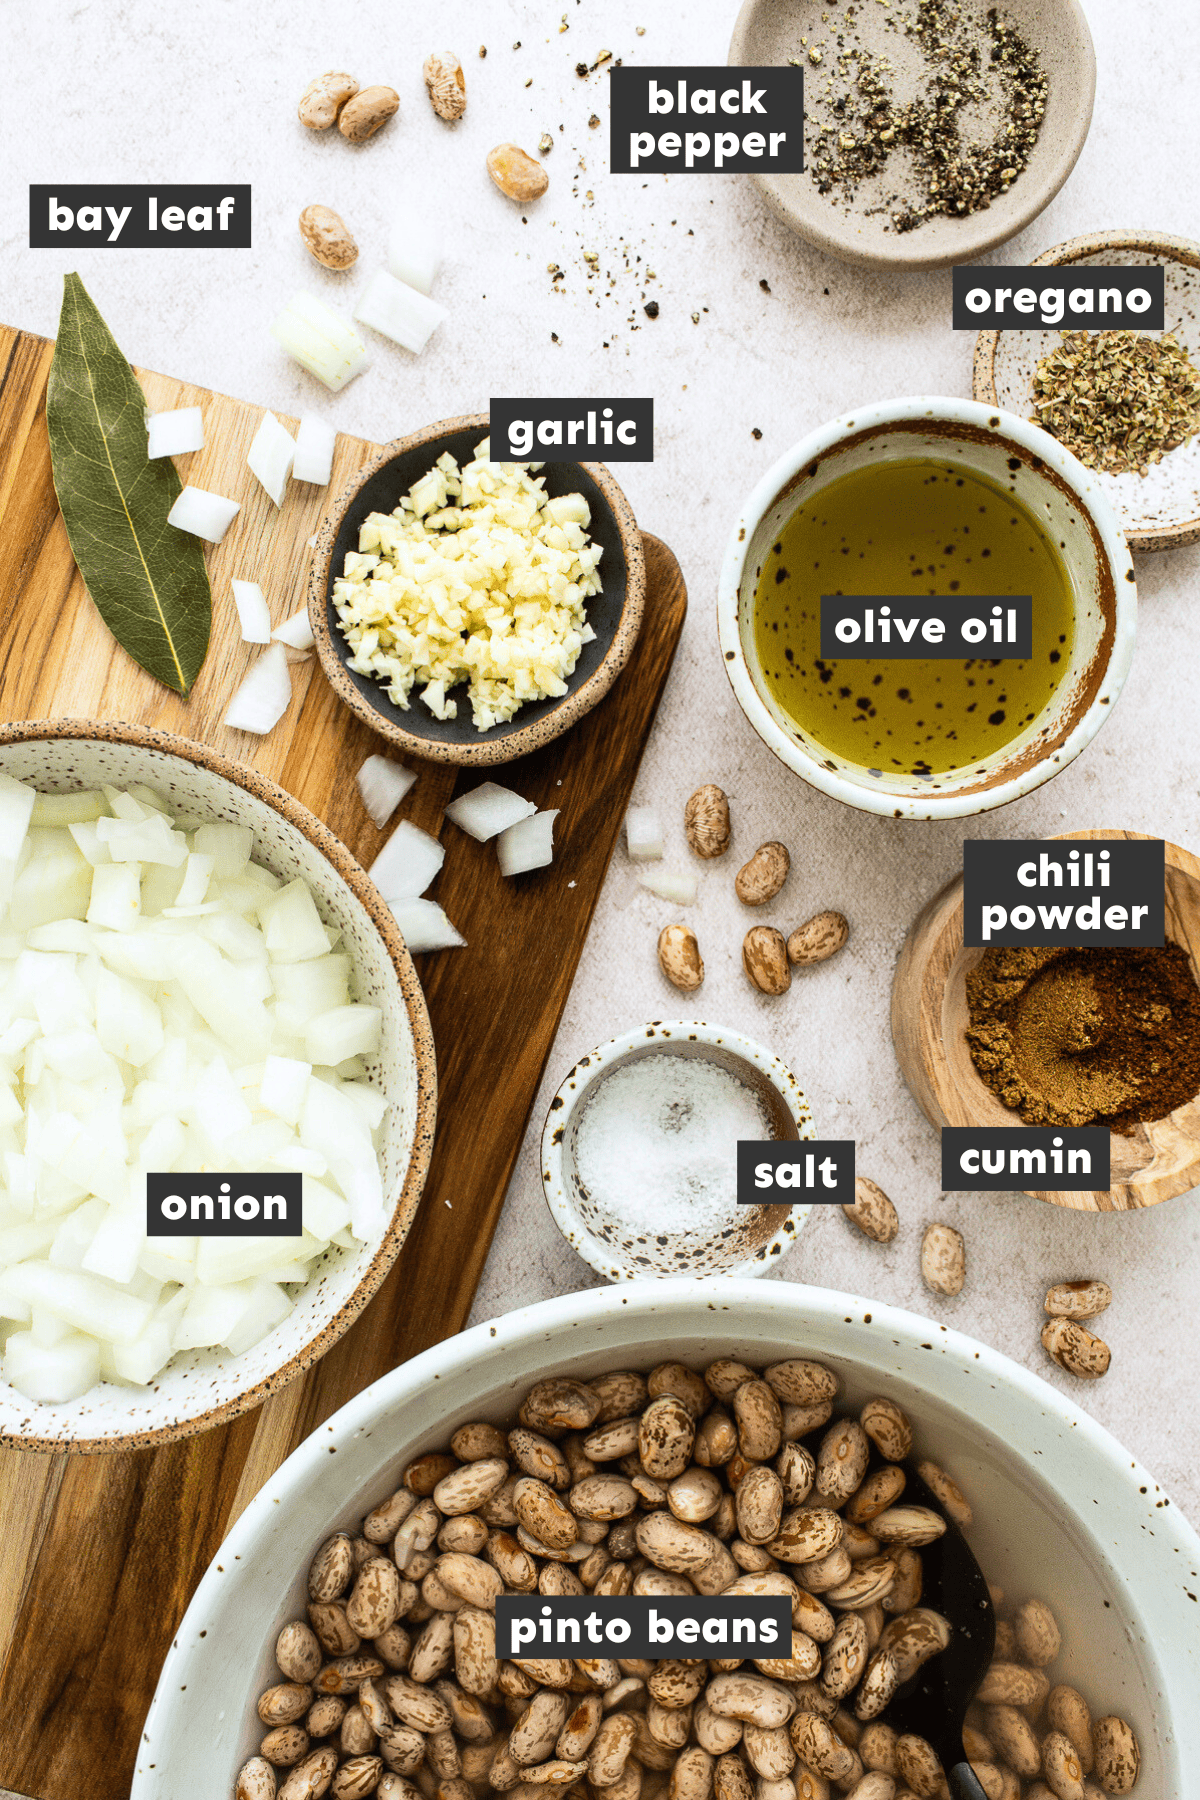
Ingredients in Homemade Pinto Beans
- Dried pinto beans: A small 1-pound bag will yield lots of leftover beans, but feel free to make more or less depending on your preference.
- Olive oil: I like to use olive oil when sautéing to add some extra flavor, but feel free to use avocado, canola, or vegetable oil.
- Onion and garlic: These aromatics add lots of flavor to your pinto beans.
- Seasonings: I used a combination of chili powder, cumin, oregano, and coarse black pepper.
- Salt: I prefer to use kosher salt in my recipes, but feel free to use the kind of salt you have. The amount of salt you use is totally up to you and your taste. I recommend adding salt at the end of cooking to keep the beans creamy and soft. Adding salt too early will increase the cooking time and stiffen the beans.
How to Make Pinto Beans
Sort the dried beans. Rinse and drain the pinto beans under running water. Discard any beans that are cracked or split in half, as well as any rocks or debris.
Soak the beans in a large bowl filled with water, making sure there are 3 inches of water over the beans. Leave them to soak at room temperature for 8-24 hours. If not soaking, omit this step.
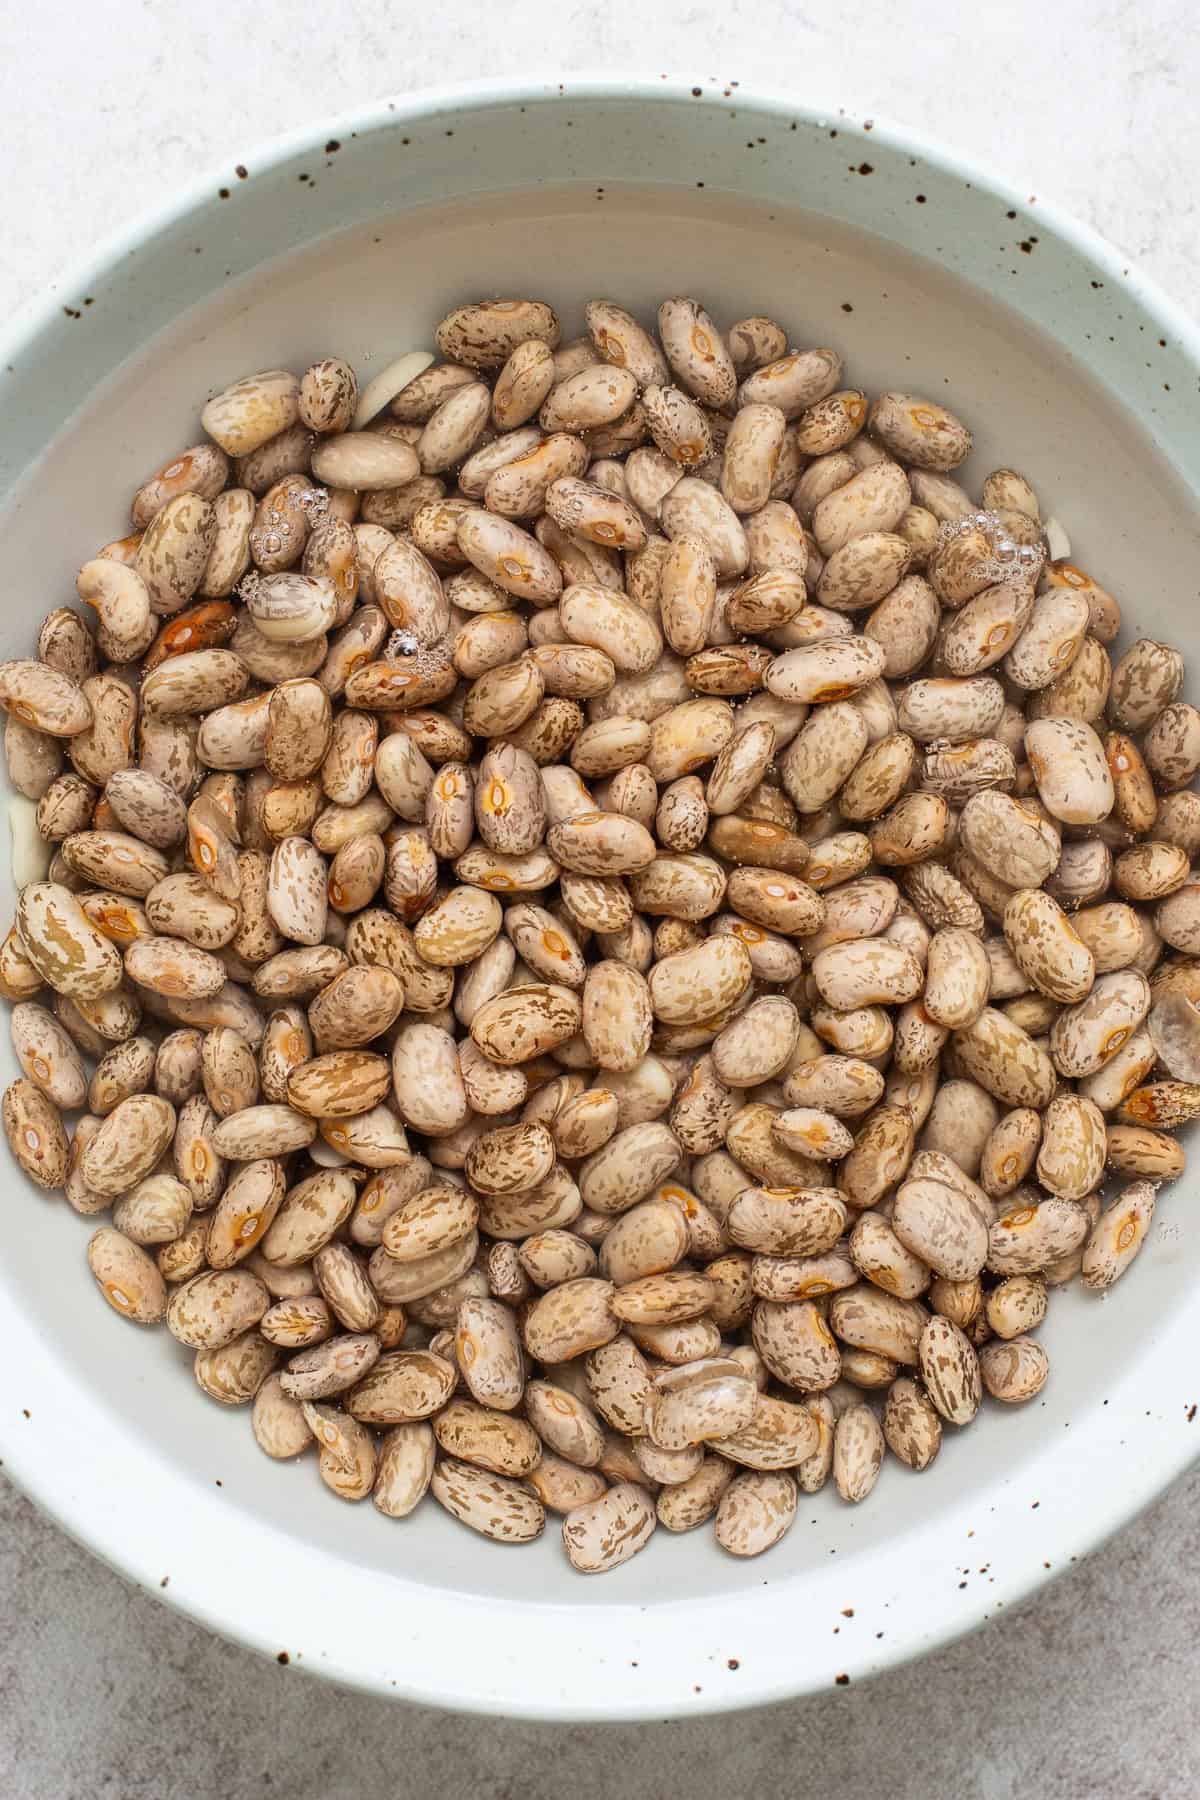
Drain the water and rinse the beans under cool water. Set aside.
Sauté the aromatics. In a large pot or Dutch oven, heat olive oil over medium-high heat. Add onions and cook until soft and translucent, about 5 minutes. Add garlic and stir until fragrant, about 1 minute.
Add chili powder, cumin, oregano, and black pepper. Cook for an additional 30 seconds, stirring continuously.
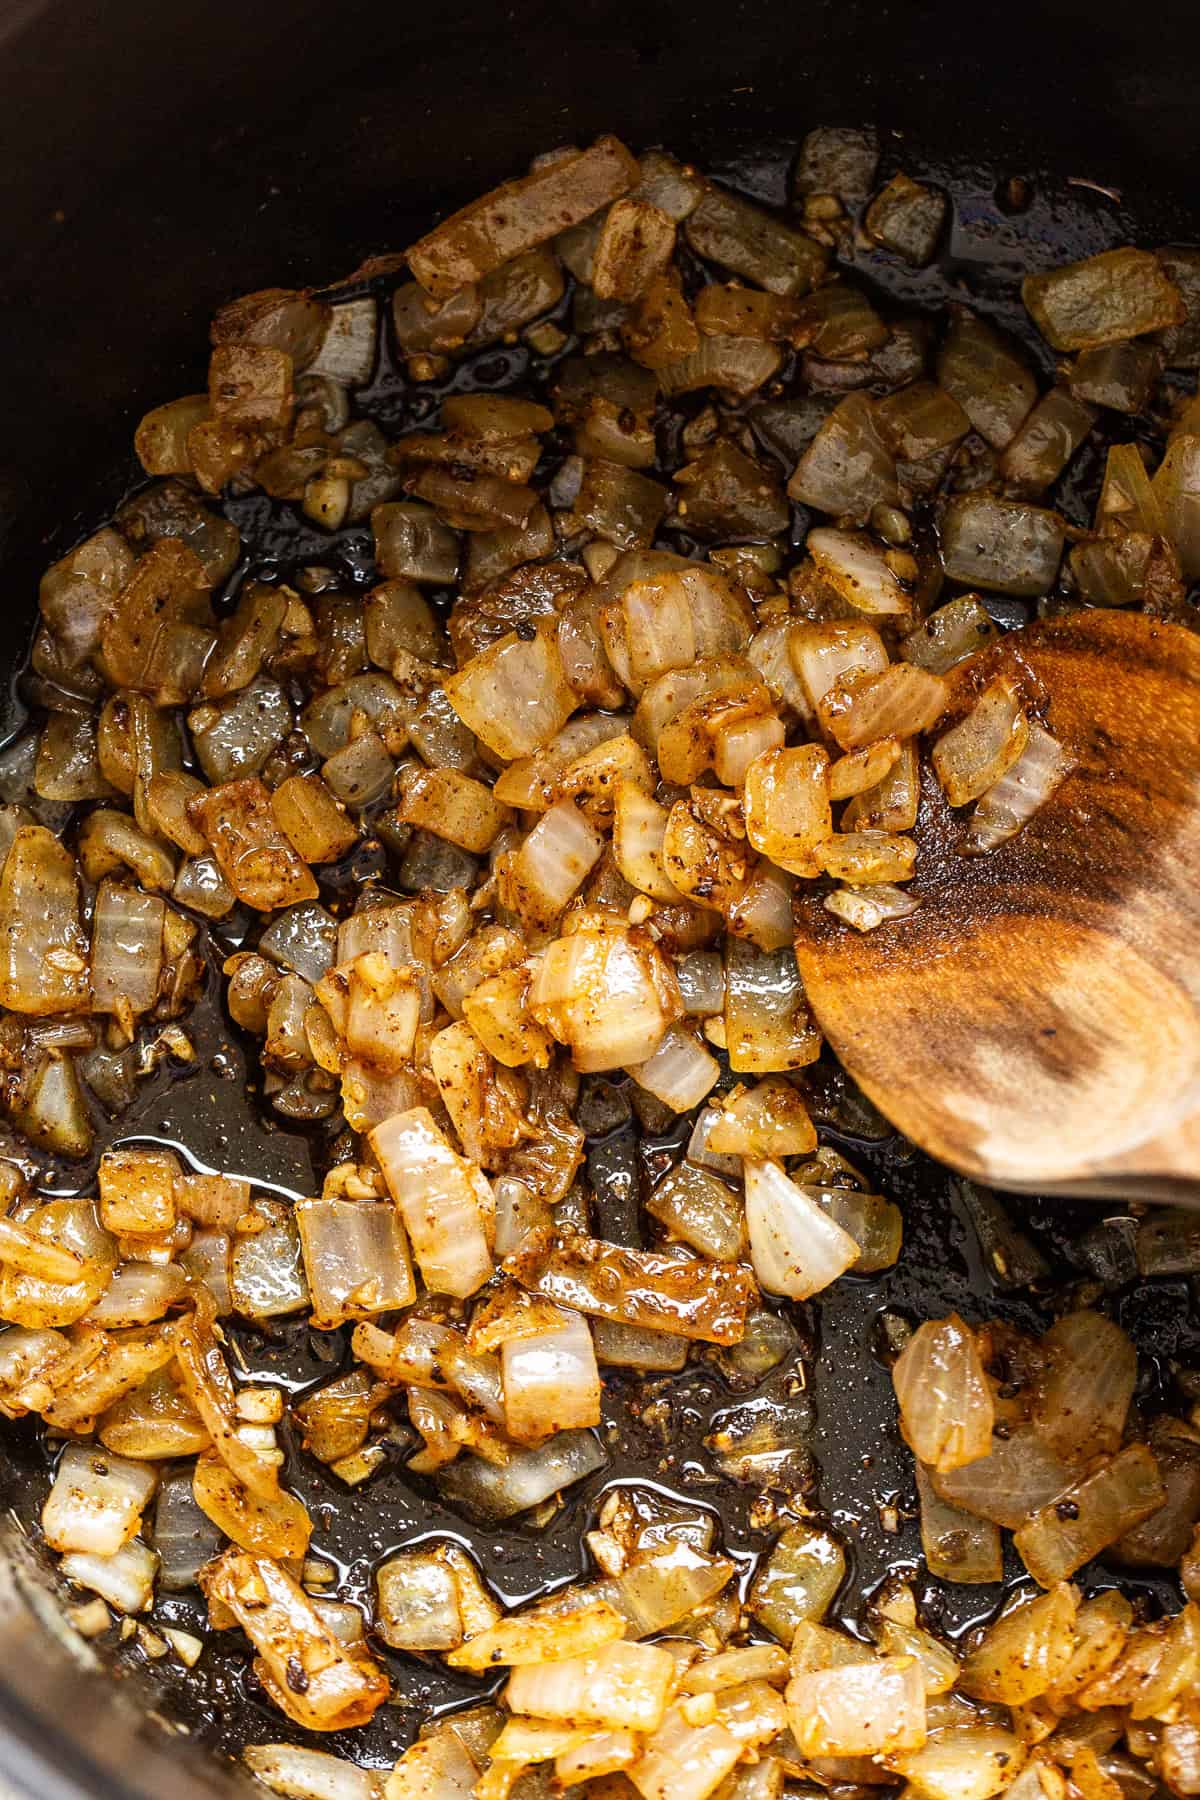
Add the beans and 6 cups of water into the pot with the aromatics. Stir until fully combined.
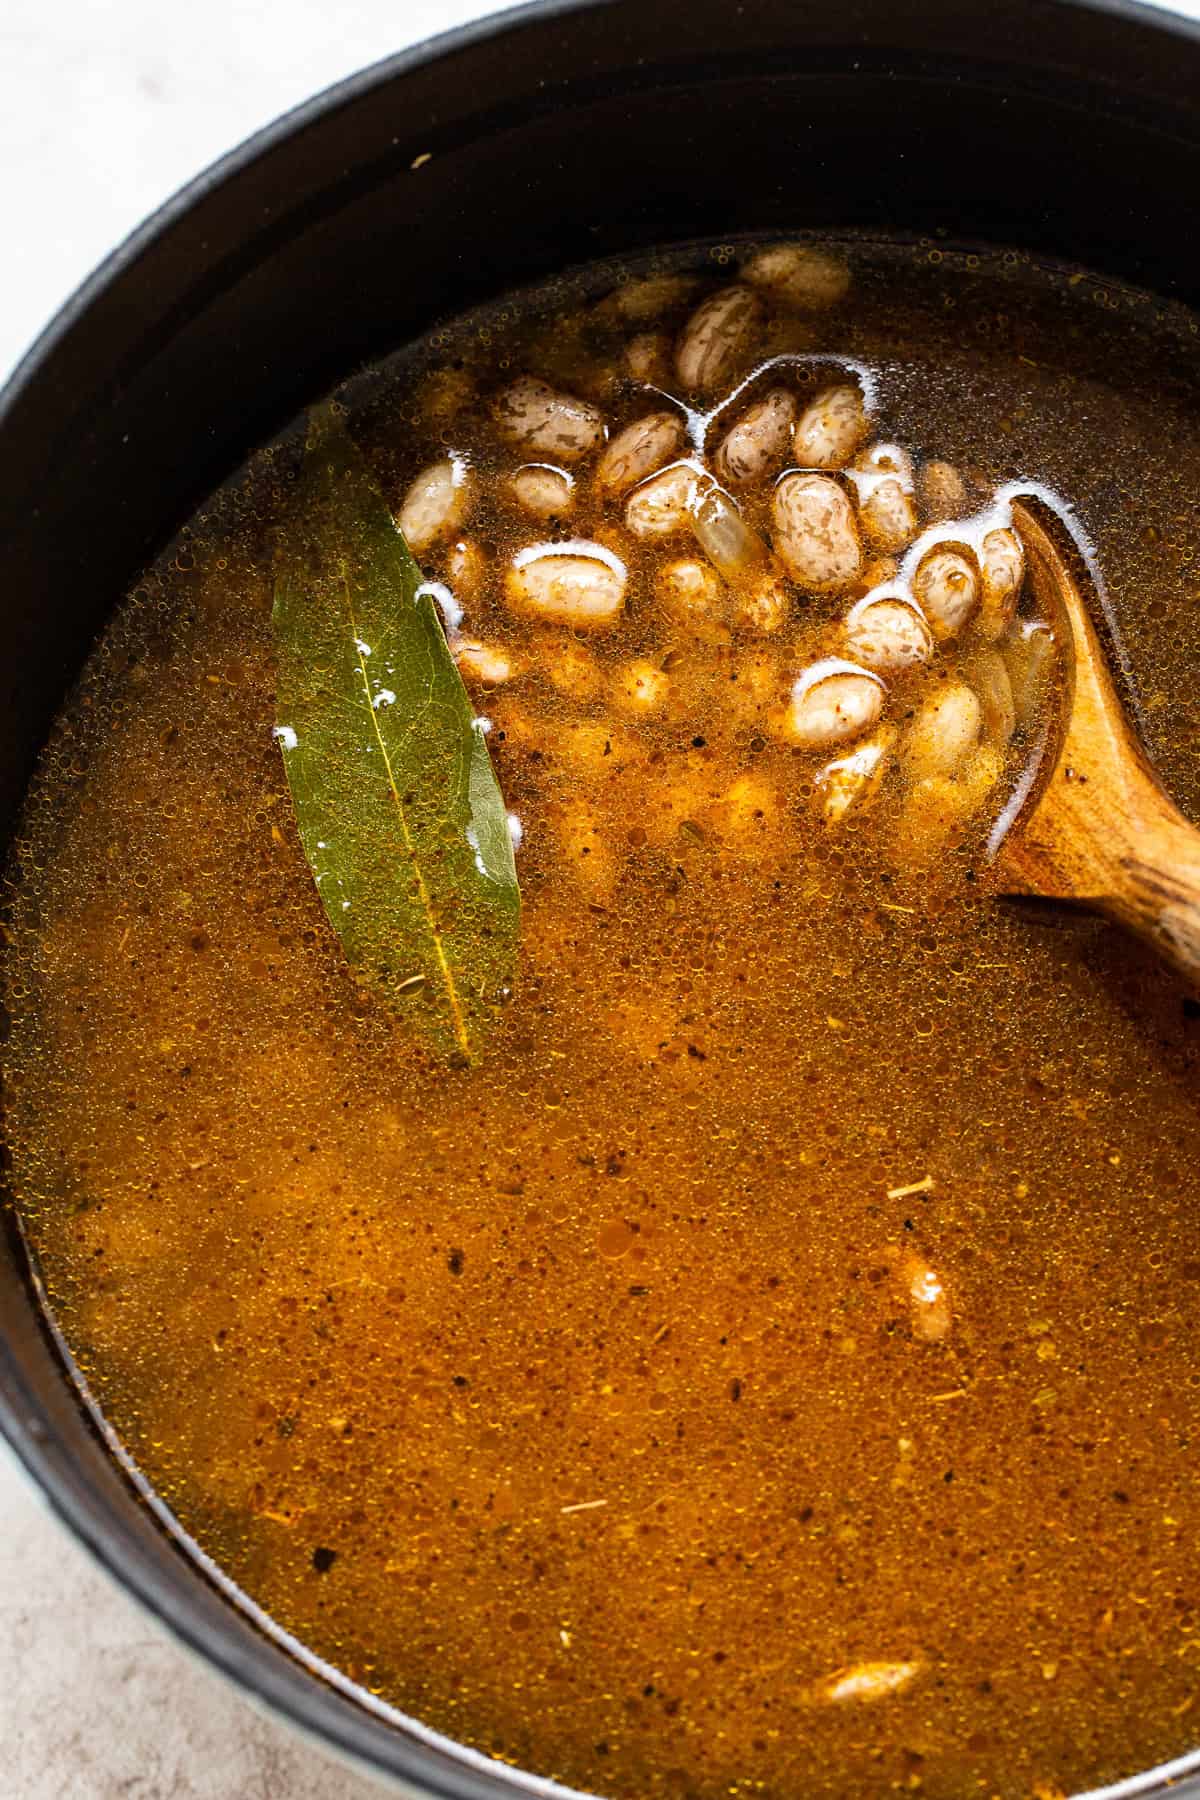
Cook the beans by bringing the water to a boil, and then reducing to a gentle simmer. Cover and cook for 1 hour if soaked, or 1 hour and 30 minutes if not soaked.
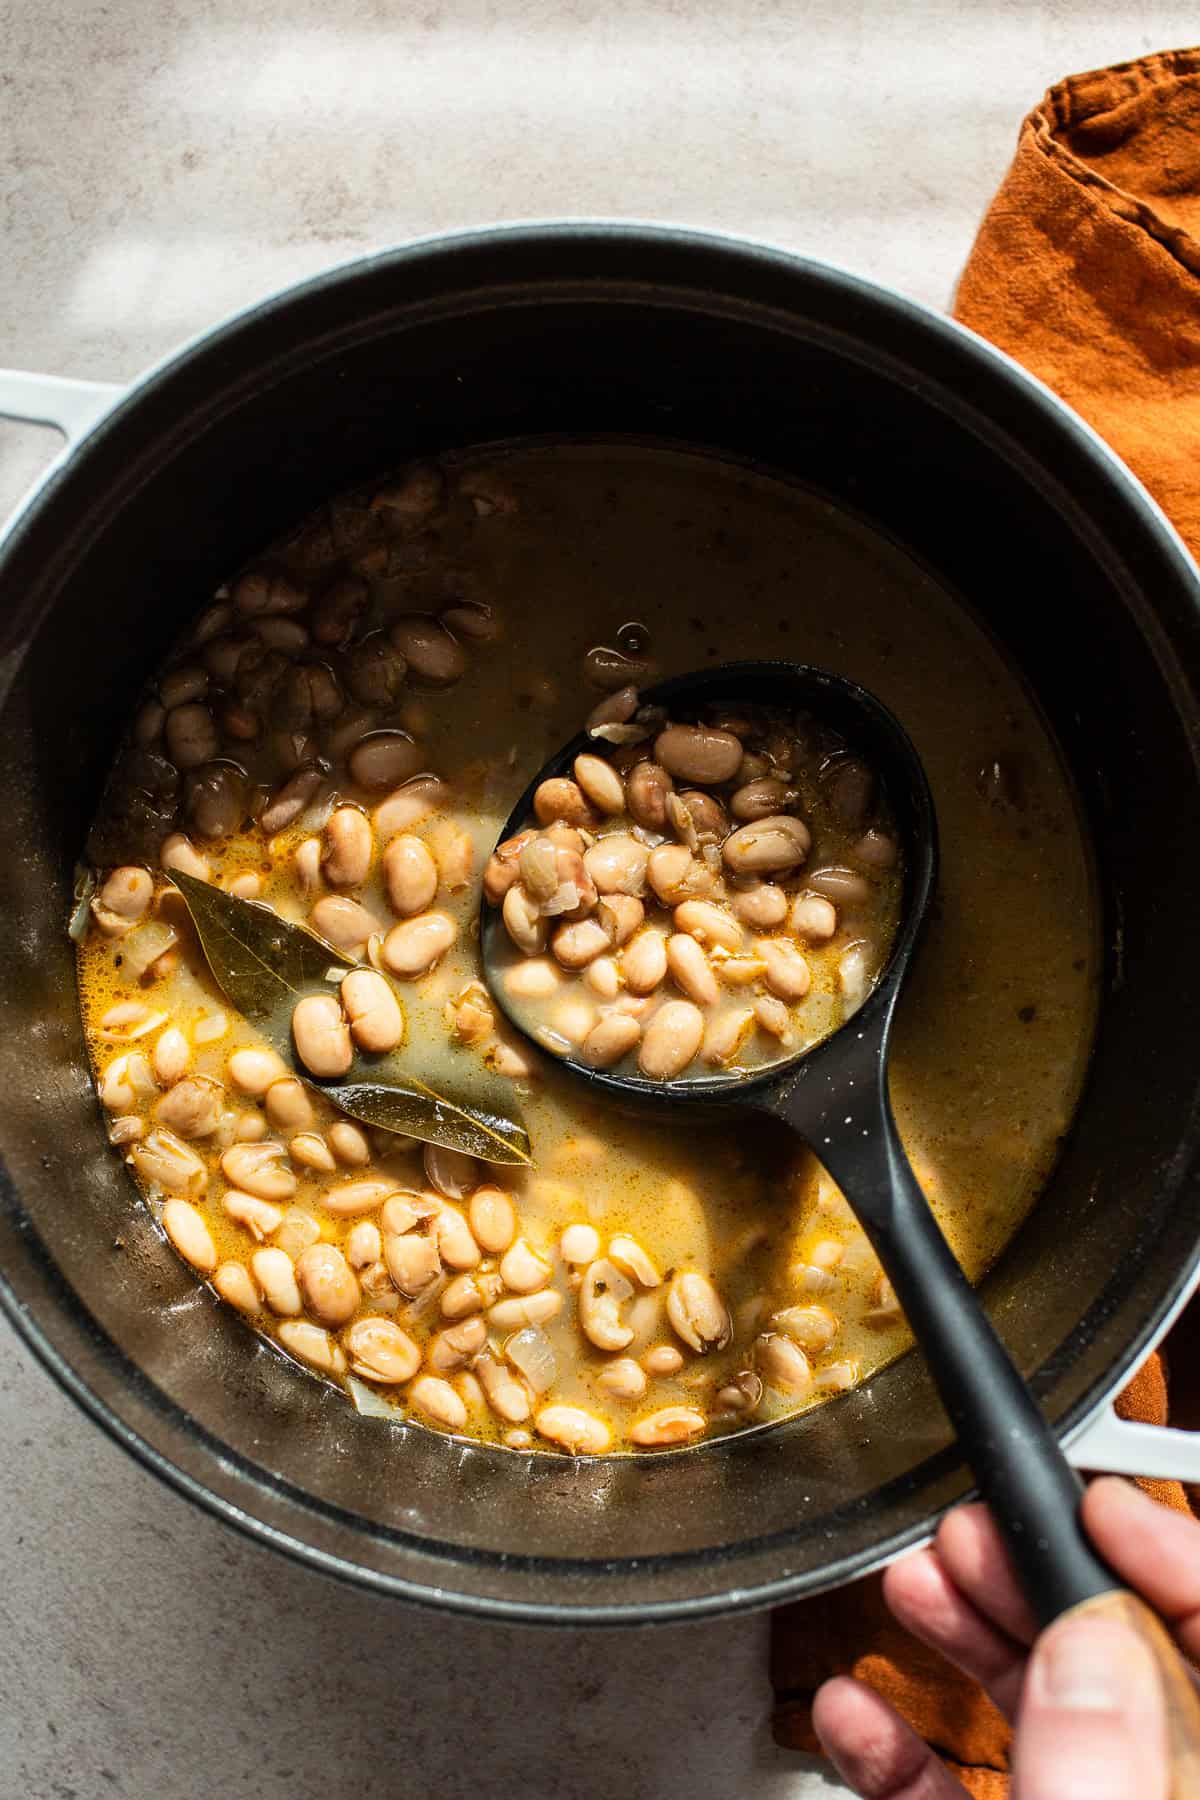
Uncover the beans and cook for an additional 30 minutes if soaked or 45 minutes – 1 hour if not soaked. Uncovering the beans allows the broth to thicken slightly and create a creamier consistency.
Add in kosher salt and taste before adding more if desired.
Serve immediately with queso fresco and warm flour tortillas or as your favorite side dish.
Recipe Tips
- Add more flavor by using chicken, beef, or vegetable stock instead of water.
- Don’t have time to soak? You can also make this recipe without soaking the beans, just note the cooking time will increase to 2-2 ½ hours. Follow the same cooking instructions minus the soaking process.
- Watch the heat. Make sure the beans are not cooking at a roaring boil or the skin will start to peel and burst before they are fully cooked.
- Add salt at the end of cooking. Adding salt while the beans are cooking increases the cooking time and gives the beans a grainy texture.
- Dried to cooked bean conversions:
- 1 pound dried beans = about 6 cups cooked beans
- 1 ½ cups cooked beans = one 15-ounce can cooked beans
Ways to Use Pinto Beans
Pinto beans are super versatile and great to use in so many different ways and in different recipes! These beans are used as a base in my charro beans, borracho beans, and refried beans recipes.
They’re also great in dishes bean and cheese burritos, tetelas, enfrijoladas, and sopes.
Slow Cooker and Instant Pot Methods
If you don’t want to make beans on the stovetop, you can absolutely make them in a slow cooker and Instant pot.
This crockpot pinto bean recipe is great when you want the most hands-off approach, and this Instant Pot pinto bean recipe is perfect when you’re super short on time.
Storing and Reheating
To store, place the beans and broth in an airtight container and refrigerate for up to 1 week.
To reheat, place the beans and broth in a large skillet or pot over medium-high heat and heat until warmed and the broth starts to bubble. You can also reheat everything in the microwave.
More Authentic Mexican Recipes

How to Cook Pinto Beans on the Stove
Ingredients
- 1 pound dried pinto beans
- 6 cups water, plus more for soaking
- 3 tablespoons olive oil
- 1 small onion, chopped (white or yellow)
- 4 cloves garlic minced
- 1 teaspoon chili powder
- 1 teaspoon ground cumin
- ½ teaspoon dried oregano
- ¼ teaspoon freshly ground black pepper
- 1 bay leaf
- 1 teaspoon kosher salt, plus more to taste
- For serving: cotija cheese, chopped cilantro, flour tortillas
Instructions
- Sort through, remove, and discard any beans that are cracked or split in half, as well as any rocks or debris. Rinse the beans under running water and drain.
- Transfer them to a large bowl, fully cover the beans with water (at least 3 inches over the top of the beans), and set them on the counter to soak for 8 hours or overnight.
- Drain and rinse the beans under cool water. Set aside.
- In a large pot or Dutch oven, heat the olive oil over medium-high heat. Add the onion and cook until soft and translucent, about 5 minutes. Add the garlic and sauté for 30 seconds until fragrant.
- Add the chili powder, cumin, oregano, and black pepper. Cook for an additional 30 seconds, stirring continuously.
- Add the soaked pinto beans, 6 cups of water, and bay leaf. Stir to combine.
- Raise the heat to high and bring to a boil. Cover and reduce to a very gentle simmer and cook for 1 hour. Uncover and finish cooking for an additional 30 minutes.
- Remove the bay leaves, stir in the kosher salt, and taste. Add more if desired.
- Serve immediately with queso fresco and warm flour tortillas or as your favorite side.
Notes
- Slow cooker and Instant Pot methods: I also have recipes for slow cooker pinto beans and Instant Pot pinto beans.
- Add more flavor by using chicken, beef, or vegetable stock instead of water.
- Don’t have time to soak? You can make this recipe without soaking the beans, but you’ll need to increase the cooking time. Simmer the beans for 1 hour and 30 minutes, then uncover and cook for an additional 45 minutes – 1 hour until tender.
- Watch the heat. Make sure the beans are not cooking at a roaring boil or the skin will start to peel and burst before they are fully cooked.
- Add salt at the end of cooking. Adding salt while the beans are cooking increases the cooking time and gives the beans a grainy texture.
Nutrition
Nutrition information is automatically calculated, so should only be used as an approximation.
This post was originally published in March 2020 and has been updated with new photos, more helpful tips and tricks, and a better recipe.
If you’re looking for the old recipe, you can grab that here.
Photography by Ashley McLaughlin.




I believe you’re in error when you don’t include salt as an essential ingredient for cooking pinto beans ⁉️🤔 I only cooked pinto beans without salt one time, they tasted horrible and it wasn’t fixable by adding salt after cooking ‼️😵💫
Delicious; waaay better than canned. Tip: Salt in the water toughens beans and makes the cooking time twice as long. You can shorten the 2-hr cooking time to less than half by leaving out the salt until the end. I ended up cooking mine for only 45-60 min. (after a 6-hr soak), and they were very tender. Then, drain & add salt to taste.
Thanks for sharing your tip, Lisa!
Thank you for this recipe. I can’t wait to try it. My favorite way to have beans is wrapped up in a fresh tortilla with cheese. 😋
Thank you for a recipe that doesn’t include chili powder or cumin. My grandmother made brown beans all the time but they were plain and delicious. Your recipe is wonderful and went really well with fried fish and coleslaw.
Thank you so much Cynthia!
Can I freeze the beans?
How long can I freeze the
Bean’s?
Hi Sharon! Yes you can, you can freeze them for up to 3 months.
I will try this recipe. I’ve always bought canned beans but will try this to save money and to make them taste the way I want them to. Thank you. I love your recipes.
Thank you Doug!
You can also cook them with a bunch of raw spinach. The water in your beans will thicken perfectly and add a spectacular flavor. I never liked spinach until my uncle told me I ate it in his pinto beans and loved them. What? I was tricked, lol.
WHAT A “NEW” WONDERFUL IDEA TO TRY!! I WILL DEFINITELY DO THIS! YOUR UNCLE DEFINITELY HAD SOME GREAT COOKING INSTINCTS AND TRICKS UP HIS SLEEVE- WE USUALLY LIKE TO HAVE “A FORM OF GREENS” WITH OUR PINTOS ANYWAY- PROBLEM SOLVED! I WILL MOST LIKELY HAVE TO ( ADD A DASH OR SO OF THE FAMOUS “PEPPER JUICE” INTO THE BEANS NOW – BUT FLAVOED ELEVATION ACCOMPLISHED- ONE QUICK QUESTION- THE SPINICH? USING CHOPPED?? DO YOU BELIEVE I CAN USE FROZEN CHOPPED SPINICH ( PICKED FROM MY OWN GARDEN – AND LET IT THAW – AND PUT IN)
Hola Ms. Isabel, I will try your recipe for the pinto beans. I buy the can ones all the time they have too much sodium in them. So for health reasons, I will use your version of Pinto Beans on the stove.
I do not soak my beans but I cook them slow and they take longer but no problem for me. That is how my family make them for years.
Very easy recipe that works wonderfully the additional usage of the beans was very helpful