This post may contain affiliate links. Please read our disclosure policy.
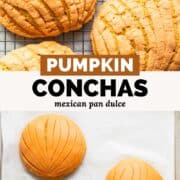
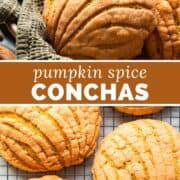
Welcome the cooler weather with these pumpkin conchas! This fun and seasonal twist on a traditional pan dulce mixes all the warm and rich flavors of pumpkin with spices like nutmeg, cinnamon, and pumpkin pie spice.
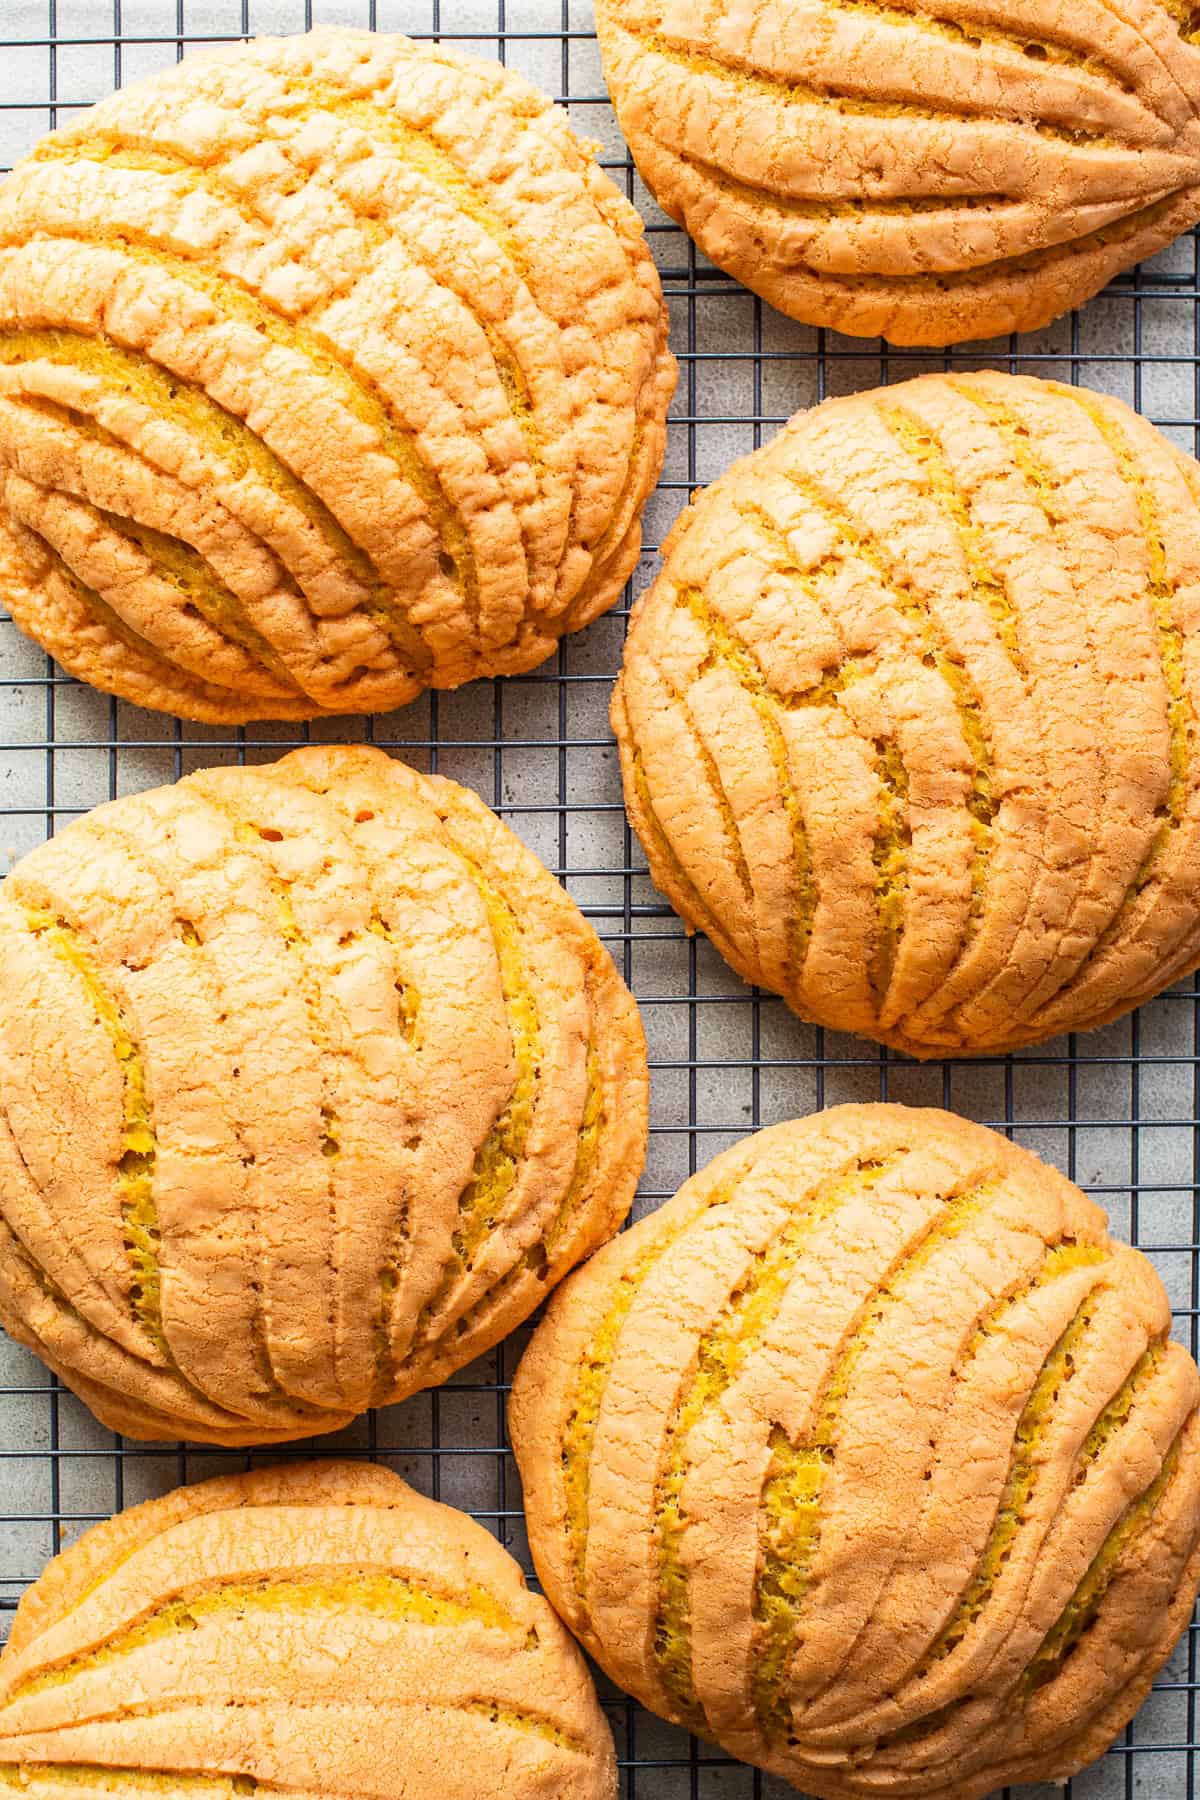
Fall is here, which means all things pumpkin spice are already in stores and menus. Pumpkin conchas are a fun way to enjoy this seasonal craze with a Mexican twist. Conchas are one of my favorite kinds of pan dulce (I even made a concha breakfast sandwich!), so incorporating the warm flavors of fall makes them all the more delicious. Here’s why I love this recipe:
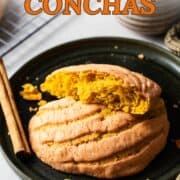
- It’s worth the effort. Conchas require some patience, but the effort is well worth it. They’re soft and pillowy on the inside and the streusel topping is sweet and slightly crispy. They’ll leave your house smelling delicious!
- It has a natural flavor. Sometimes, pumpkin spice-flavored foods can taste too artificial — almost like you’re biting into a scented candle — but these conchas use real pumpkin puree and warm spices to give them a subtle and warm taste.
What Are Pumpkin Conchas?
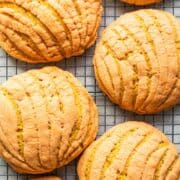
Pumpkin conchas are a fun and seasonal twist on a traditional Mexican pan dulce. The name conchas translates to “sea shells” for the signature shape and design on the bread.
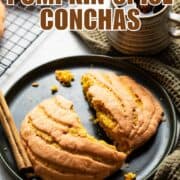
Traditional conchas are spongy and soft bread rolls with a crumbly and sweet streusel topping that is typically vanilla or chocolate flavored. This version features the popular warm flavors of fall, with pumpkin and spices like nutmeg and cinnamon incorporated into the concha dough. Pair it with champurrado, atole, or café de olla for the full experience!
Ingredients in Pumpkin Conchas
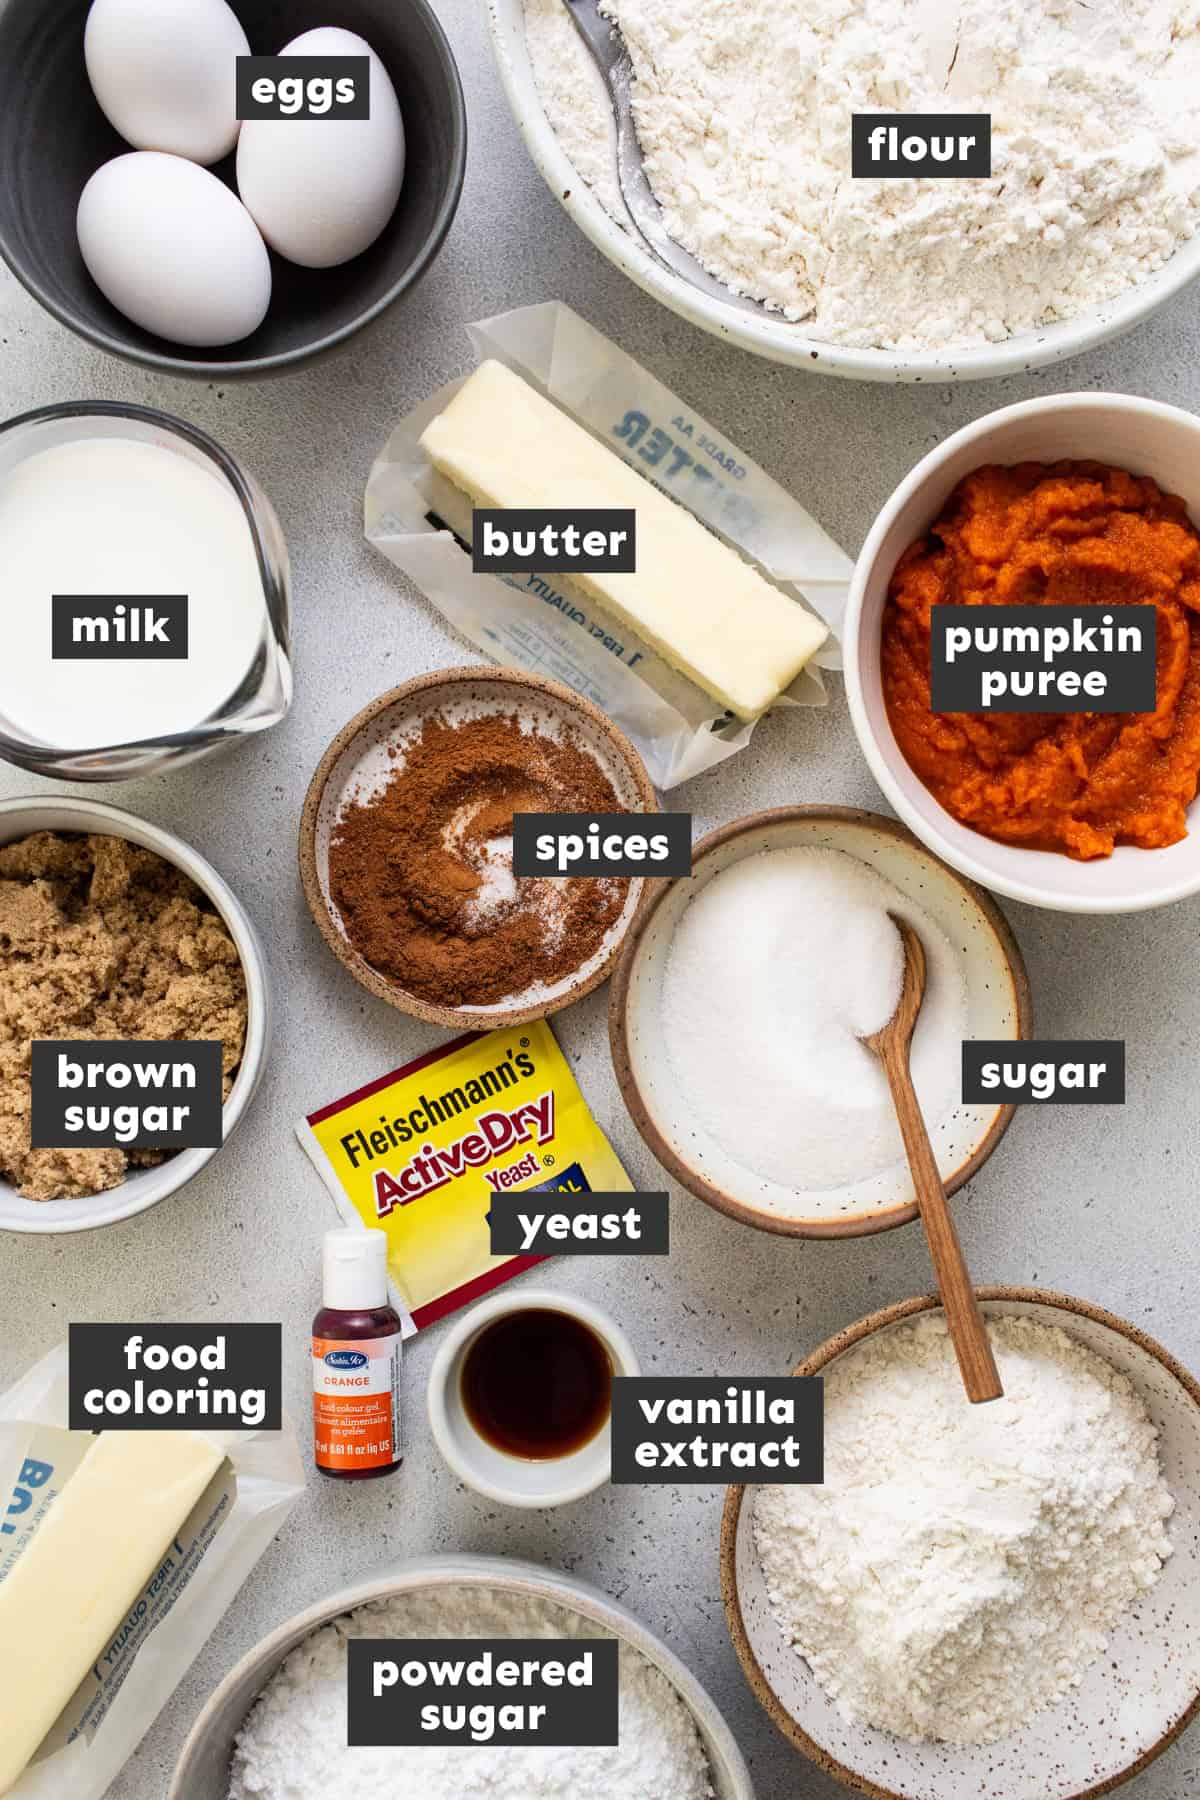
- All-purpose flour: You’ll need all-purpose flour for the concha dough, topping, and yeast mixture. Make sure to spoon and level the flour when measuring to ensure you don’t use too much. This keeps the conchas fluffy and not dense.
- Granulated sugar: This is used to sweeten the concha dough and to feed the yeast mixture to allow it to bloom.
- Brown sugar: A small amount of brown sugar sweetens the concha dough and adds a warm and rich flavor.
- Active dry yeast: I used active dry yeast for this recipe, but you can also use instant yeast. Just note you will reduce the rising times and you do not need to activate the yeast.
- Whole milk: Adds a creamy taste and needs to be warmed to the right temperature to activate the yeast. Keep it between 110℉-115℉.
- Spices: A mix of pumpkin pie spice, cinnamon, and nutmeg gives the conchas that signature warm autumn flavor.
- Unsalted butter: Adds richness to the dough and topping. Make sure it is softened at room temperature for the best results.
- Eggs: 2 eggs help bind the concha dough together.
- Pumpkin puree: Gives the conchas some extra moisture and the key pumpkin flavor. You can use fresh or canned pureed pumpkin.
- Powdered sugar: Powdered sugar (aka confectioners’ sugar) is used for the concha topping. Make sure it’s light and fluffy with no large lumps.
- Vanilla extract: Adds some extra flavor to the concha topping. For an extra warm and fall flavor, you can use maple extract instead.
- Orange gel food coloring: Orange food coloring in the concha topping ties in the pumpkin spice theme. This is totally optional, and you can adjust it until it’s the color of your liking.
How to Make Pumpkin Conchas
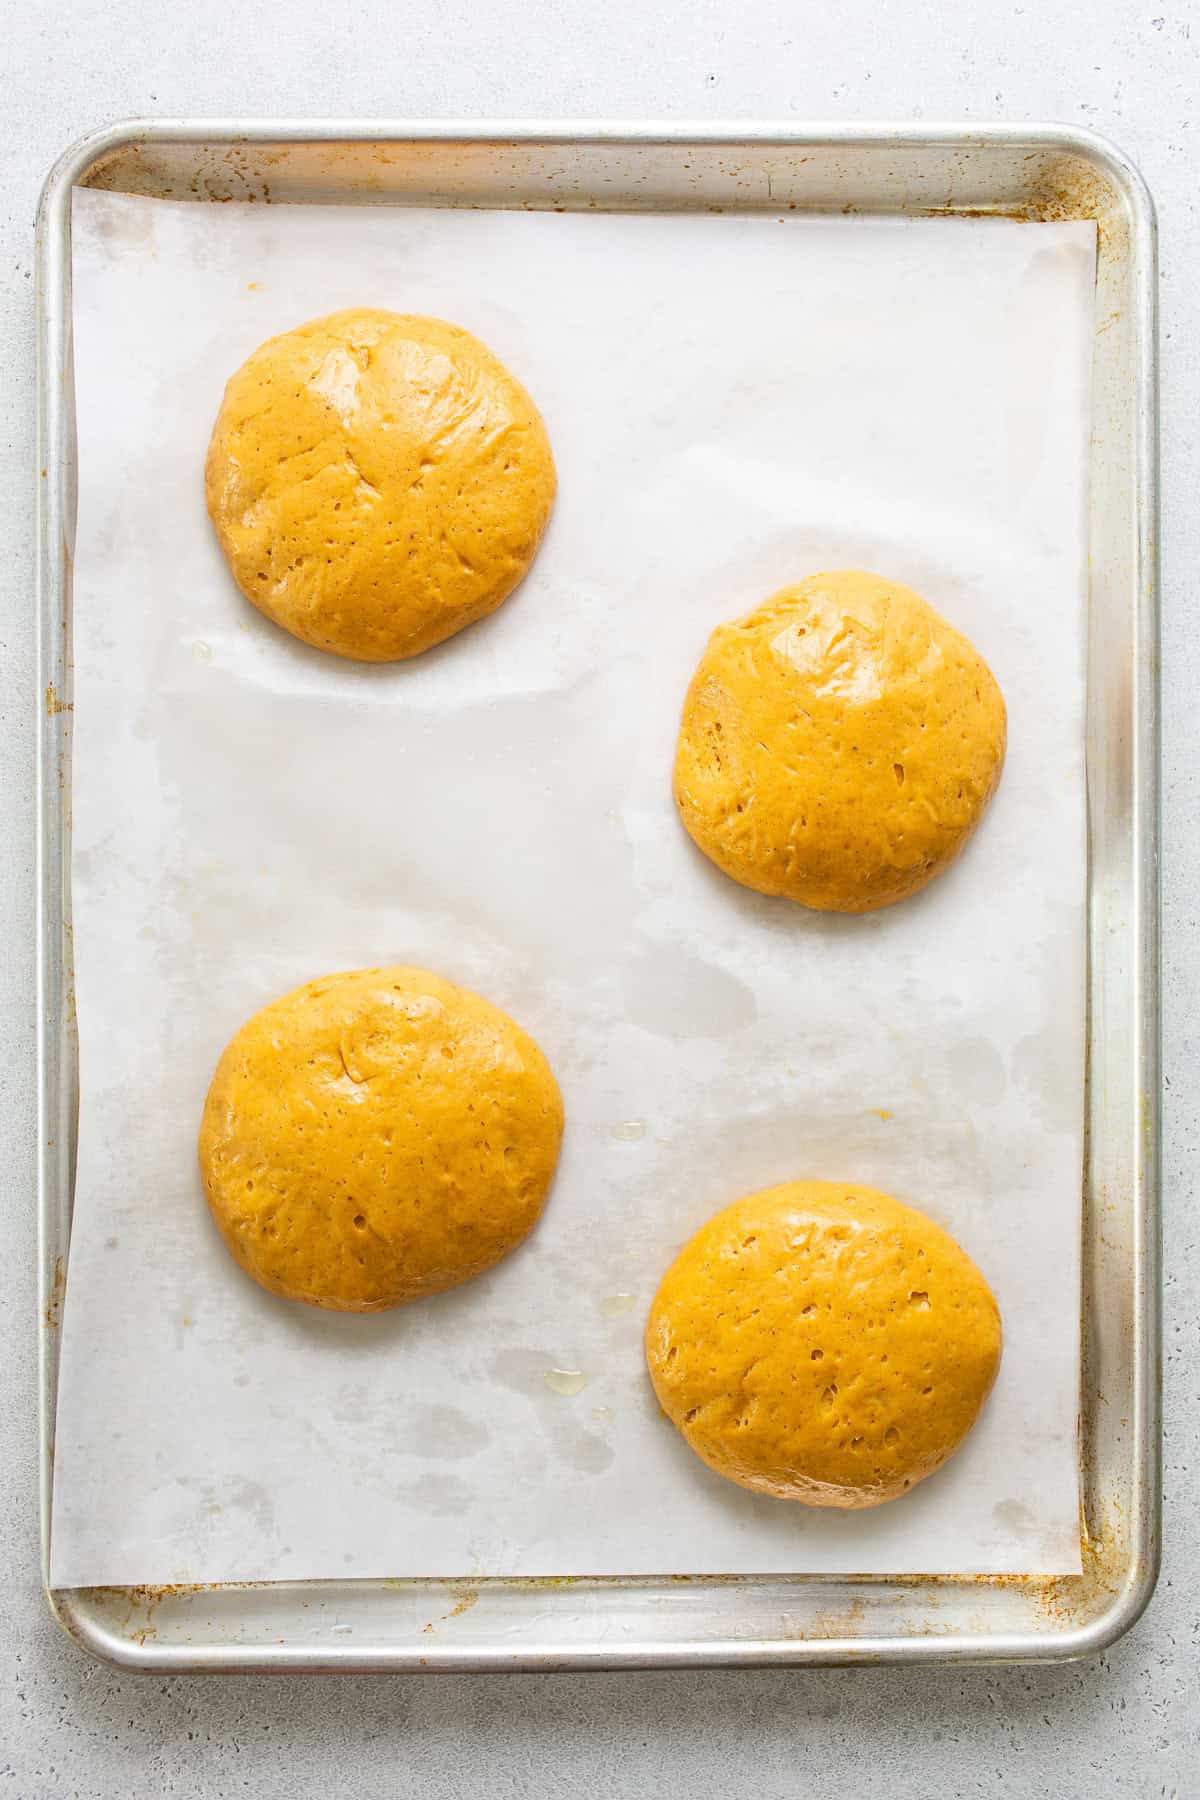
Make the concha dough. You can do this with your hands or by using a stand mixer. Once the dough has rested and risen once, shape the dough into 12 balls and place them on a baking sheet lined with parchment paper to rise one last time.
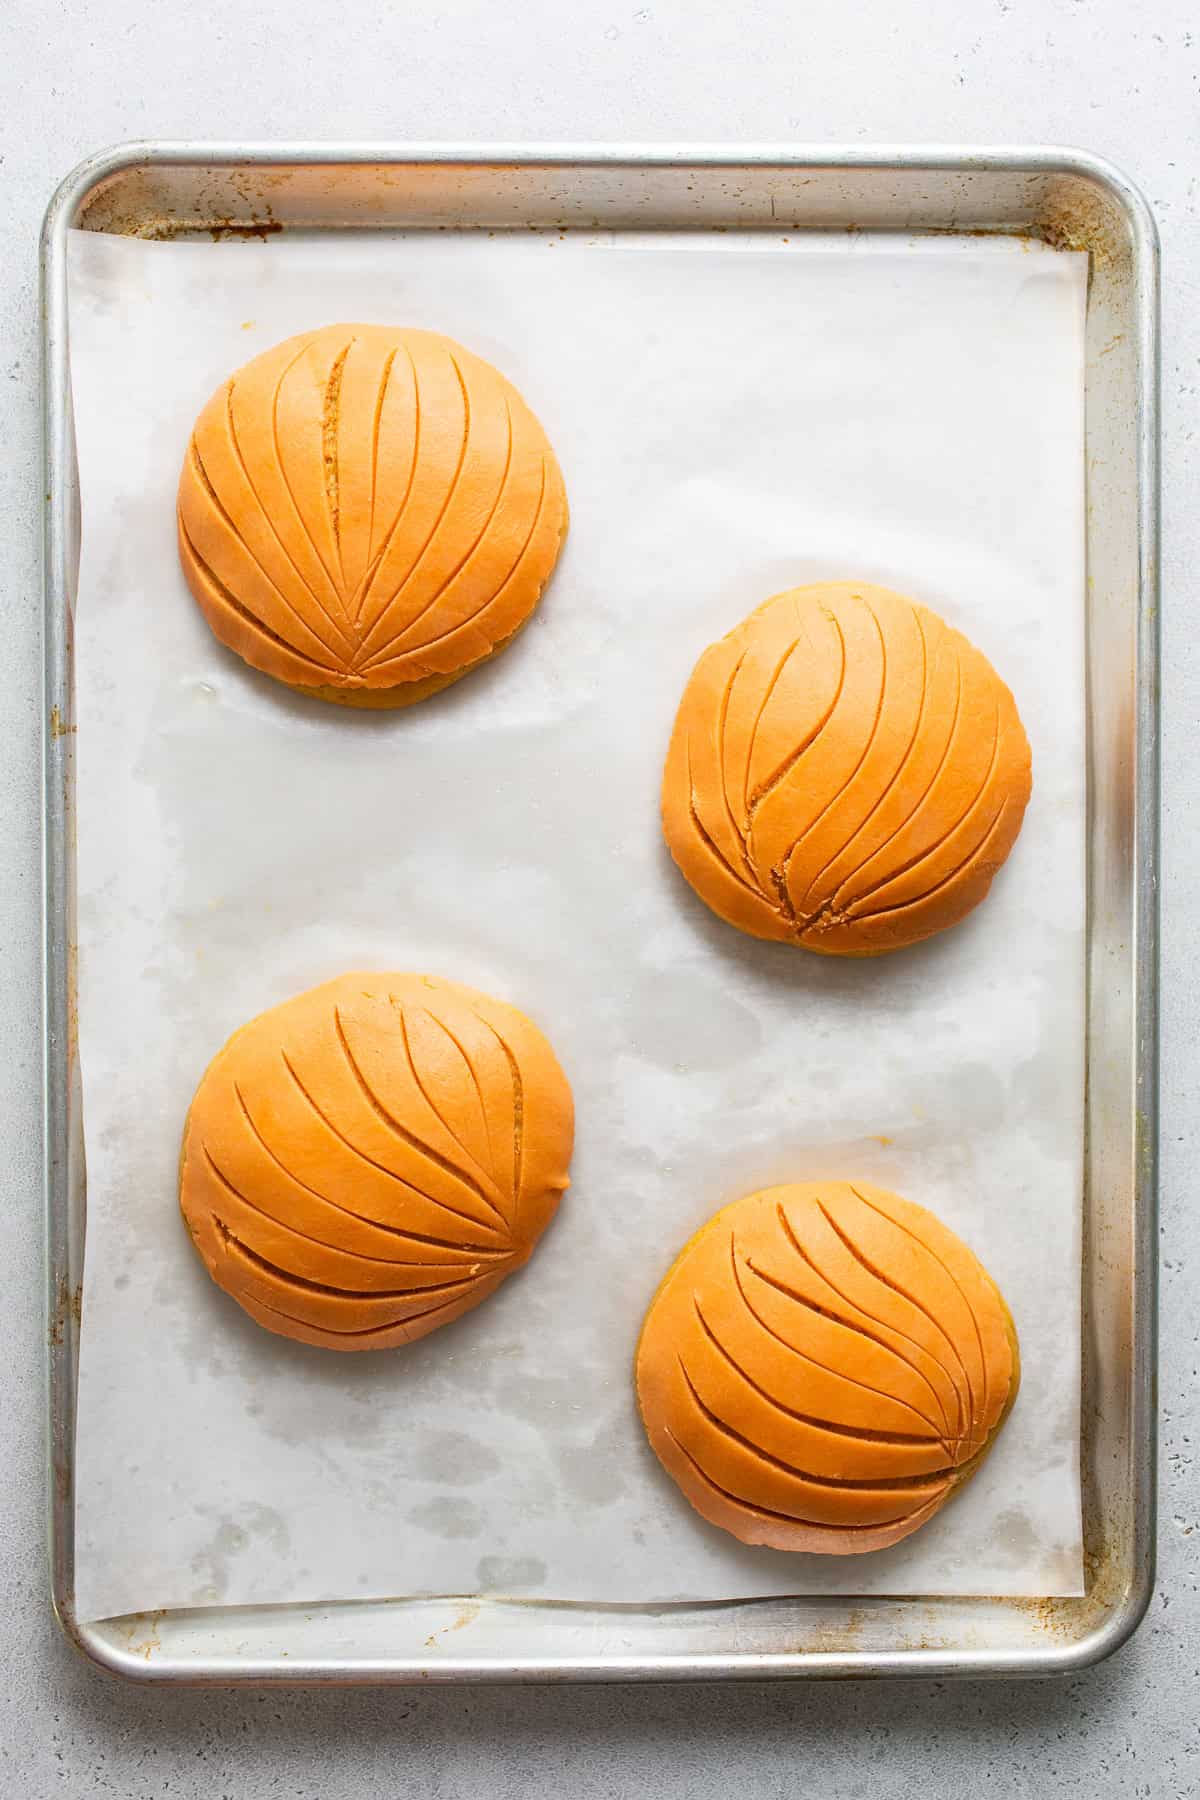
Make the concha topping. Mix the ingredients in a large bowl. The topping should be soft and moist, like the consistency of play-doh. Form it into 12 balls, then lightly flatten each in between two sheets of plastic wrap or parchment paper using a tortilla press. You could also use a floured rolling pin to shape the topping into rounds.
Carefully drape the topping onto the risen conchas. Lightly pat it down to secure it, then cut grooves using a paring knife so that it resembles a clam shell, a criss-cross pattern, or whichever pattern you prefer
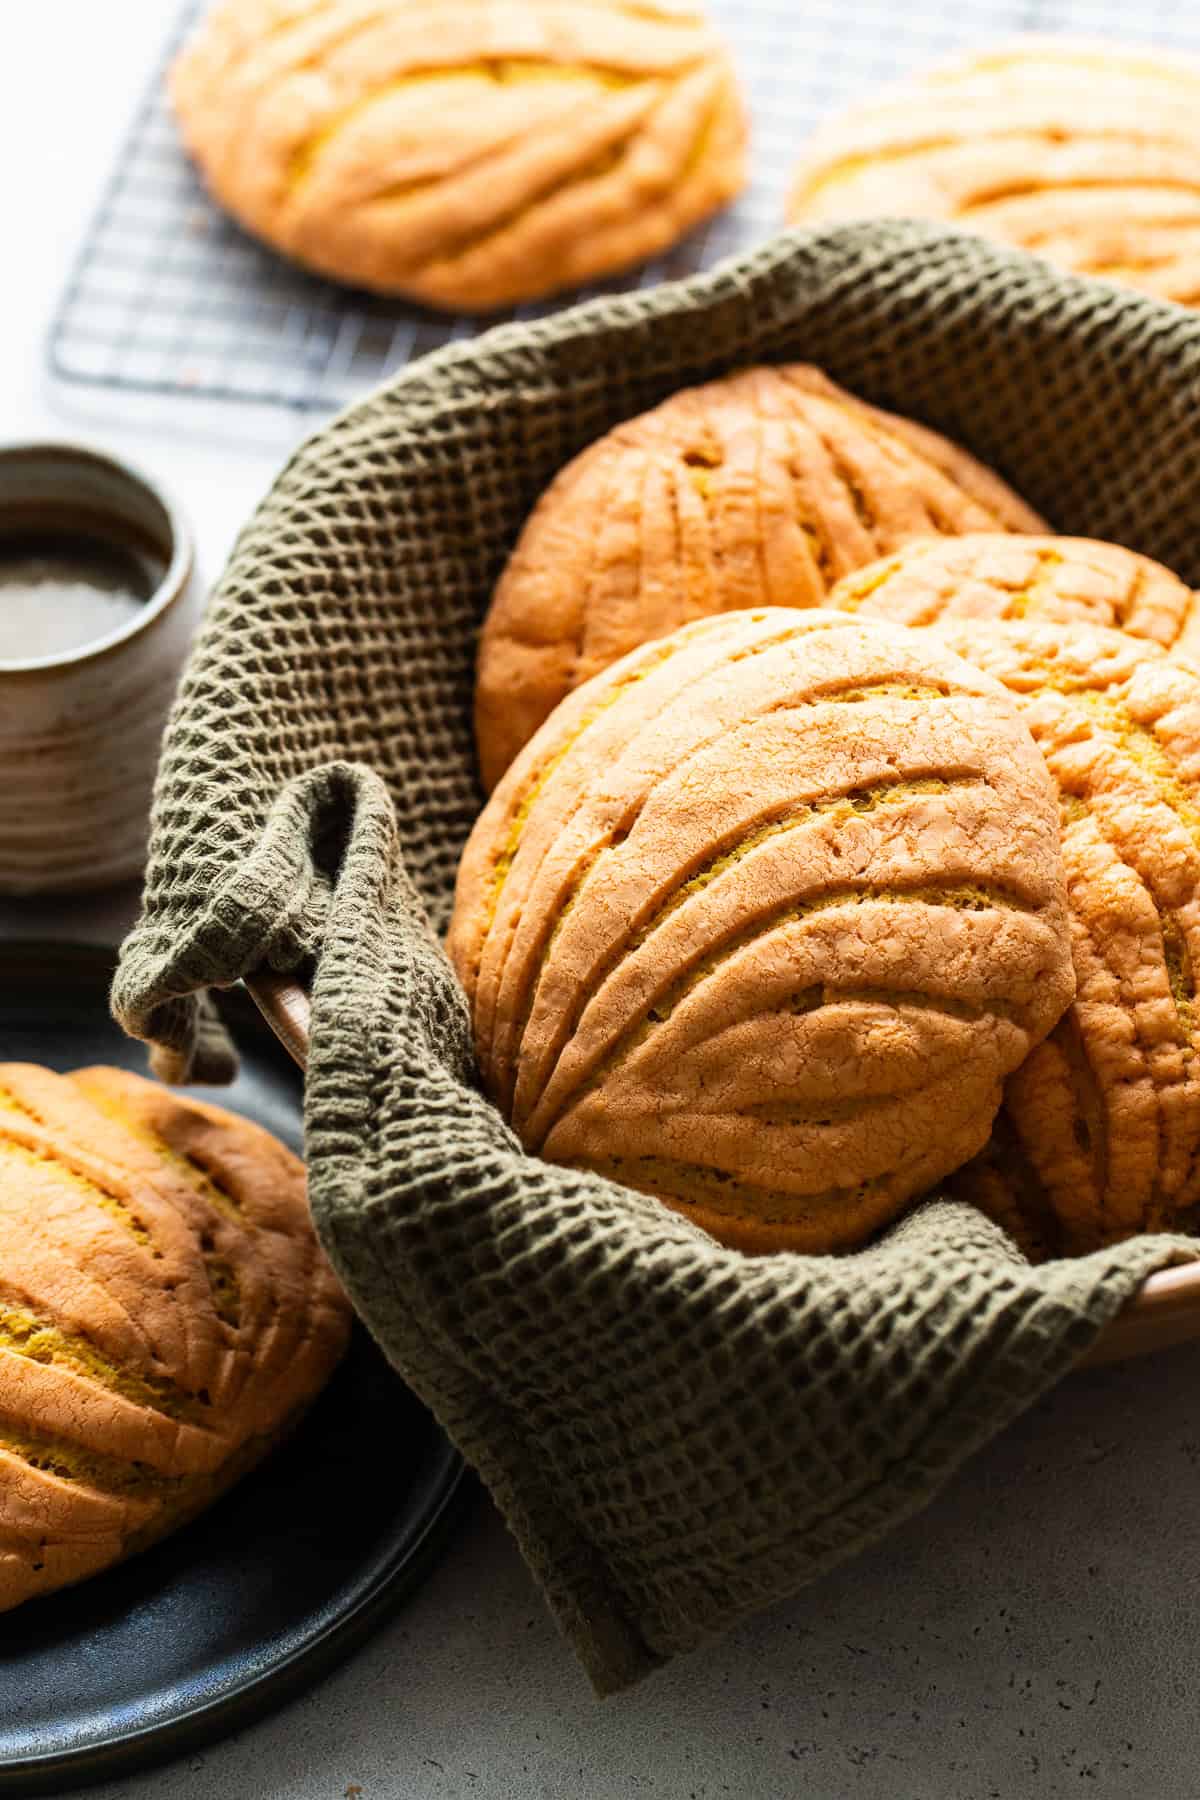
Bake for 15-17 minutes at 350°F or until the dough is lightly golden brown. Transfer to a cooling rack and allow to cool for 10 minutes before serving.
Recipe Tips
- Make sure your yeast is alive before adding it to the dough. If the milk and yeast mixture is bubbly and frothy, that means the yeast is alive and thriving which is great! If it’s not, that means the yeast is likely dead and you need to start over with a new yeast packet.
- To make shaping the topping a little easier, you could use concha shell cutter.
- The dough will be sticky and tacky. To make it easier to hand and shape the concha dough, you can lightly grease your hands with oil or cooking spray, but I do not recommend adding more flour.
- Don’t overcrowd your baking sheet. The conchas expand even more in the oven, so make sure you don’t overcrowd your baking sheet, or the conchas will not have proper ventilation and will release too much heat, resulting in burning the bottoms before they’re fully baked.
- If you make the concha topping ahead of time, make sure to wrap it completely with plastic wrap to keep it soft and moist. If it feels slightly crumbly when you’re ready to shape and assemble, roll the dough in between your hands to warm it up and make it soft and pliable again.
Serving Suggestions
Pumpkin spice conchas are best when served with a warm and delicious drink! Pair it with café de olla, champurrado, or atole for a warm and delicious treat. You can also dip in into a cold glass of milk.
Storage
To store, transfer the conchas to an airtight container or a ziplock bag and store them at room temperature for up to 5 days.
More Pan Dulce Recipes
- Mexican Donuts (Donas)
- Cortadillo (Mexican Pink Cake)
- Marranitos (Mexican Gingerbread Pigs)
- Mantecadas
If you tried this Pumpkin Conchas Recipe or any other recipe on Isabel Eats, don’t forget to rate the recipe and let me know how it went in the comments below! I love hearing about your experience making it!

Pumpkin Conchas
Ingredients
For the dough
- ½ cup + 1 tablespoon granulated sugar, divided
- 2 ¼ teaspoons active dry yeast
- 1 cup warm whole milk (about 110-115°F)
- 5 ½ cups all-purpose flour
- ½ cup light brown sugar
- 1 teaspoon pumpkin pie spice
- ½ teaspoon fine salt
- ½ teaspoon ground cinnamon
- ½ teaspoon ground nutmeg
- ½ cup unsalted butter, softened to room temperature
- 3 large eggs, divided and at room temperature
- 1 cup pumpkin puree
For the topping
- 1 cup all-purpose flour
- 1 cup powdered sugar
- ½ cup unsalted butter, softened to room temperature
- 2 ½ teaspoons vanilla extract
- A few drops of orange gel food coloring, optional
Instructions
- Prepare the dough. In a small bowl, whisk together 1 tablespoon of the granulated sugar, the active dry yeast, and the warm milk. Cover with plastic wrap and let the yeast bloom until it’s very foamy for 10 minutes.
- In the bowl of a stand mixer (or a large separate bowl), whisk together the flour, the remaining granulated sugar, the brown sugar, pumpkin pie spice, salt, cinnamon, and nutmeg.
- Using a paddle attachment, mix in the softened butter until coarse and crumbly.
- In a medium bowl, whisk together 2 eggs and the pumpkin puree until well combined. Set aside.
- Using a dough hook attachment, slowly add the yeast mixture to the dry ingredients, followed by the egg and pumpkin mixture. Mix on medium speed for 5-6 minutes (or mix by hand), until the dough becomes smooth and elastic. The dough will be tacky and sticky.
- Transfer the dough to a large greased bowl and cover with plastic wrap. Allow the dough to rise in a warm place until doubled in size, about 1 ½ to 2 hours.
- Prepare 3 baking sheets with parchment paper and set aside.
- Uncover and punch the dough down, then allow it to rest for 5 minutes. Section the dough into 12 pieces and roll into balls. The dough will still be sticky, so you can grease your hands with oil or cooking spray to make it easier to handle, but do not add more flour.
- Place 4 dough balls onto each baking sheet, cover with plastic wrap or a kitchen towel, and allow it to rise again for 45 minutes to 1 hour until the dough has doubled in size.
- While the dough rises, make the concha topping. Beat together the flour, powdered sugar, butter, vanilla extract, and gel food coloring in a stand mixer with a paddle attachment until fully combined. The topping should be soft and moist, like the consistency of Play-Doh. If not using immediately, form the topping into a ball and cover with plastic wrap until ready to use.
- Divide the topping into 12 balls, then lightly flatten each ball in between two sheets of plastic wrap using a tortilla press. You could also use a rolling pin to shape the topping into rounds.
- Assemble the conchas. Preheat the oven to 350°F. In a small bowl, beat the remaining egg and brush each risen concha with egg wash.
- Carefully remove the rolled-out topping from the plastic wrap and drape it onto the risen concha dough. Lightly pat it down to secure the topping onto the dough.
- Cut grooves into the topping using a paring knife so it resembles a clamshell, a crisscross pattern, or whichever pattern you prefer.
- Bake for 15-17 minutes until the dough is lightly golden brown. Transfer to a cooling rack and allow to cool for 10 minutes before serving.
Notes
- Make sure your yeast is alive before adding it to the dough. If the milk and yeast mixture is bubbly and frothy, that means the yeast is alive and thriving. If it’s not, that means the yeast is likely dead, and you need to start over with a new yeast packet.
- To make shaping the topping a little easier, you could use a concha shell cutter.
- The dough will be sticky and tacky. To make it easier to hand and shape the concha dough, you can lightly grease your hands with oil or cooking spray, but I do not recommend adding more flour.
- Don’t overcrowd your baking sheet. The conchas expand even more in the oven, so make sure you don’t overcrowd your baking sheet or the conchas will not have proper ventilation and will release too much heat, resulting in burning the bottoms before they’re fully baked.
- Storage: Store leftover conchas in an airtight container in a cool and dry place for up to 5 days.
Nutrition
Nutrition information is automatically calculated, so should only be used as an approximation.
Photography by Ashley McLaughlin.

