
This post may contain affiliate links. Please read our disclosure policy.

Today is officially the first day of spring, though you wouldn’t guess it if you stepped outside. After a beautiful week or two full of sunshine and warm weather here in Pittsburgh, tiny snowflakes are currently falling from the sky.
Mother nature can be such a tease.
But despite the 38 degree temperature and significant cloud cover, you can still get a head start on your garden this year. If you’re looking for an easy, beginner-friendly and mess-free way to start your seedlings indoors, I recommend looking into using peat pellets.
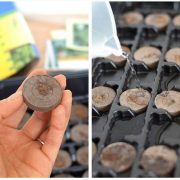
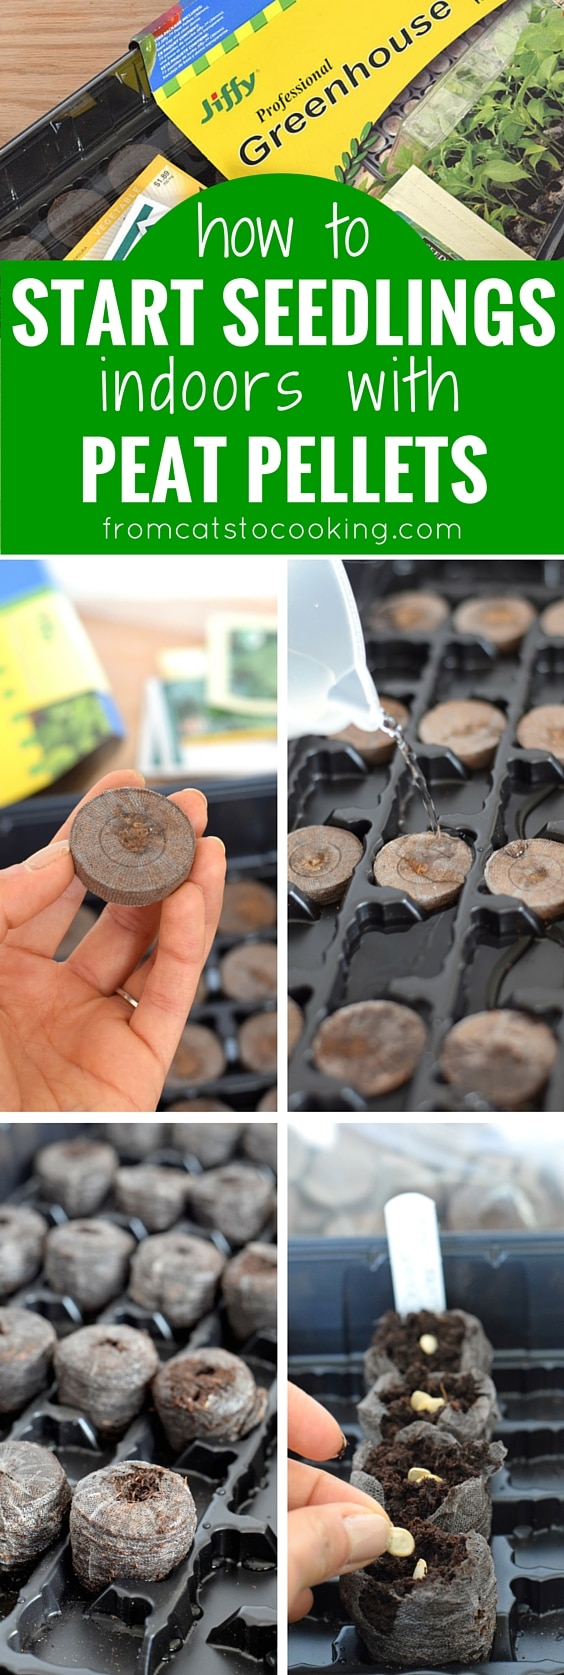
Peat pellets are little disks of dehydrated peat that are held together by a biodegradable fine mesh netting. All you have to do is add water to rehydrate the soil and the pellets expand to create a self-contained pot. They’re a great space-saving alternative to seedling pots and are just plain fun to work with (reminds me of my childhood fascination with growing animal water toys).
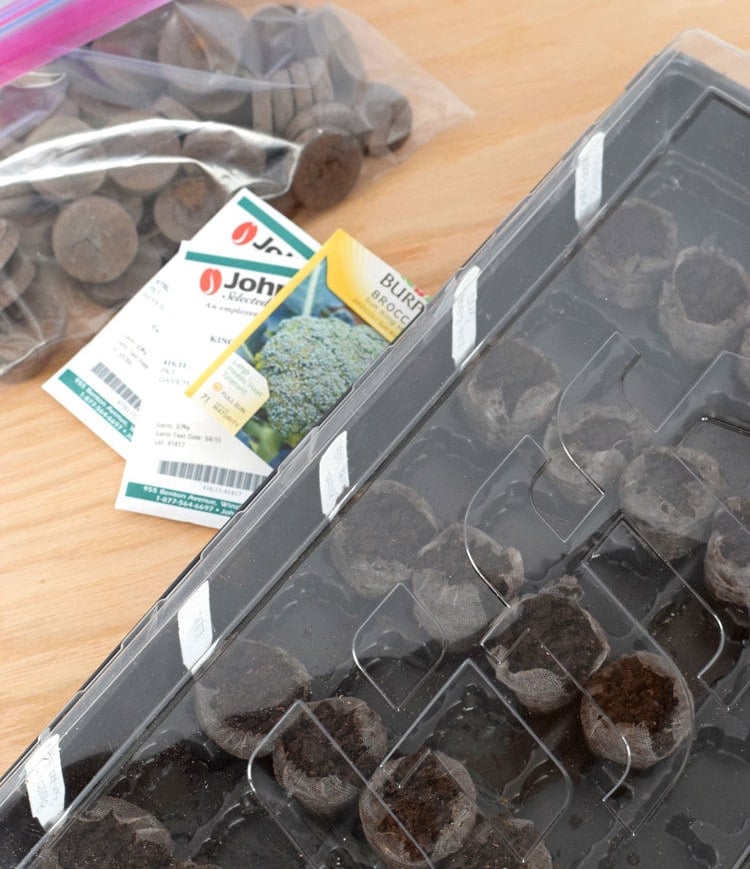
The easiest way to get started is by buying a kit that contains some peat pellets, a holding tray, a lid to create a small “greenhouse” and some labels. All you need are the seeds and some water.
I purchased this 72-plant Jiffy Professional Greenhouse Starter Kit at my local garden supply store but if you’re looking for something a little bit smaller, you can find a 50-plant starter kit here or a 25-plant starter kit here. In these photos, I’m starting Organic Early Green Broccoli from Seeds of Change, King Richard Leeks & Delicata Squash from Johnny’s Selected Seeds and Sun King Hybrid Broccoli & Dwarf Blue Curled Kale from Burpee.
Step 1
Decide how many peat pellets you need and place them in the tray. Any extra pellets can be kept in a plastic storage bag and used at a later time. Because some seeds may not sprout, I recommend starting one or two extra pellets per plant that you want. If all the seeds sprout and are healthy when it comes time to transplant them into a container or into the garden, you can simply throw away the extra or give them to a neighbor or friend – share the love!
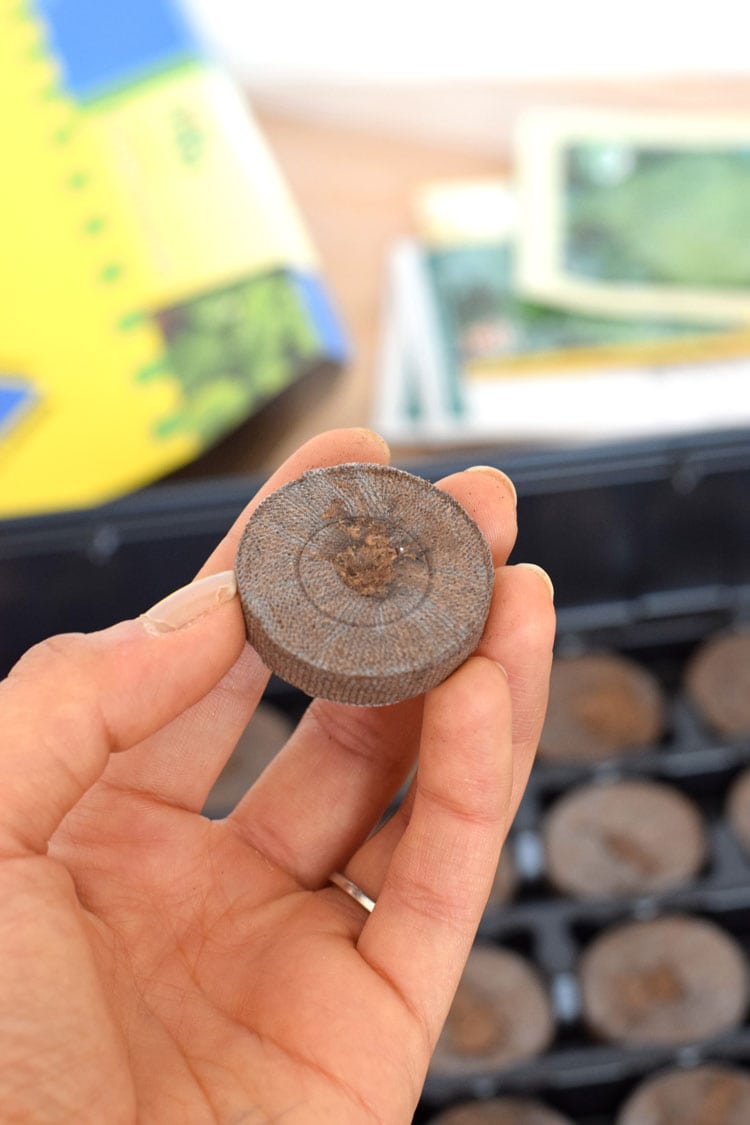
Step 2
Add enough water to the tray to cover half the height of the peat pellets. How much water you actually use will depend on how many peat pellets you use.
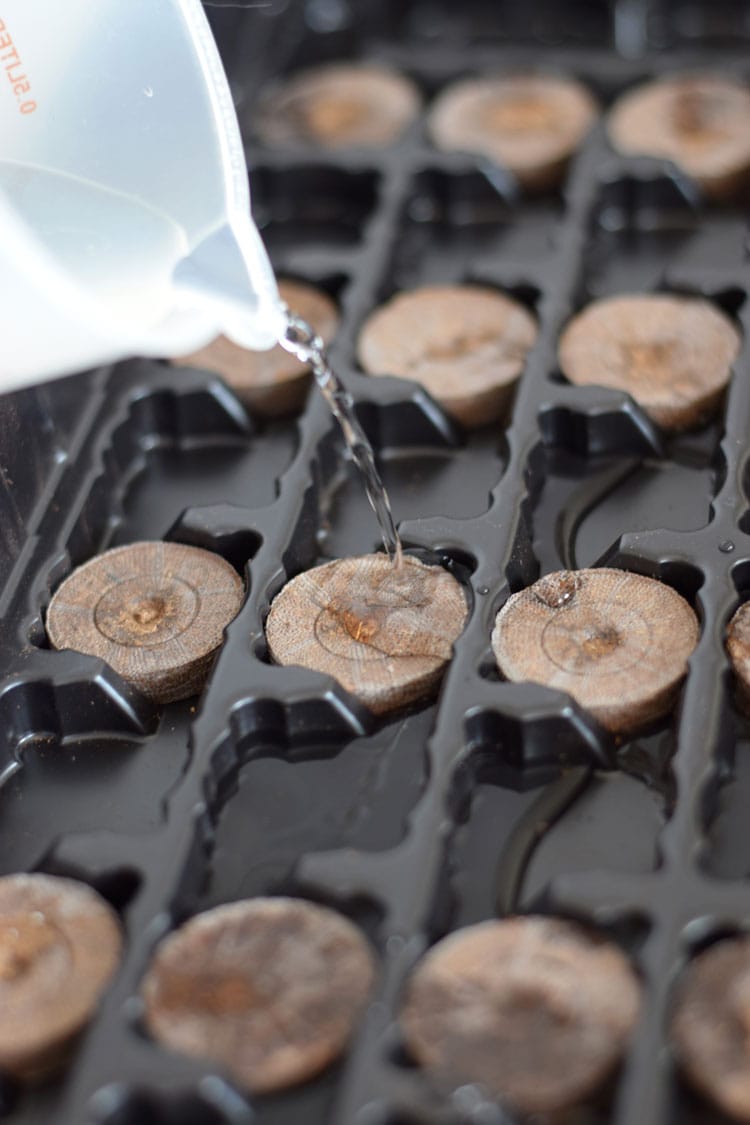
Step 3
Wait 5 to 10 minutes for the pellets to fully expand. If more water is needed, add more. When all the pellets have fully expanded, dump any excess water into the sink.
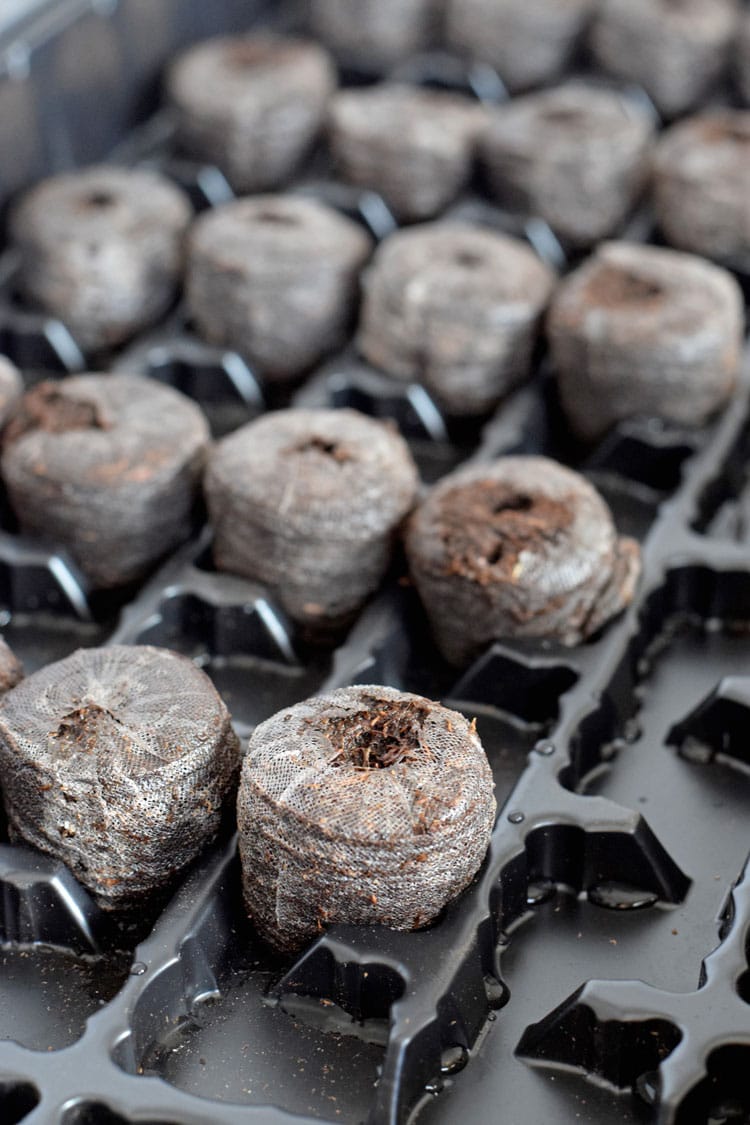
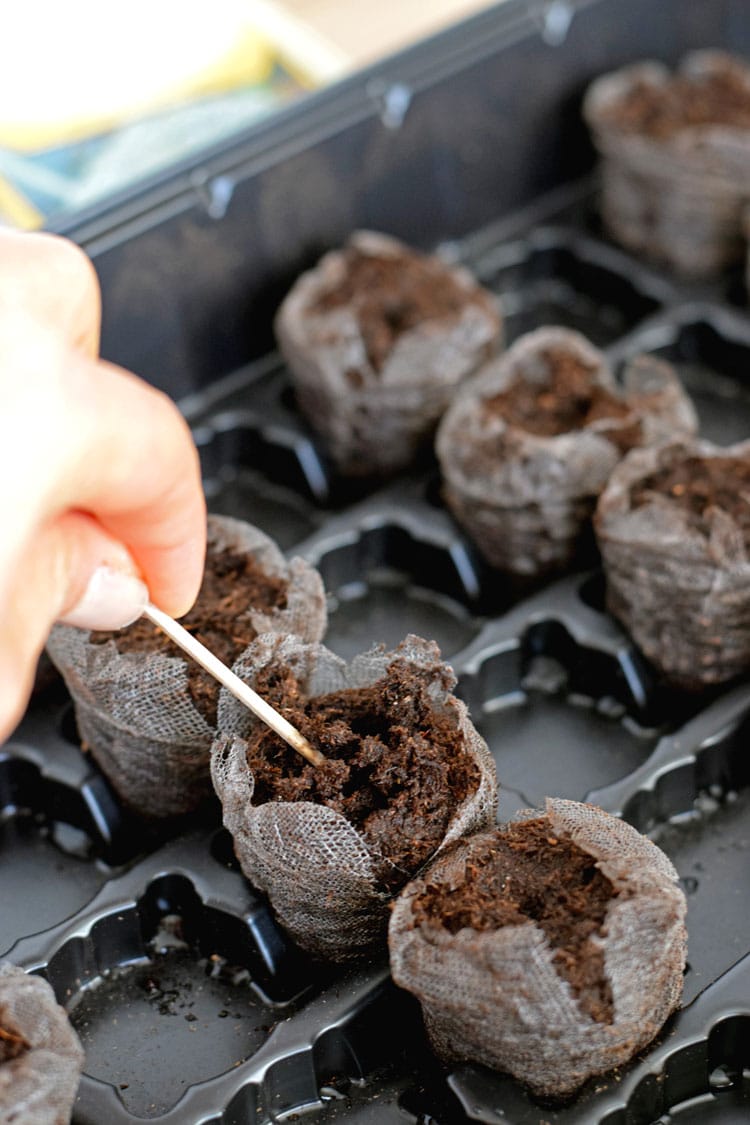
Step 4
Slightly tear the top of the netting on each pellet. Using a toothpick or a pencil, make a small well where the seeds will go.
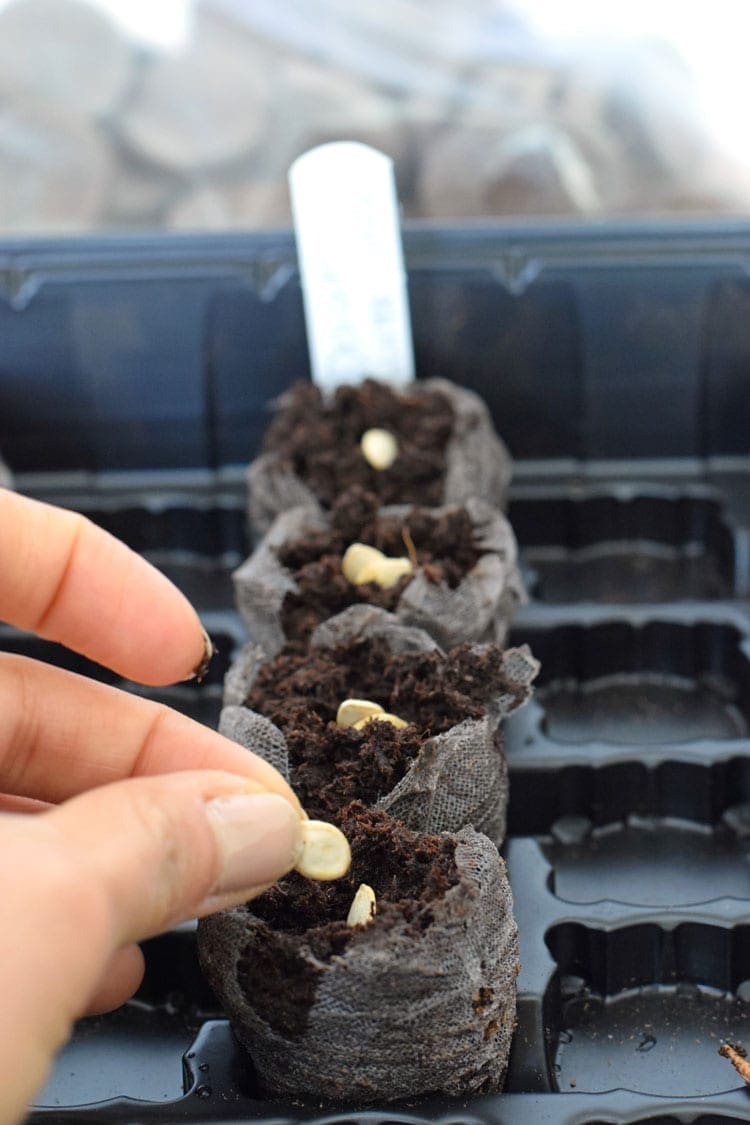
Step 5
Now the fun part – plant your seeds! Place you seeds in the well and lightly cover them with some of the soil you moved to the side when making the well. I put 2 seeds in each pellet in case one of them doesn’t sprout.
Step 6
Label your pellets so you remember what you planted and cover the tray with the plastic lid. Place the tray in a warm place, out of direct sunlight and wait a few days for the seeds to sprout. I put mine on top of my refrigerator and it worked wonderfully. Some of my seeds sprouted within 2 days!
Be sure to check the tray every day to see if any of the seeds have sprouted. Only water the pellets if they’re looking very dry – if the soil is a little damp to the touch, that’s perfect.
Step 7
Once the seeds have sprouted, take off the lid and place the tray in a sunny spot in your house near a windowsill or place them under grow lights like this one. Water as needed. If more than one seed is growing in a pellet, simply pinch off the other plant so you only have one healthy plant per peat pellet.
Make sure to only place the seeds that have sprouted in the sunlight. If you have some pellets that still show no signs of a growing plant, leave them covered in the tray until they sprout. This means you will need to leave the covered tray in the warm spot on top of the refrigerator and only move the pellets that have sprouted onto a different tray or container you have lying around the house.
When you transplant the seedlings will vary depending on the type of plant, but a sure sign that it’s time is if you start to see the roots of the plant through the netting. To transplant the seedlings, simply place the pellet directly into the soil and cover. Though the mesh is biodegradable and doesn’t have to be removed, safely removing the netting without disturbing the plant roots before transplanting would be the way to go.
This is only my second year gardening and I’m still learning as I go, but so far, working with peat pellets has been super easy and fun. Have you ever used them before? Have you started any seedlings this year? Let me know in the comments below!
This page contains affiliate links. If you make a purchase on Amazon after clicking one of my links, I may receive a small commission. The price of the item stays the same and any money I make goes to supporting this blog. I only endorse products and services that I fully believe in.


Loved this article. It was super helpful to me!!! This is my first time trying to grow flowers from seeds.
Thank you for the information, it was helpful. I did purchase the pellets and seeds from Amazon.
This is my first year to use peat pellets, and your description was easy to follow. I am 71 and have done other gardening, but this year I am trying the little peat pellets. Thank you
I wish I read this before I started. I did the instructions as you and the directions say, but it said nothing about a warm dark place. I think I have been overwatering my peat and I used one of the grow lights they sell for the kit – this morning, there was moss or algea growing on the edges of my some of my peat near the netting.
Is this salvageable?
This is my first year using pellets. I desperately want to garden and this looked like a good way, without buying all the plants at the nursery. I’m no spring chicken, but I plan to succeed. I’m 71.
Hi , Nice to read your page , I plant 12 pellets only 1 have sprout .thank you for Sharing your experience.
But I can’t judge if I put too much water
You don’t need to water them once you have expanded the pods unless they somehow dry out. If you are keeping the lid on, they will typically “self-water” through condensation.
I planted my seeds, several have sprouted, but there is a fuss mold growing over the peat pellets. any suggestions.
how Many times do I need to use the peat pellets after I plant the seed that sprouted already? I mean the minimum and maximum used of peats pellets that have already expanded. Thank you.
I have used peat pods off and on for several years. I have only ever used them once each. You plant the expanded pod with sprouted plant. You can loosen or remove the biodegradable “plastic” covering. It is my understanding they are single use pods.
Hi I recently got this same kit I was wondering is it normal for this kit to have constant condensation on the lid what does this mean is my temperature not rite Any Info would be appreciated.
Condensation is GOOD! 🙂 It means your sprouts are staying warm AND getting moisture. Before opening the lid, give it a good couple flicks to drop the water back onto the pods.
Hi, I’ve repotted my peat pellets into 4″ pots wth a little granular fertilizer. I am really hoping that leaving the mesh on will be ok! they look pretty good, a little leggy but I suspect this is due to the rainy New England spring we have had so far. Please let me know of any advice.